Using Mongo APIs with Micronaut Data to Persist and Query Data with Autonomous DB
Posted By: Todd Sharp on 2/15/2022 8:00 GMT
Tagged: Java, Micronaut

A bit of exciting news dropped that you may have missed. We announced the release of the Oracle Database API for MongoDB, which gives developers the ability to persist and query data into Oracle Database via Mongo APIs. This announcement means that we can take our existing codebase (often with no changes at all) and point it at a new endpoint and have it "just work." Why does this matter? For starters, it gives developers who are less familiar with Oracle DB (or SQL/relational databases) the ability to migrate their application to Oracle Autonomous DB in a seamless manner. If nothing changes with the persistence tier code, migrating is easier. Why bother? That's a fair question. The answer lies in remaining flexible and providing additional features as your application grows. Since this feature will store our data as a JSON object in a relational database, we can still interact with it via the familiar Mongo APIs, but we gain the ability to interact with it via SQL. Meaning we can write queries that join our JSON data with relational data, graph data, and just about anything else that is possible to store in Oracle DB. And it's not just existing applications. If you prefer Mongo APIs (or frameworks that support Mongo), you can write a brand new application from scratch and point it at your Autonomous DB instance. This feature is a big deal.
So now that you know that it's possible let's dig into the feature and see how we might write an application to use it. I'm fond of the Micronaut Java framework, and the engineering team recently updated the Micronaut Data module to support MongoDB. As you might expect, it works perfectly with Autonomous DB, so let's see how it's done by writing a quick app!
- Provision Database and Obtain Connection String
- Connect with Mongo Shell
- Create Micronaut Application
- Query Database
- Summary
Provision Database and Obtain Connection String
If you've already got an existing Autonomous Transaction Processing (ATP) or Autonomous JSON (AJD) instance, skip on to the next section!
Sign Up for an "Always Free" Account
I suppose some of you may be new to Oracle Cloud. If that's the case, I should tell you that you can use this feature completely free (forever) on the Oracle Cloud "always free" tier (more info and sign up here). Once you've signed up, install the OCI CLI. The CLI will make working with your cloud account more straightforward, and we'll use it to provision a new DB instance in just a minute.
Launch Instance
You could launch your instance via the cloud console, but it's easy to do with the OCI CLI like so:
Note that we're capturing the JSON response with the command above and setting it into an environment variable in our terminal. Once the instance creation is complete, we'll use a tool called jq to craft our Mongo connect string. The mongo URL will use the same base URL as all other connection URLs (I've asked our engineers to add the Mongo connection URL to the CLI response). Let's grab the APEX URL and extract the domain name like so:
This should print something like HVG9ND7XIBSAEGV-DEMOAJD.adb.us-phoenix-1.oraclecloudapps.com, which we can plug into the following format:
mongodb://admin:[pass]@[domain name]:27017/admin?authMechanism=PLAIN&authSource=$external&ssl=true&retryWrites=false&loadBalanced=true
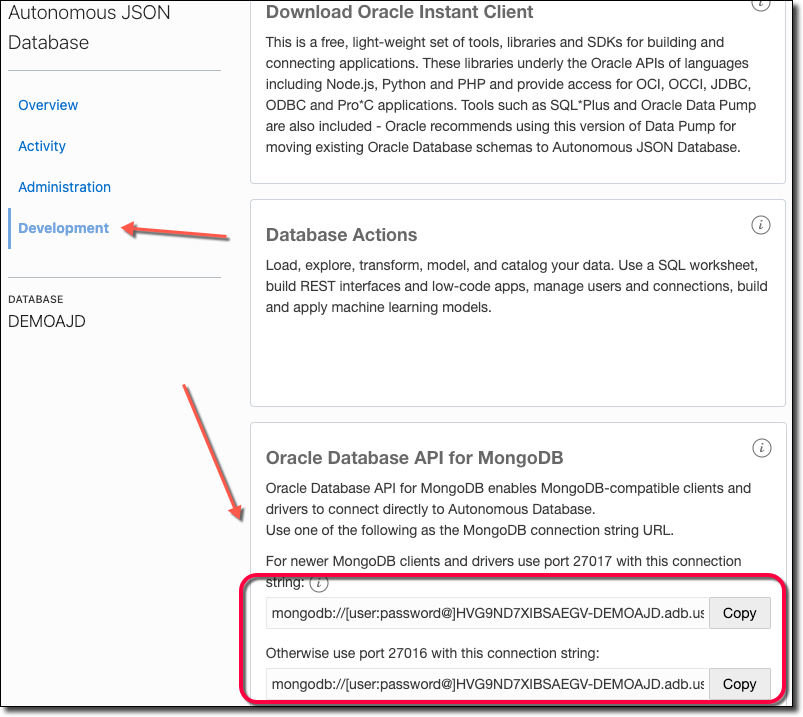
Another option is to visit the Service Console and copy the Mongo connection string. You can visit the service console via the URL returned from our call to create the instance:
Click on 'Development' in the Service Console and copy the connection string.
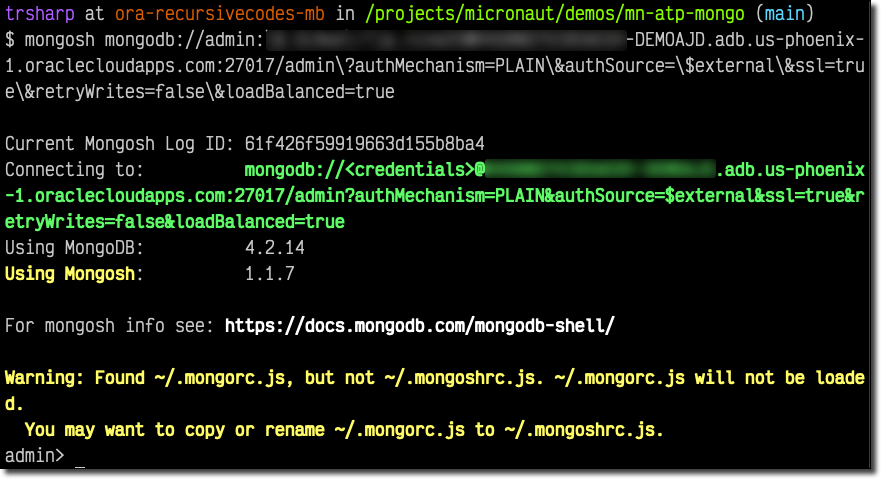
Connect with Mongo Shell
Now let's connect up to the new instance with mongosh.
Create New Application User
That worked! Now let's create an application database/user. We'll also need to create a collection since Mongo won't create the database until data is stored. We can do this via mongosh with:
These commands will create a new schema in Oracle DB behind the scenes, but as you might have realized, the user hasn't gotten a password assigned yet and doesn't have any privileges granted. The easiest way to do this is to visit the web-based SQL Developer and issue a few commands. First, let's head back to the console and grab the URL for SQL Developer Web:
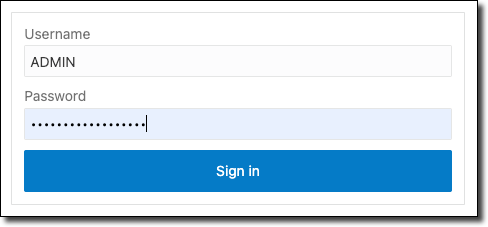
Now login via the admin credentials that you specified when creating the instance.
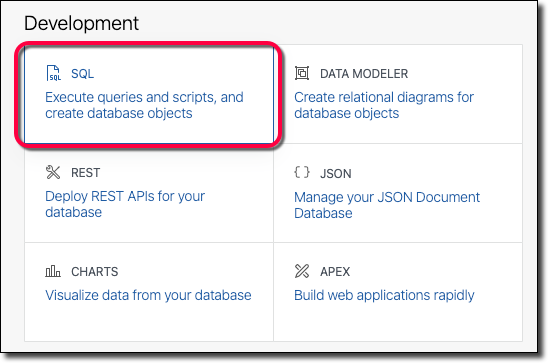
Click on 'SQL':
And run the following SQL commands (using a strong password, please!).
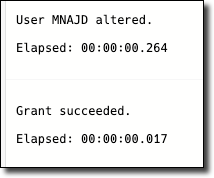
We can now connect up via mongosh with the new user (notice that we also changed /admin in the path to the schema name /mnajd).
Once connected, we can query as usual.
Create Micronaut Application
At this point, we're able to use pretty much any SDK that works with MongoDB. I've personally tested it with Mongoose and a few other frameworks, and everything works as expected. But since Micronaut recently added support for MongoDB to Micronaut Data, I figured it would be a perfect demo for this post to wire up a simple Micronaut application that uses the MongoDB support to persist and query data from an Autonomous DB instance.
Add a few dependencies to build.gradle. We'll need the annotation processor. We'll have to manually bring in micronaut-serde-bson:1.0.0-M6 (usually a dependency that Micronaut brings in for us, but we need version 1.0.0-M6 to get past a known bug for now). We'll also need the MongoDB driver, as on line 6 below.
It's not mandatory, but I like to add Project Lombok since it makes life easier by generating getters/setters, and constructor methods for my entities. If you add it, do so before any other annotationProcessor dependencies.
Next, we'll need to set up the datasource. Open up /src/main/java/resources/application.yml and populate the datasource like so:
Add Config
We can pass in the URI that we obtained in the previous section of this blog post to this configuration at runtime by either setting an environment variable named MONGODB_URI or pass it in as a system property with -DMONGODB_URI.
Enable Logging
If you'd like to see the queries that Micronaut generates behind the scenes, or need help with debugging, enable logging by adding the following logger to /src/main/resources/logback.xml. Add this value just below (but outside of) the <root> node.
Create Entity and Repository
We need to create an entity that will represent the JSON document that we would like to persist. There are only a few strict rules here. One - we must annotate the class with @MappedEntity so Micronaut knows that it needs to manage it. Secondly, we need to assign an ID property to serve as the record identifier. The default ID generation type for MongoDB uses ObjectId as an ID. But, I prefer to use String since it gives you a literal value that can query the object later on. Thirdly, if we want the ID to be automatically assigned, we need to annotate it with @GeneratedValue. Otherwise, Micronaut will expect us to assign an ID manually before we save() the entity. Finally, if we want to use automatically assigned UUIDs for our ID property, we can annotate them with @AutoPopulated. Other than these "rules" (which you can read more about here), we're free to add as many properties of whatever type we need to construct our entity. Here's what a minimal Movie class might look like:
To enable persistence, we need to create a repository interface that is annotated with @MongoRepository and extends CrudRepository.
Create Controller
We're now at a point where we can create a controller to expose a few endpoints for basic CRUD operations. Let's create our MovieController and add those endpoints.
Run Application
We can now start the application and issue a few HTTP requests to the CRUD endpoints via cURL.
Create Document
Sample return value:
Update Document
Sample output:
List Documents
Sample output:
Get Document By Id
Sample output:
Delete Document
Sample output:
Console Log
Here's how the console might look for the operations above. Since we enabled trace logging for the queries, we can see the corresponding Mongo SDK methods (insertOne, replaceOne, find, and deleteMany) that Micronaut Data used to perform the requested operations.
Query Database
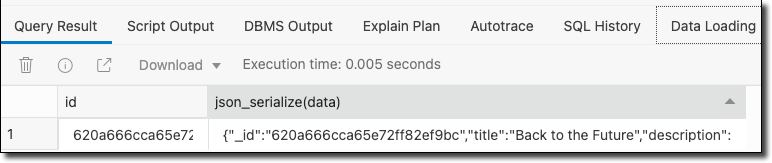
The cool part of this is that Micronaut Data stored our data in Oracle DB in a traditional relational style table/row format, which means that we can continue to interact with it via the Mongo SDK or query it with traditional SQL as necessary. Let's run a query against the movie table:

SQL Developer returned our JSON document as a binary large object by default. That's not very helpful, so let's serialize the BLOB to JSON.
That's a bit more helpful in that now we can visualize the JSON data. But it might be better to extract the individual JSON key/value elements into distinct columns. This way, we can return the data in a resultset and join/filter/aggregate as necessary.

Now that's heavy!
Summary
In this post, we looked at how to enable Mongo support for an Autonomous DB instance and use that support from Micronaut to persist and query data with Mongo APIs. If you'd like to view the code used in this post, check it out on GitHub!
Related Posts

Querying Autonomous Database from an Oracle Function (The Quick, Easy & Completely Secure Way)
I've written many blog posts about connecting to an Autonomous DB instance in the past. Best practices evolve as tools, services, and frameworks become...

Sending Email With OCI Email Delivery From Micronaut
Email delivery is a critical function of most web applications in the world today. I've managed an email server in the past - and trust me - it's not fun...

Brain to the Cloud - Part III - Examining the Relationship Between Brain Activity and Video Game Performance
In my last post, we looked at the technical aspects of my Brain to the Cloud project including much of the code that was used to collect and analyze the...