Manage Your Compute Instances Like A Pro With The OS Management Service On The Oracle Cloud
Posted By: Todd Sharp on 1/23/2020 5:58 GMT
Tagged: Cloud

In this post we're going to take a comprehensive look at a brand new feature in the Oracle Cloud - the OS Management Service (OSMS). It may not sound terribly flashy, but I promise you that this feature will make your life easier and your tenancy infinitely more secure and reliable. Let's dig directly into the service by talking about what it is and what it can do for you. Later in this post I will show you how to get started taking advantage of OSMS right away by enabling the service, installing the agent and then managing software installs (both on-demand and scheduled).
What Is OSMS?
The Oracle Cloud OS Management service (OSMS) provides tools for common OS management tasks for compute instances, focusing initially on managing software packages for Oracle Linux instances. OSMS is an agent-based service. The agent must be installed in instances in order for the service to operate. Once the agent is installed and enabled, OSMS enables you to monitor the packages installed on instances, search for and add or remove packages, and update existing packages when updates become available.
A Compute instance that is managed by OSMS is referred to as a Managed instance. A Managed instance can be managed individually, or can be grouped for management activities. Instance groups let you manage instances according to your needs. For example, you can group instances by operating system. You might also group them by their purpose - for example web servers. If you manage many instances, using instance groups is a powerful way of installing and updating packages, or managing software sources. Keep in mind that bulk operations for groups can only be successful if each instance in the group is on the same OS release and version.
Software Sources
OSMS uses software sources to provide packages to instances, and to track the available updates to those packages. A software source is simply a collection of packages - basically, a Yum repo. Software sources enable you to control which packages can be installed on instances without having to manually log in and configure the repositories on each instance. Standard software sources are provided in the root compartment of the tenancy. When OSMS is enabled for an instance, the default software sources for the operating system are added to the instance. You can add or remove software sources as needed.
In addition to the standard software sources, you can create your own custom software sources. Custom software sources can be derived from the standard software sources or other custom sources. Custom sources enable you to create specific sets of packages that you want to manage and apply to instances. You cannot upload your own packages to custom sources.
Note: You cannot upload your own packages to custom sources, nor can you use your own Yum repositories with Managed instances.
Checking Exposure to Known Vulnerabilities
OSMS provides a search facility that you can use to check individual CVEs (Common Vulnerabilities and Exposures) to determine the level of exposure in your tenancy. CVEs provide standard names for publicly known security vulnerabilities and exposures that are cataloged in a dictionary-type format for reference. The CVE search facility in OSMS enables you to search for a CVE, to see the packages and instances affected by the CVE, and to push out package updates to instances to patch them.
Complete Guide To OSMS
I'll walk you through OSMS step by step below in this blog post, but if you prefer to listen to the dulcet tones of my voice as I visually walk you through the process instead then check out the video embedded here:
Getting Started With OSMS
If you'd prefer the standard blog walkthrough of OSMS, continue with the steps below.
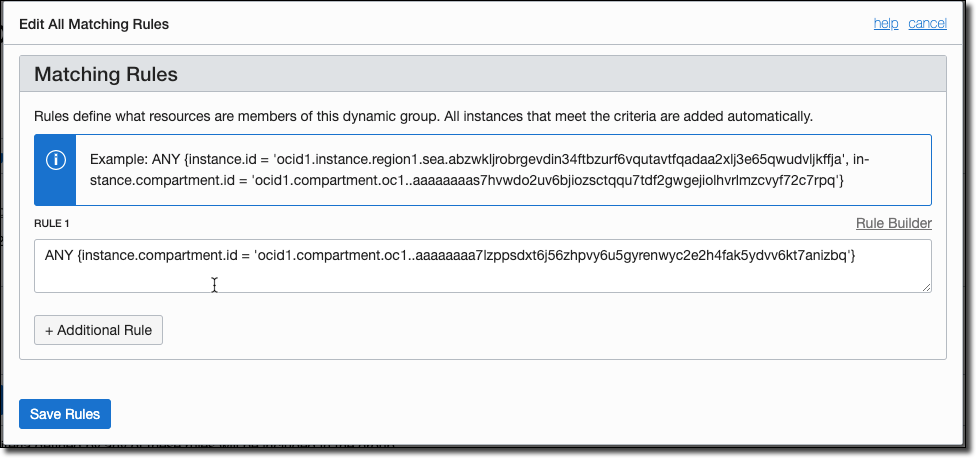
Create A Dynamic Group
To work with OSMS, you must first create a dynamic group that will apply to the instances that you would like to manage. I find it easiest to create the dynamic group at the compartment level, and make sure that all my instances that I intend to be managed by OSMS reside within that compartment, but you can create your dynamic group with whatever rules make sense. Read more about dynamic groups here. Here's what my dynamic group rule looks like:
Create Policies
Next, you'll need to apply a few policies to the dynamic group we just created.
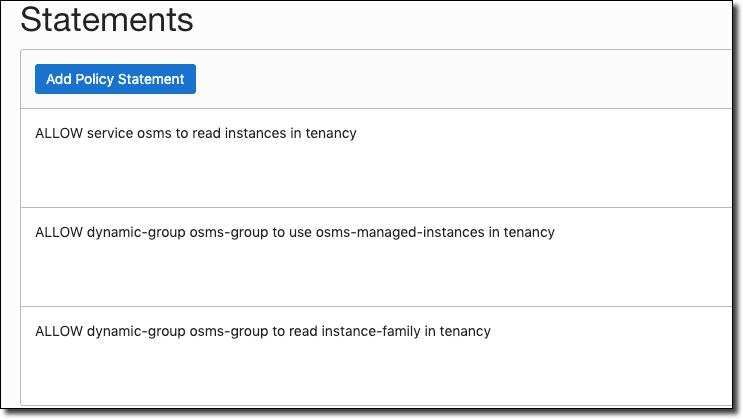
The first policy above is required if you would like to emit metrics from OSMS.
Note: If you do not create the policies above, you will be unable to manage your instances with OSMS!
Install OSMS Agent On Compute Instance(s)
Next, you'll need to install the OSMS agent on each instance that you intend to manage. It's very simple to install the agent, just SSH into the instance and run:
Heads Up!!! After you install the agent, you'll need to wait at least 60-90 minutes before the instance is ready to be managed. If you have nothing else to do while you wait, why not check out my YouTube channel or check out my playlist on the Oracle Developers YouTube channel. Fresh Oracle Cloud content is always being served. Make sure to subscribe so you'll always know when I've posted something new!
Using OSMS
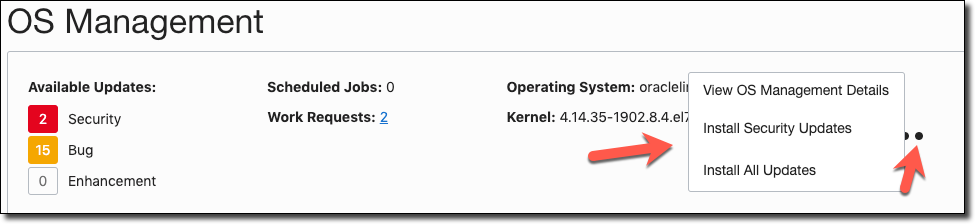
After the agent has been installed on your instance(s) and has been registered with the OSMS service, you're ready to start using OSMS with the instance(s). Visit the details page for any registered instances and click on 'OS Management' in the sidebar.

In this case, you'll see that this instance has 2 security updates and 15 bug fix related updates available for install.
View Managed Instance Details
If you hover over the three dots in the OS Management tab of the compute instance details page, you'll see some options to take further action. You can immediately choose to install the available updates, but for now click on 'View OS Management Details':
View OS Management details for the instance:
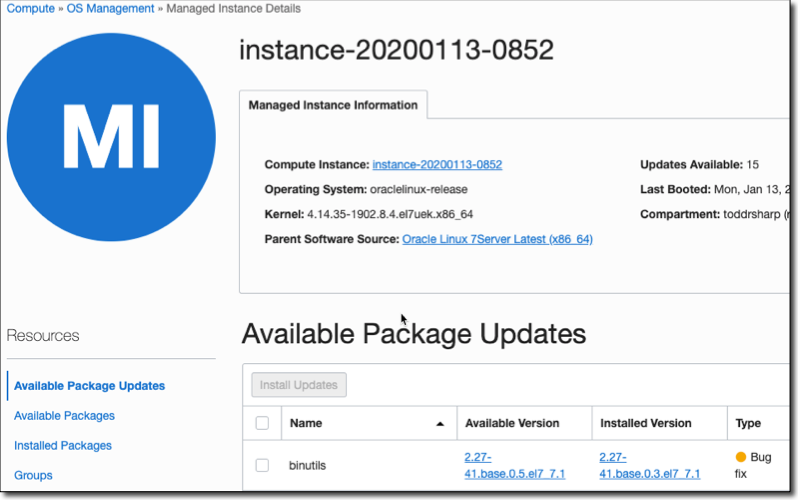
From the managed instance details page, you can view a ton of information about the software installed and available for your instance. You can view available package updates for existing, installed software:

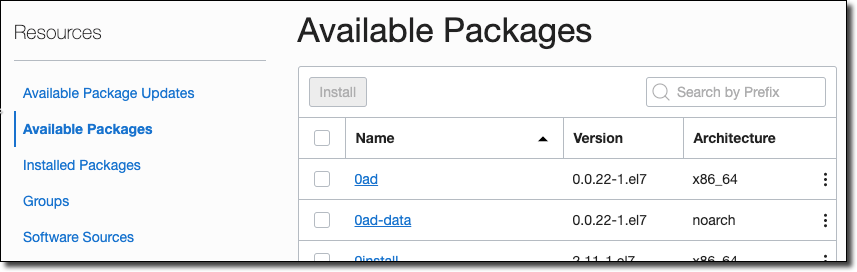
View available packages (that are not yet installed), search for and install them:
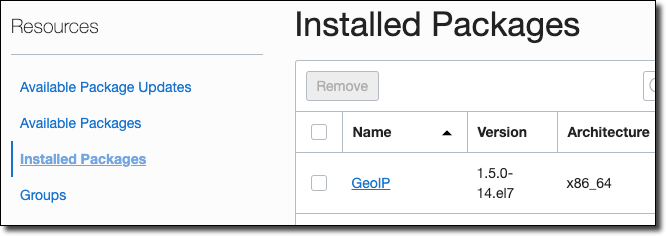
View all installed packages:
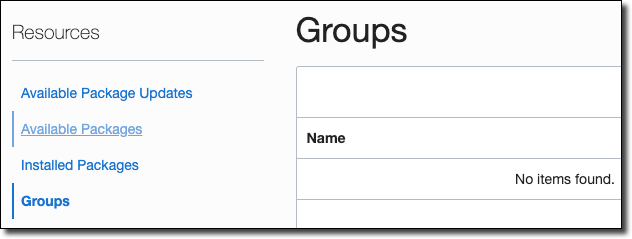
View the managed instance groups that the instance belongs to:
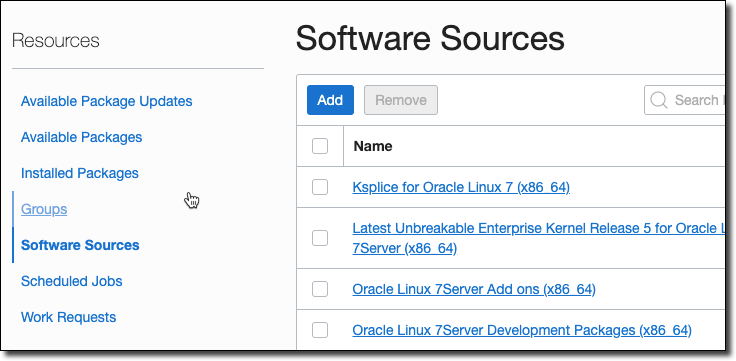
View the software sources that the instance has available to it:
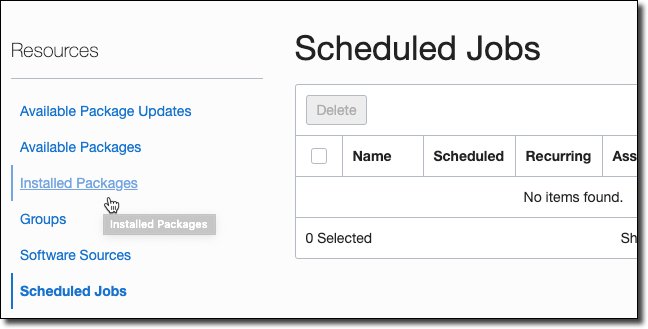
View scheduled jobs:
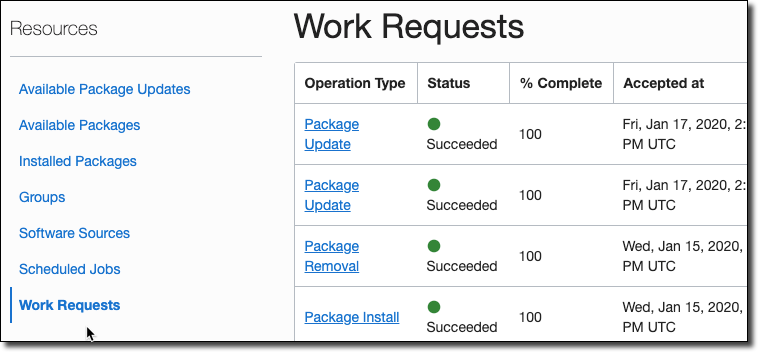
View work request history:
Creating Managed Instance Groups
If you have multiple OSMS managed instances that have the same OS release and version, you can make your life much easier by adding each managed instance to a managed instance group so that you can perform bulk operations and schedule updates for all grouped instances instead of managing each individually. To create a managed instance group, click on 'Compute' -> 'OS Management' from the console burger menu.

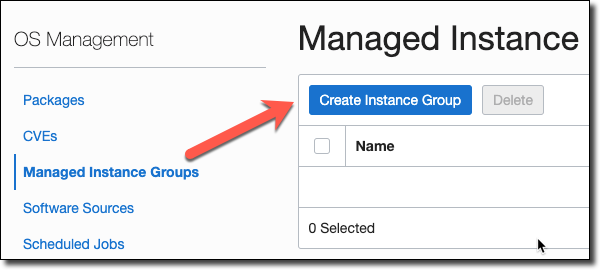
Then select 'Managed Instance Groups' from the sidebar and click on 'Create Instance Group'.
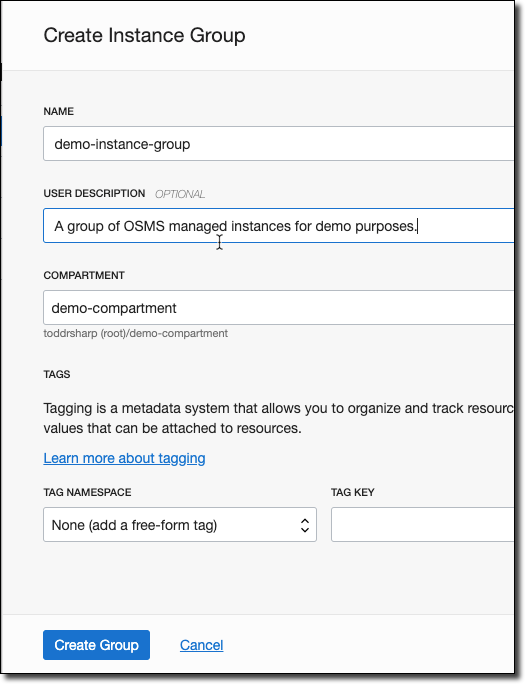
Provide details for the group, and click 'Create Group'.
Once the group has been created, click on the group name to go to the group details page:
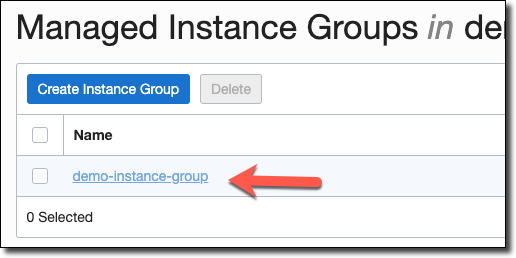
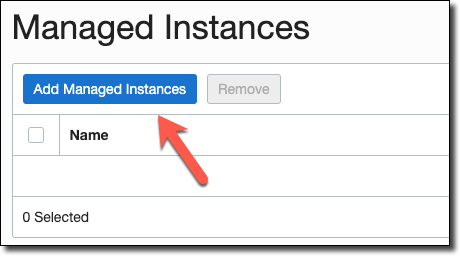
On the group details page, click 'Add Managed Instances'.
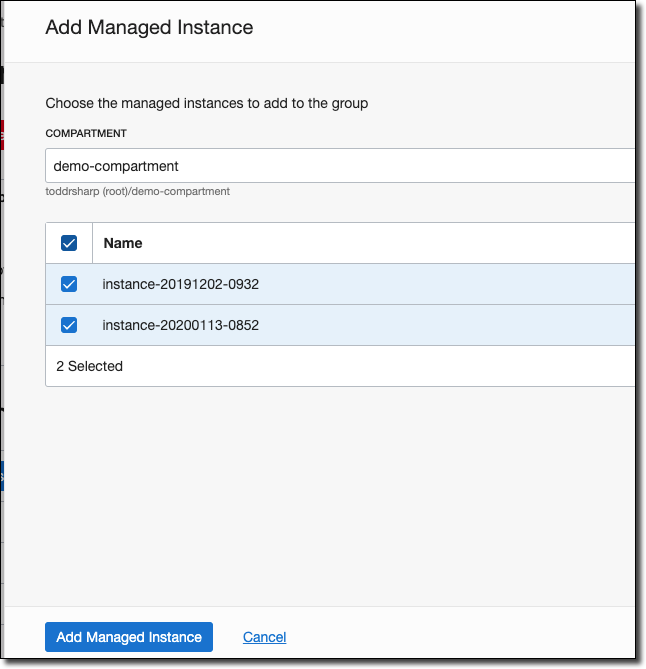
In the dialog that appears, all of the available managed instances in the chosen compartment are listed. Select the instances that you'd like to add to the group and click 'Add Managed Instance'.
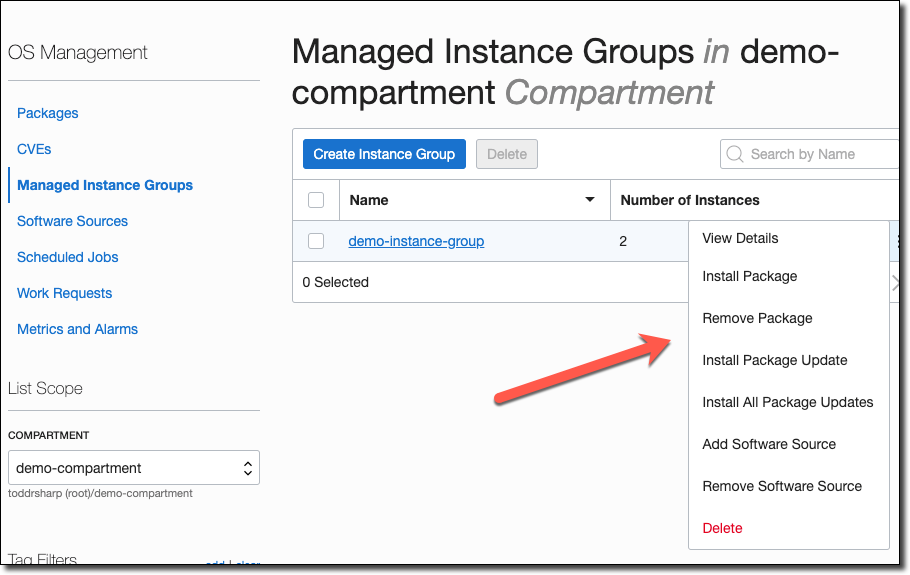
At this point, your group is ready to be managed. Head back to the 'Managed Instance Groups' list page and click on the three dots in the row of the group you're interested in working with and you'll see many options for bulk operations on all instances within the group:
Installing Packages
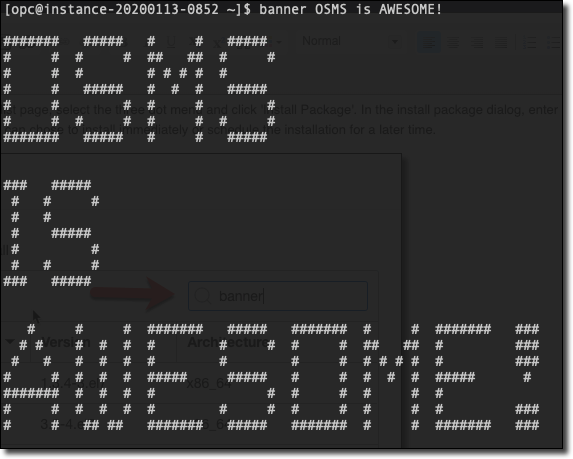
From the managed instance group list page, select the three-dot menu and click 'Install Package'. In the install package dialog, enter a search term and click 'enter' to search for a package. You can choose to install immediately or schedule the installation for a later time.

You can see here that the package 'banner' is not installed in the instance before the installation:

But after clicking 'install' to install this package in the group the package becomes available within the instance:
Installing Updates
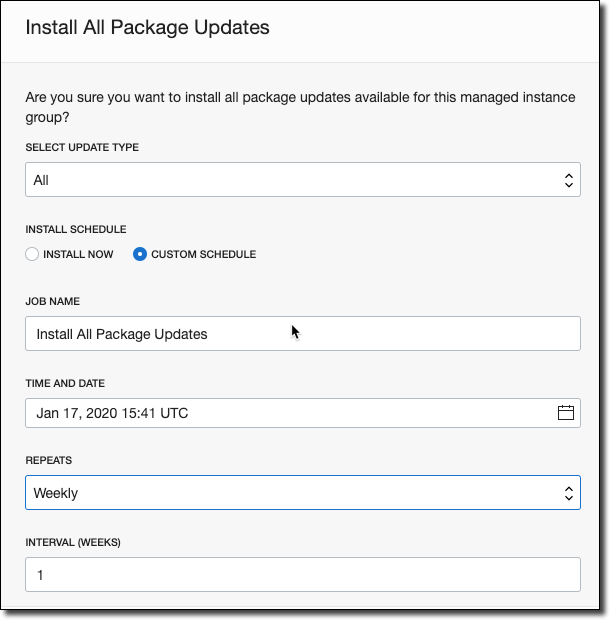
From the managed instance group list page, select the three-dot menu and click 'Install Package Updates' or 'Install All Package Updates'. From this dialog you can update your packages on-demand, or more likely create a scheduled job to make sure that all instances in the group are up to date on a daily/weekly/monthly basis.
Summary
In this post I introduced you to the OS Management Service available in the Oracle Cloud. We created the necessary IAM groups and policies to work with OSMS, installed the agent and looked at how to use OSMS to install and update the software on your managed instances. If you have any questions or feedback, please feel free to leave them in the comments below or reach out to me on Twitter @recursivecodes.
Photo by Benjamin Voros on Unsplash
Related Posts

Querying Autonomous Database from an Oracle Function (The Quick, Easy & Completely Secure Way)
I've written many blog posts about connecting to an Autonomous DB instance in the past. Best practices evolve as tools, services, and frameworks become...

Brain to the Cloud - Part III - Examining the Relationship Between Brain Activity and Video Game Performance
In my last post, we looked at the technical aspects of my Brain to the Cloud project including much of the code that was used to collect and analyze the...

Brain to the Cloud - Part II - How I Uploaded My Brain to the Cloud
In my last post, we went over the inspiration, objectives, and architecture for my Brain to the Cloud project. In this post, we'll look in-depth at the...