Installing & Securing Mosquitto for Encrypted MQTT Messaging in the Oracle Cloud
Posted By: Todd Sharp on 11/12/2021 8:00 GMT
Tagged: Messaging

Messaging is critical in the cloud. Maybe you're dealing with industrial IoT applications that read sensors and report conditions from a factory line to a central reporting server. Messaging isn't just for IoT though - even traditional applications can take advantage of pub/sub and durable queues to pass notifications between distributed bits of the application. Maybe you have an application that encodes user-uploaded video files to a standard format and needs to report the progress of the encoding back to the user in real-time. Almost every application - even traditionally "monolithic" - usually have some piece of functionality that happens "offline" that requires more processing time than we would want our users to wait. In other words, just about every application could utilize messaging to improve the user experience (as well as the developer experience)!
Since messaging is so important (and cool), I've got a few more interesting blog posts coming up soon that I think many of you will find helpful. We're going to look at how to create and utilize messaging "bridges" which give us a way to broker messages between different queues and topics. One of the messaging protocols that we'll be looking at in those upcoming posts is MQTT. Last January, I blogged a tutorial on how to get up and running with Rabbit MQ on an "always free" instance in the Oracle Cloud, and that tutorial is still valid and applicable. In fact, I still have a Rabbit MQ instance running on a free tier instance, and I use it quite a bit in my projects and demos. But this time, I wanted to show an alternative approach that launches a Mosquitto server in the cloud. Mosquitto is an open-source server that is really easy to use and includes some helpful tools on the client-side that we can use to quickly publish and subscribe to a topic. We'll also launch Mosquitto on an "always free" eligible instance (this time an Arm-based instance), but in this tutorial, we'll look at providing an encrypted solution by configuring the server to obtain and utilize proper TLS certificates. Sounds like a lot of work, but it's not. If you follow the steps below, you should be sending and receiving messages in less than 15 minutes. Here are the steps we'll take in this post. Feel free to skip around if you need to.
- Create a VM
- Point Domain Name at VM
- Install Mosquitto
- Secure Mosquitto Install
- Create Credentials and Listen for Encrypted Traffic
- Further Reading
- Summary
Create a VM
The first step here is to create a virtual machine that we can use to host our Mosquitto MQTT install. We can do this with either the web console or the CLI.
Create VM with Console
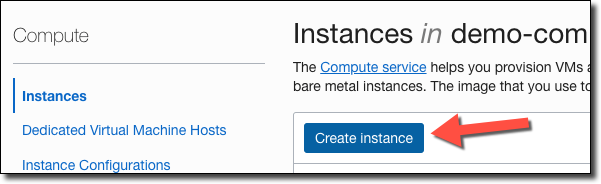
In the console search box, search for 'instances' and then select 'Instances' under 'Services'.

On the instance list page, click 'Create Instance'
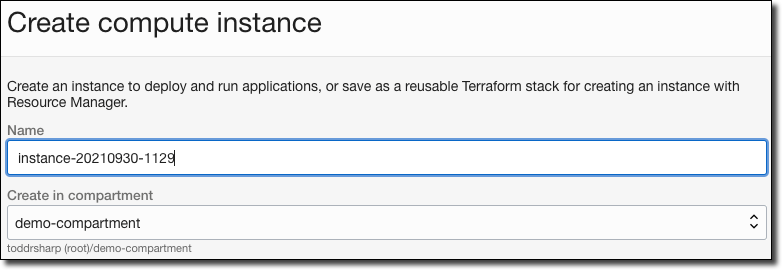
Name the instance, and choose the compartment in which you'd like to create it.
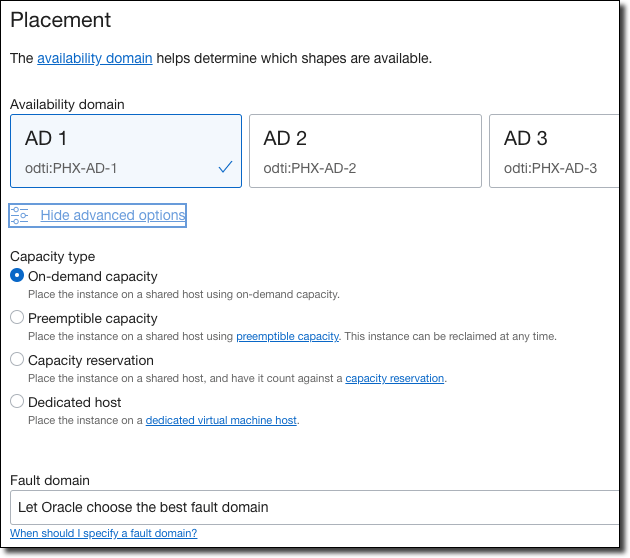
Choose the availability domain, and if necessary the capacity type and fault domain. Refer to the inline help documentation links if you need to learn more about any of the choices or options.
Next, select the image.
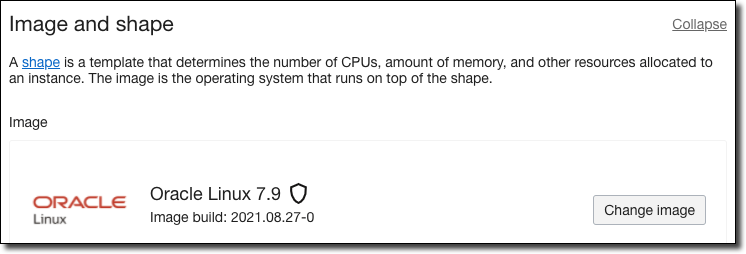
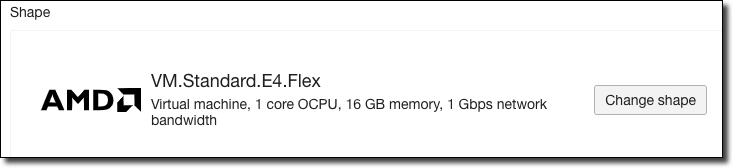
To change the shape, click 'Change Shape'.
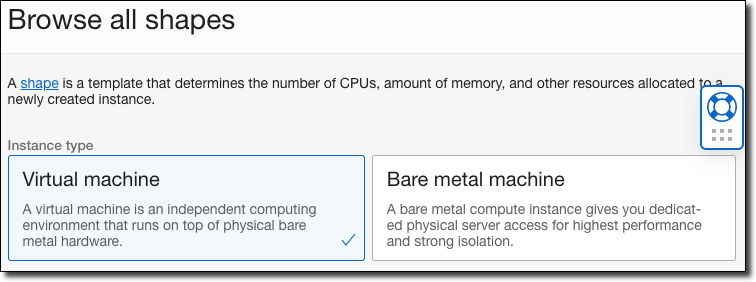
In the 'change shape' dialog, select VM.
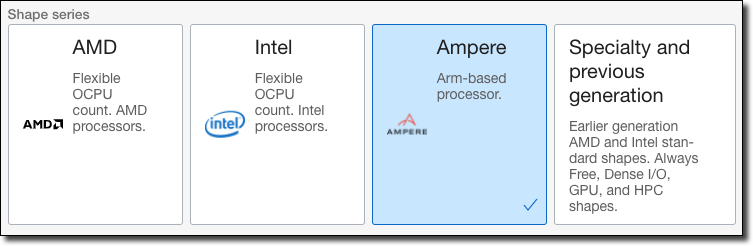
Next, choose the shape 'series'. For example, choose 'Ampere' if you would like to select an Arm-based processor for the VM.
Once you choose a 'series', the available shapes are shown. Choose one of the available shapes (#1), and if necessary the amount of OCPUs and memory to allocate to the VM (#2-5), and finally click 'Select shape' (#6).
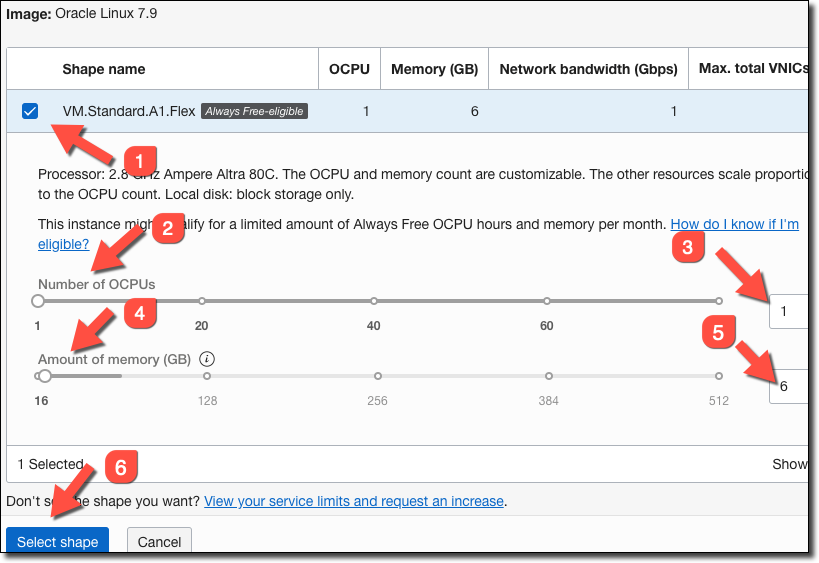
Always Free! The Oracle Cloud "always free" tier includes up to 4 Arm-based Ampere cores and 24 GB of memory (which can be used as one VM, or up to 4 separate VMs). Seriously. Totally free!
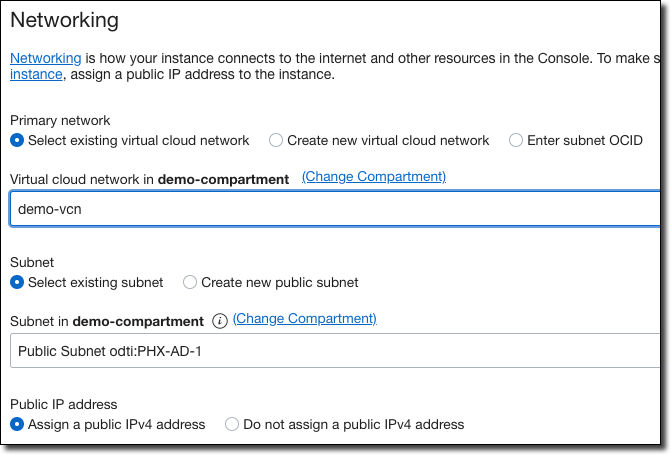
Configure networking as appropriate. Select an existing public VCN, or create a new one. Make sure to assign a public IPv4 address
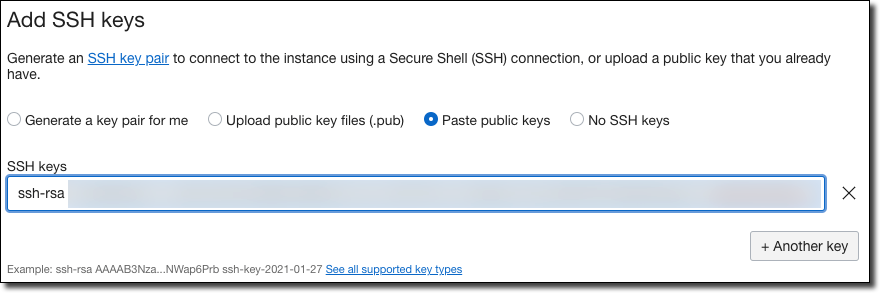
Generate, upload or paste the public key portion of an SSH keypair that you will be able to use to SSH into the machine after it is created.
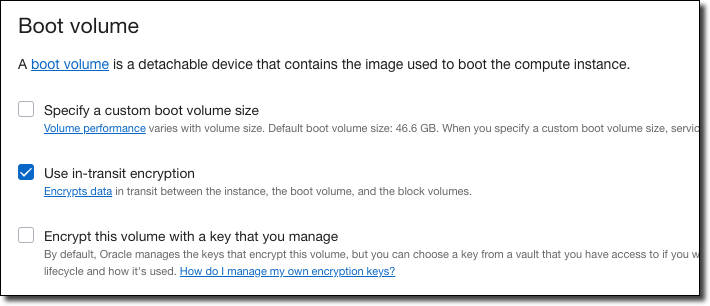
Modify boot volume options as necessary, or accept the defaults.
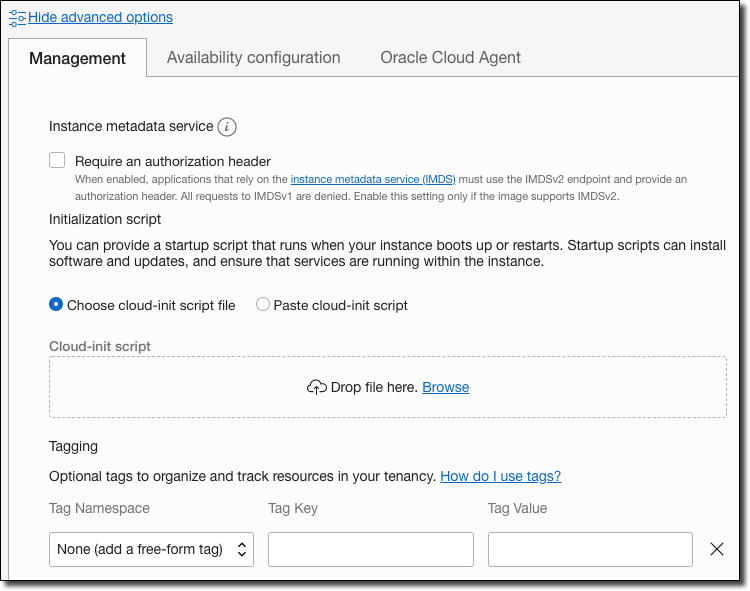
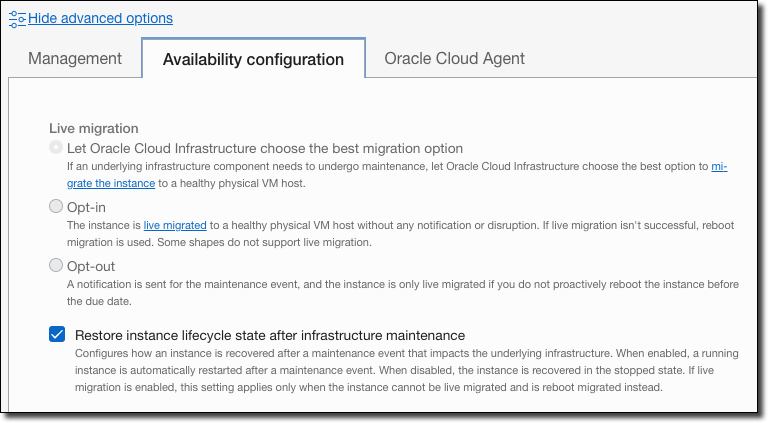
Optionally, click on 'Show advanced options'. If desired, you can set management options (such as cloud-init scripts, tagging):
You can also optionally set 'availability configuration'.
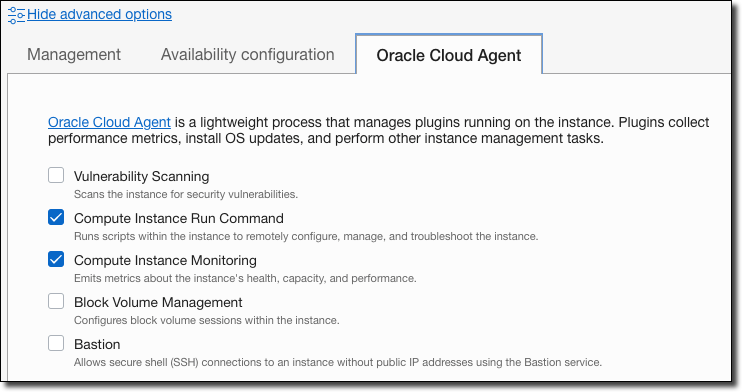
And finally, you can optionally enable/disable Oracle Cloud Agent services.
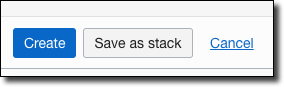
Now click on 'Create' to immediately create the virtual machine!
Create VM with OCI CLI
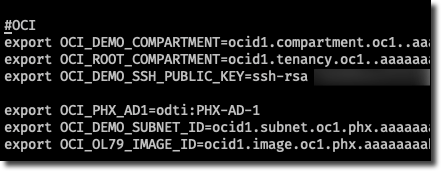
If you've already installed and configured the OCI CLI, you can launch an instance quickly via the oci compute instance launch command (docs). Of course, this requires that you know some details ahead of time, like the subnet-id, image-id, shape, compartment-id, and availability-domain. I like to save keep values that I use often like these set into environment variables in my zsh profile so that I can access them easily when I need them.
If you've got the values you need, plug them in and run the command like so. In a few minutes, your instance will be up and running and ready to connect.
Create Security List Ingress Rules
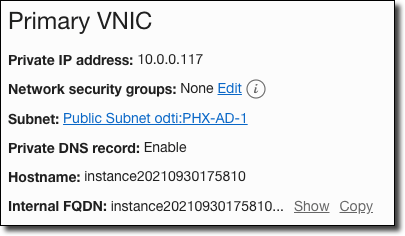
We need to allow a few ports through the cloud VCN security list. From your instance details, click on the subnet name:
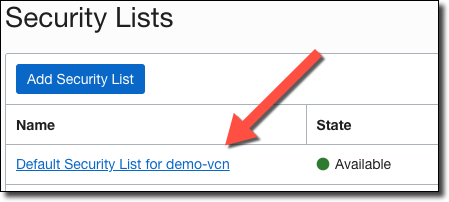
Choose the default security list.
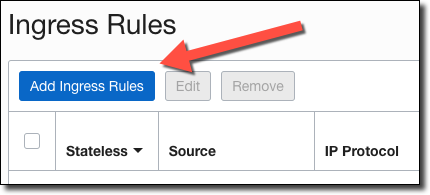
In the security list, click 'Add Ingress Rules'.
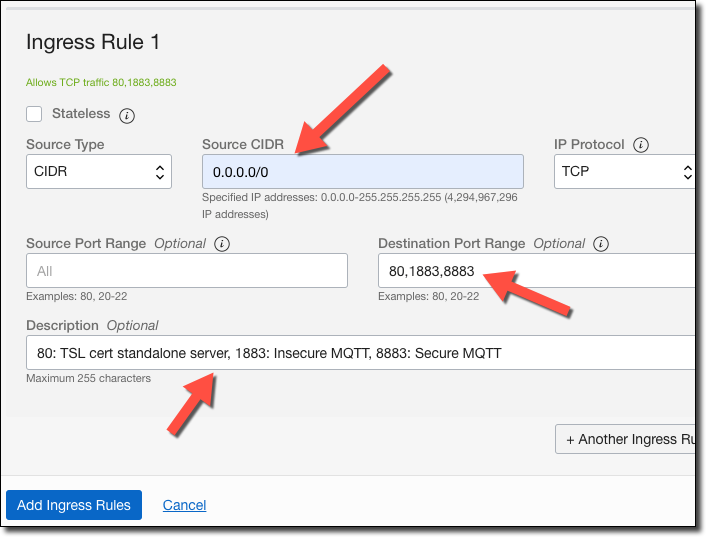
Add an ingress rule for ports 80, 1883, 8883. Port 80 is used in a bit to generate a TLS cert for secure MQTT messaging, 1883 is for insecure MQTT, and 8883 will be used for secure messaging.
Point Domain Name at VM
Once the VM is up and running, grab the assigned public IP address.
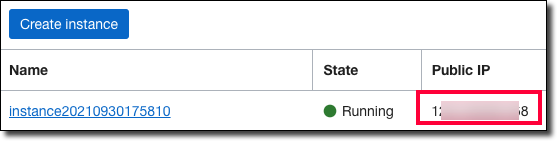
You'll need to point a valid domain (or subdomain) at this IP address using your domain name host. This is necessary in order to obtain a valid TLS certificate. Follow the domain host's documentation to assign a domain name at the VM's public IP address and then continue with this tutorial.
Install Mosquitto
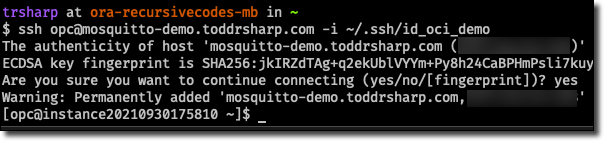
Now we can SSH into the VM, either using the IP address or via the FQDN that we assigned in the previous step.
And we're ready to get started installing Mosquitto. In my case, the VM that I created was configured to use Oracle OSMS to manage packages. I'd prefer to manage them myself, so I disabled and unregistered OSMS like so:
We're going to use Snap to install Mosquitto. The snapd package is found in the EPEL repo for Oracle Linux, so we need to enable that repo (since it's disabled by default). You can manually edit the file located at /etc/yum.repos.d/oracle-epel-ol7.repo, but you can also update it quickly with sed.
Now let's install Snap. The last line here enables "classic" snaps.
Next, add /snap/bin to your path (via .bash_profile) to make sure you can execute binaries installed via Snap later on if their own installers don't modify the path themselves.
Now we can install Mosquitto via Snap.
At this point, we're almost ready to send and receive messages on our MQTT server. But before we do that, we have to concern ourselves with authentication. We have two choices regarding auth: create and use client keys, or username and password auth. There's not really any benefit to either one over the other option, but it could be a bit of a pain to issue and maintain keys (especially if we're going to connect from an IoT board/device). So to make life a bit easier, let's choose username/password auth. Create a text file with creds called creds.txt. In it, add an entry per line for each user that you want to create. Separate the username and password with a colon like so:
Now we can encrypt the credentials with the mosquitto_passwd utility.
You can read the file to confirm that the password was properly encrypted. Now, move it to the Mosquitto config directory with:
Next, create a config file with:
Add the following config:
Before we can test publishing and subscribing, we'll need to open firewall port:
And restart Mosquitto.
You'll want to have the Mosquitto client tools installed on your local machine (or some other way to quickly pub/sub to a topic handy). Check out the downloads page and install the proper version for your OS. The client tools are included in the local install, so you'll be able to use mosquitto_pub and mosquitto_sub from the command line to easily test your cloud install. At this point, our MQTT server is up, running, and available to publish and subscribe to. Let's subscribe to a topic and publish a few messages to it from our local machine.
Secure the Mosquitto Install
A publicly accessible messaging queue that allows unencrypted publishing and subscribing in the cloud is probably a pretty bad idea. Let's enable encryption via TLS and ensure secure, authenticated connections to this queue. To enable encrypted communication, we're going to obtain a valid TLS certificate for the server. Before we start that process, let's open a few more firewall ports. We'll need 80 (used to spin up a temporary stand-alone webserver to obtain the cert) and 8883 (used for secure MQTT) open.
Install acme.sh
I've blogged about various tools and scripts that can help you obtain a free TLS certificate in the past, but this time I decided to try a new tool for this job - acme.sh. You can read about acme.sh and follow the install instructions from the docs, or just follow along here. First, we'll install acme.sh which requires a package called socat to be installed first. Pass the acme.sh install script your email address that you want to use when registering for your certs.
Create Pre/Post Cert Hooks
Note that the acme.sh created a new directory in your home directory called .acme.sh. Move to that directory and create two files. The first file we call pre.sh and we'll use this file to perform any tasks that we need to perform before installing (and eventually renewing) our certs. For now, the only thing we need in pre.sh is to stop the mosquitto service.
Now create a file called post.sh, which we will use to move the certs from the directory where they are stored by acme.sh into a subdirectory of our home directory, rename them to be .pem files (expected by mosquitto) and restart mosquitto. Don't forget to change you.your.com to your proper domain name!
Make the hook scripts executable:
Issue the TLS Certificate
Now we can request the TLS certificate. Since we're using port 80 for the standalone web server (the acme.sh default), we need to execute the script as a root user (using sudo) because Oracle Linux restricts the usage of ports less than 1024 to root users. Note that we're passing the pre and post-hook scripts which will be executed at the proper time in the issuance. These commands will also be saved and ran before and after the scheduled cert renewal job (that is automatically created after you issue the initial cert). Remember - change you.your.com to your proper domain name!
The output of this command should look something similar to the following:
A cron job was also created to make sure that the certificate is automatically renewed before it expires in 60 days. There's no need to modify the cron job to run the pre and post-hooks because they are saved and run along with the cron job. (per https://github.com/acmesh-official/acme.sh/wiki/Using-pre-hook-post-hook-renew-hook-reloadcmd). Verify that the cron job was created with crontab -e. It should look similar to this:
We could try to sub/pub on port 8883, but at this point, it would fail because we have not yet told Mosquitto to listen on that port.
Create Credentials and Listen for Encrypted Traffic
So we have a Mosquitto user with an encrypted password, and we've issued our TLS certs. We can now modify the mosquitto.conf file to encrypt connections via TLS with the certs that we generated and listen for secure connections on port 8883. Edit the file, adding the following values (again, make sure to verify the path to the certs, updating the config file with your domain name as appropriate!).
Restart Mosquitto with sudo snap restart mosquitto.
And we can now use authentication to send and receive encrypted messages on port 8883!
Further Reading
Here are a few links that I found helpful while researching and putting together this post.
- http://www.steves-internet-guide.com/mqtt-username-password-example/
- https://mosquitto.org/documentation/using-the-snap
- https://mosquitto.org/blog/2015/12/using-lets-encrypt-certificates-with-mosquitto/
- https://github.com/acmesh-official/acme.sh/wiki/How-to-issue-a-cert
Summary
In this post, we launched an "always free" Arm-based VM. Then, we installed Mosquitto for MQTT messaging. Next, we installed .acme.sh and used it to issue a TLS certificate that we used to encrypt and secure our Mosquitto installation.
Related Posts

Building Messaging Bridges with Node-RED
Over the last few posts, we've looked in detail at Oracle Advanced Queuing. Most recently we looked at "bridges" - or applications that helped us broker...

Bridging MQTT and Oracle Streaming Service (OSS) with Node.js
Recently, we've been taking a dive into messaging. In the last post, we talked about creating a messaging "bridge" so that we could consume an incoming...

Creating an MQTT to Oracle Advanced Queuing (AQ) Bridge in Node
In my last post, we looked at how to use the Node oracledb module to produce (enqueue) and consume (dequeue) messages from an Oracle Advanced Queuing (...