Creating A Microservice With Micronaut, GORM And Oracle ATP
Posted By: Todd Sharp on 4/18/2019 5:56 GMT
Tagged: Cloud, Database, Developers, Java, Open Source
Over the past year, the Micronaut framework has become extremely popular. And for good reason, too. It's a pretty revolutionary framework for the JVM world that uses compile time dependency injection and AOP that does not use any reflection. That means huge gains for your startup and runtime performance and memory consumption. But it's not enough to just be performant, a framework has to be easy to use and well documented. The good news is, Micronaut is both of these. And it's fun to use and works great with Groovy, Kotlin and GraalVM. In addition, the people behind Micronaut understand the direction that the industry is heading and have built the framework with that direction in mind. This means that things like Serverless and Cloud deployments are easy and there are features that provide direct support for them.
In this post we'll look at how to create a Microservice with Micronaut which will expose a "Person" API. The service will utilize GORM which is a "data access toolkit" - a fancy way of saying it's a really easy way to work with databases (from traditional RDBMS to MongoDB, Neo4J and more). Specifically, we'll utilize GORM for Hibernate to interact with an Oracle Autonomous Transaction Processing DB. Here's what we'll be doing:
- Create the Micronaut application with Groovy support
- Configure the application to use GORM connected to an ATP database.
- Create a Person model
- Create a Person service to perform CRUD operations on the Person model
- Create a controller to interact with the Person service
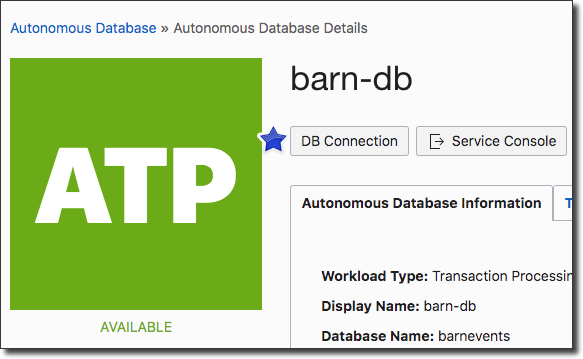
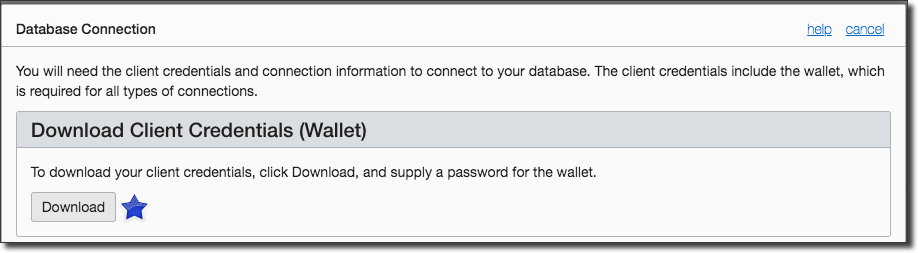
First things first, make sure you have an Oracle ATP instance up and running. Luckily, that's really easy to do and this post by my boss Gerald Venzl will show you how to set up an ATP instance in less than 5 minutes. Once you have a running instance, grab a copy of your Client Credentials "Wallet" and unzip it somewhere on your local system.

Before we move on to the next step, create a new schema in your ATP instance and create a single table using the following DDL:
You're now ready to move on to the next step, creating the Micronaut application.
Create The Micronaut Application
If you've never used it before, you'll need to install Micronaut which includes a helpful CLI for scaffolding certain elements like the application itself and controllers, etc as you work with your application. Once you've confirmed the install, run the following command to generate your basic application:
Take a look inside that directory to see what the CLI has generated for you.
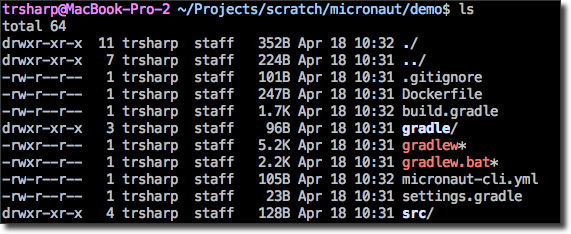
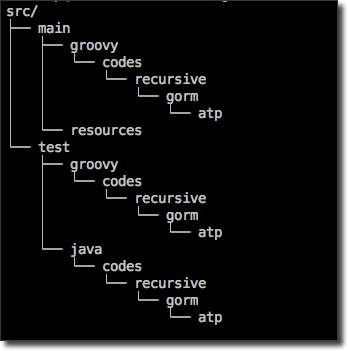
As you can see, the CLI has generated a Gradle build script, a Dockerfile and some other config files as well as a `src` directory. That directory looks like this:
At this point you can import the application into your favorite IDE, so do that now. The next step is to generate a controller:
We'll make one small adjustment to the generated controller, so open it up and add the `@CompileStatic` annotation to the controller. It should like so once you're done:
Now run the application using `gradle run` (we can also use the Gradle wrapper with `./gradlew run`) and our application will start up and be available via the browser or a simple curl command to confirm that it's working. You'll see the following in your console once the app is ready to go:
Give it a shot:

We aren't returning any content, but we can see the '200 OK' which means the application received the request and returned the appropriate response.
To make things easier for development and testing the app locally I like to create a custom Run/Debug configuration in my IDE (IntelliJ IDEA) and point it at a custom Gradle task. We'll need to pass in some System properties eventually, and this enables us to do that when launching from the IDE. Create a new task in `build.gradle` named `myTask` that looks like so:
Now create a custom Run/Debug configuration that points at this task and add the VM options that we'll need later on for the Oracle DB connection:
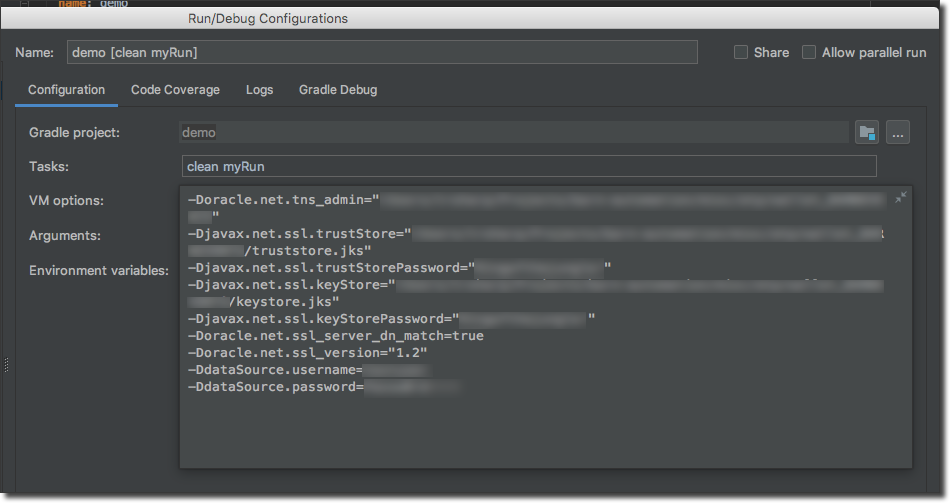
Here are the properties we'll need to populate for easier copy/pasting:
Let's move to the next step and get the application ready to talk to ATP!
Configure The Application For GORM and ATP
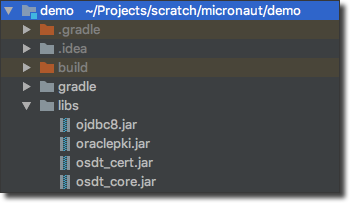
Before we can configure the application we need to make sure we have the Oracle JDBC drivers available. Download them, create a directory called `libs` in the root of your application and place them there. Make sure that you have the following JARs in the `libs` directory:
Modify your `dependencies` block in your `build.gradle` file so that the Oracle JDB JARs and the `micronaut-hibernate-gorm` artifacts are included as dependencies:
Now let's modify the file located at `src/main/resources/application.yml` to configure the datasource and Hibernate.
Our app is now ready to talk to ATP via GORM, so it's time to create a service, model and some controller methods! We'll start with the model.
Creating A Model
GORM models are super easy to work with. They're just POGO's (Plain Old Groovy Objects) with some special annotations that help identify them as model entities and provide validation via the Bean Validation API. Let's create our `Person` model object by adding a Groovy class called 'Person.groovy' in a new directory called `model`. Populate the model as such:
Take note of a few items here. We've annotated the class with @Entity (`grails.gorm.annotation.Entity`) so GORM knows that this is an entity it needs to manage. Our model has 3 properties: firstName, lastName and isCool. If you look back at the DDL we used to create the `person` table above you'll notice that we have two additional columns that aren't addressed in the model: ID and version. The ID column is implicit with a GORM entity and the version column is auto-managed by GORM to handle optimistic locking on entities. You'll also notice a few annotations on the properties which are used for data validation as we'll see later on.
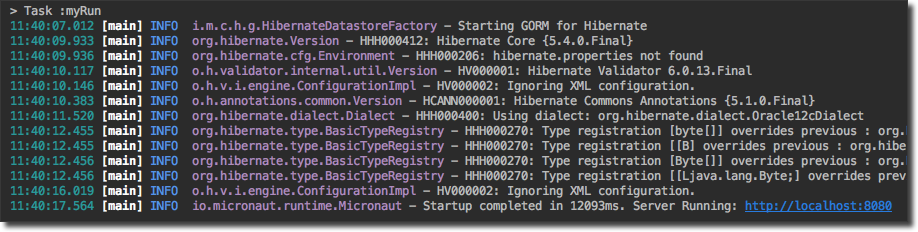
We can start the application up again at this point and we'll see that GORM has identified our entity and Micronaut has configured the application for Hibernate:
Let's move on to creating a service.
Creating A Service
I'm not going to lie to you. If you're waiting for things to get difficult here, you're going to be disappointed. Creating the service that we're going to use to manage `Person` CRUD operations is really easy to do. Create a Groovy class called `PersonService` in a new directory called `service` and populate it with the following:
That's literally all it takes. This service is now ready to handle operations from our controller. GORM is smart enough to take the method signatures that we've provided here and implement the methods. The nice thing about using an abstract class approach (as opposed to using the interface approach) is that we can manually implement the methods ourselves if we have additional business logic that requires us to do so.
There's no need to restart the application here, as we've made no changes that would be visible at this point. We're going to need to modify our controller for that, so let's create one!
Creating A Controller
Lets modify the `PersonController` that we created earlier to give us some endpoints that we can use to do some persistence operations. First, we'll need to inject our PersonService into the controller. This too is straightforward by simply including the following just inside our class declaration:
The first step in our controller should be a method to save a `Person`. Let's add a method annotated with `@Post` to handle this and within the method we'll call the `PersonService.save()` method. If things go well, we'll return the newly created `Person`, if not we'll return a list of validation errors. Note that Micronaut will bind the body of the HTTP request to the `person` argument of the controller method meaning that inside the method we'll have a fully populated `Person` bean to work with.
If we start up the application we are now able to persist a `Person` via the `/person/save` endpoint:
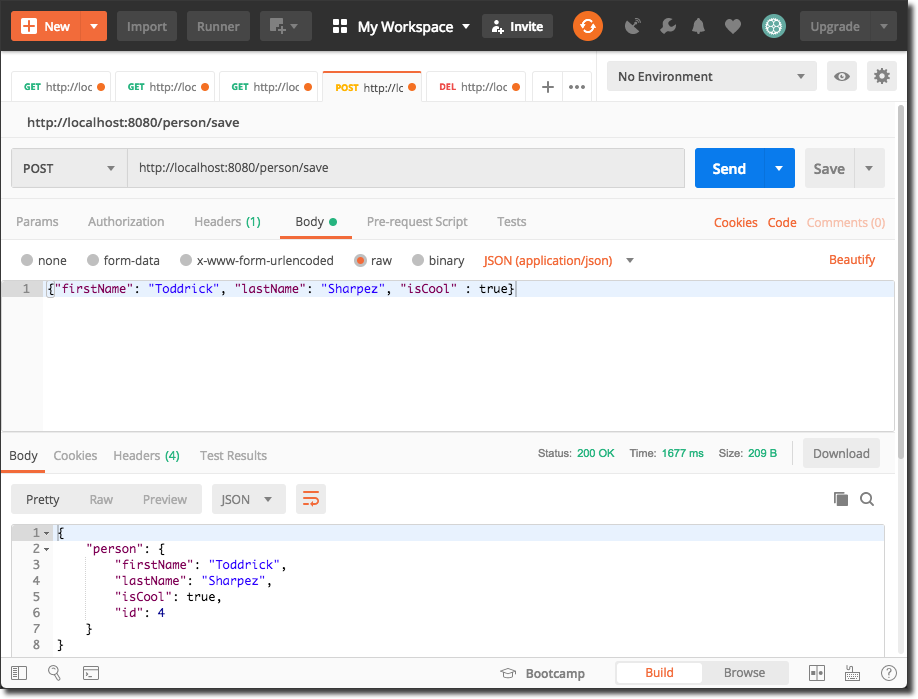
Note that we've received a 200 OK response here with an object containing our `Person`. However, if we tried the operation with some invalid data, we'd receive some errors back:
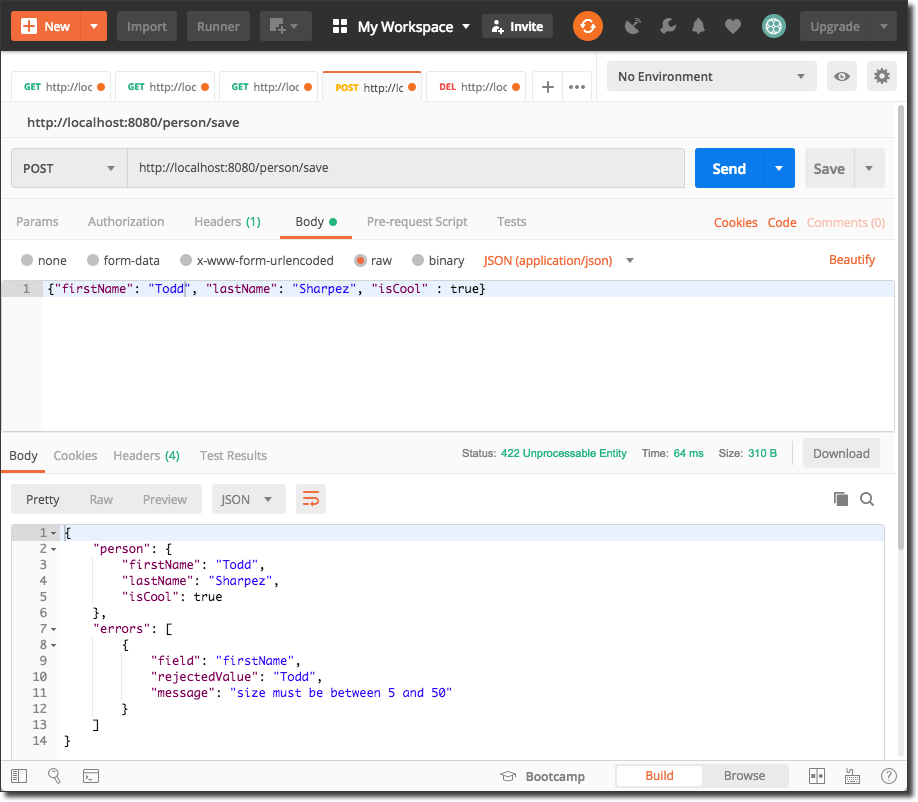
Since our model (very strangely) indicated that the `Person` firstName must be between 5 and 50 characters we receive a 422 Unprocessable Entity response that contains an array of validation errors back with this response.
Now we'll add a `/list` endpoint that users can hit to list all of the Person objects stored in the ATP instance. We'll set it up with two optional parameters that can be used for pagination.
Remember that our `PersonService` had two signatures for the `findAll` method - one that accepted no parameters and another that accepted a `Map`. The Map signature can be used to pass additional parameters like those used for pagination. So calling `/person/list` without any parameters will give us all `Person` objects:

Or we can get a subset via the pagination params like so:

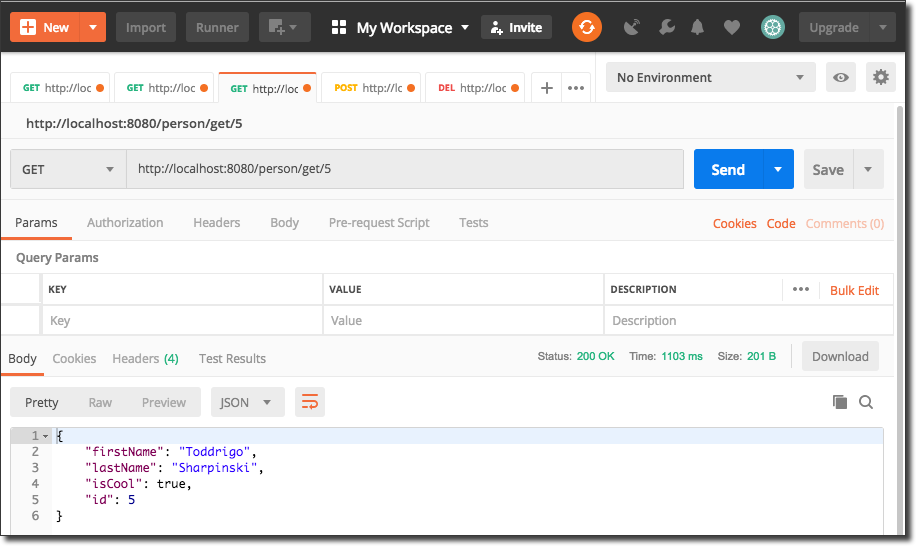
We can also add a `/person/get` endpoint to get a `Person` by ID:
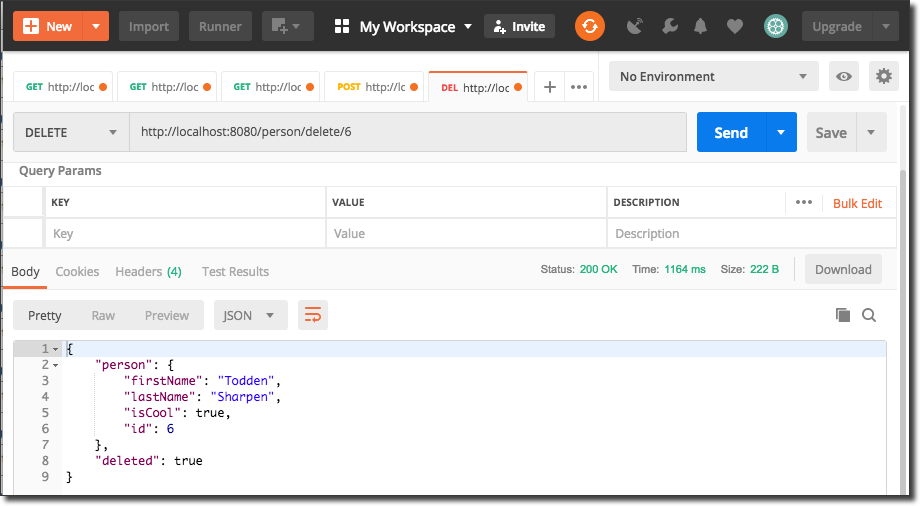
And a `/person/delete` endpoint to delete a `Person`:
Summary
We've seen here that Micronaut is a simple but powerful way to create performant Microservice applications and that data persistence via Hibernate/GORM is easy to accomplish when using an Oracle ATP backend. Your feedback is very important to me so please feel free to comment below or interact with me on Twitter (@recursivecodes).
If you'd like to take a look at this entire application you can view it or clone via Github.