How To Setup And Run A Free Minecraft Server In The Cloud
Posted By: Todd Sharp on 10/1/2019 12:00 GMT
Tagged: Cloud

In this article we'll take a look at how you can create an "always free" virtual machine and use it to run a Minecraft Server. Before we get started, you'll have to sign up for a free account with Oracle Cloud. This requires a credit card, but there are absolutely no charges at all if you follow the tutorial below.
If you're not yet the age of majority (usually 18), please have your parent sign up for a free Oracle Cloud account and help you with the steps below!
After you have created your free account and signed in, the first thing you'll need to do is create a virtual machine that will be used to host the Minecraft server.
Creating The Virtual Machine
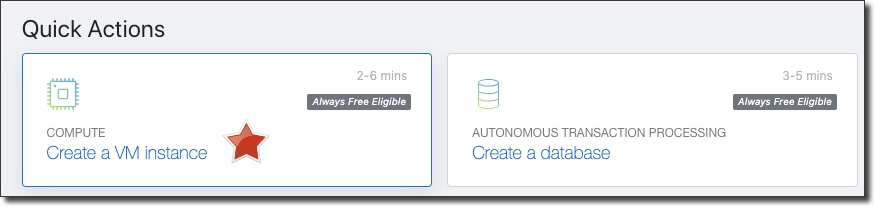
You'll need to create a Virtual Machine to host your Minecraft server. After you have logged in to the Oracle Cloud dashboard, click on 'Create a VM instance' on the homepage.
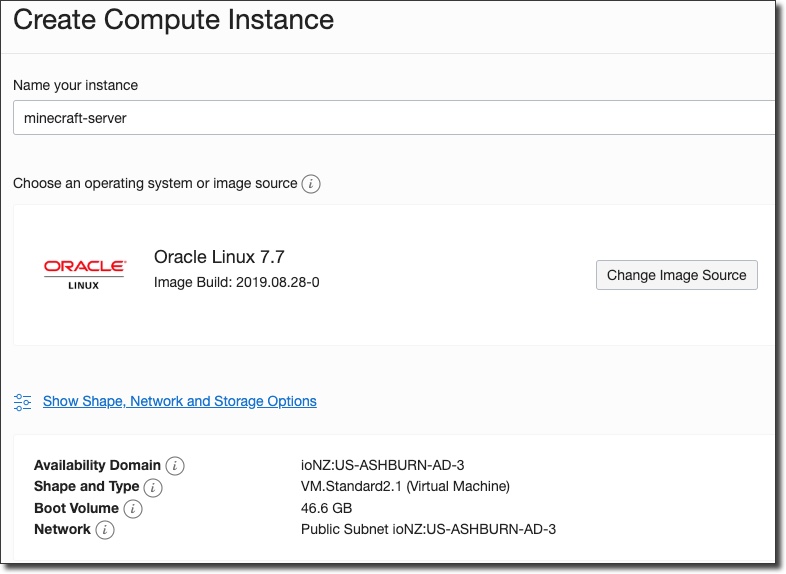
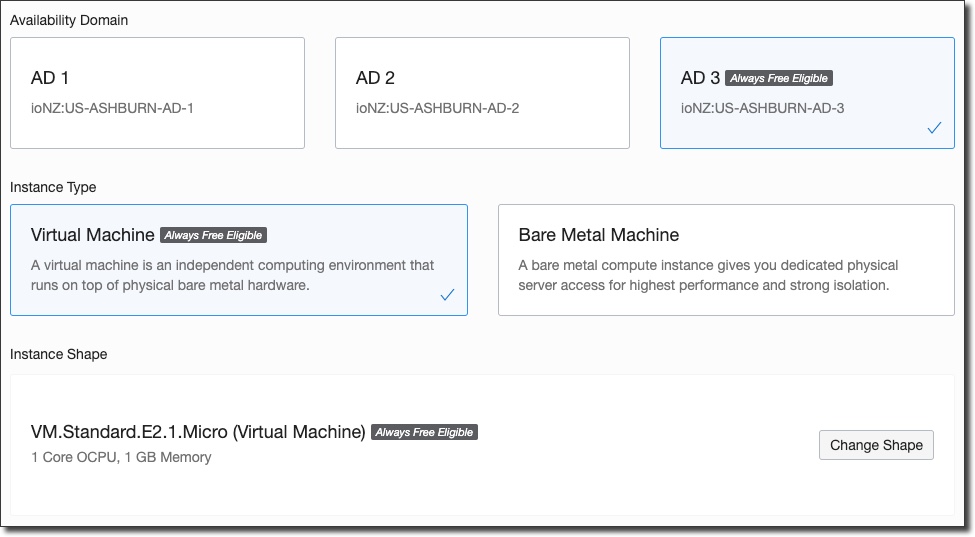
Next, enter a name for your VM and then click 'Show Shape, Network and Storage Options' and then make sure that you pick the 'always free' shape:
The 'always free' shape:
You will need something known as an "SSH Key" to log in to your server later on. If you've never heard of these, that's perfectly OK, we'll walk through the process of creating one here. They may seem a bit difficult at first, but I promise they are really easy to work with. There are a bunch of ways to create SSH Keys, and you'll have to use a different way if you're on Windows instead of Mac or Linux. If you use Mac or Linux, here is an article to show you how to create a key with ssh-keygen and if you use Windows you can use a program called PuTTY to create your key pair.
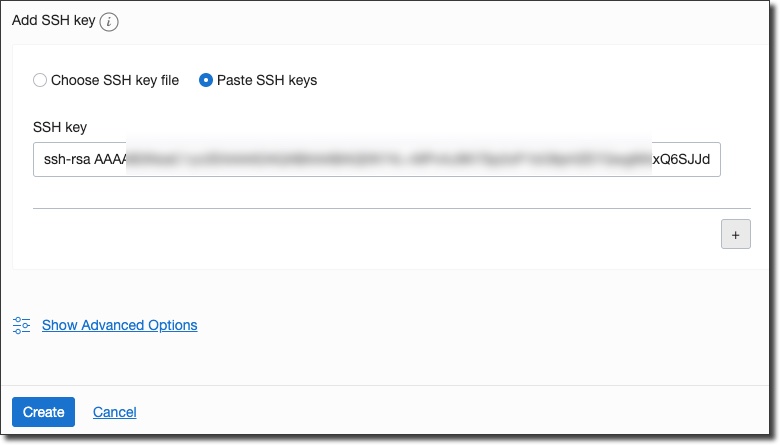
After you have generated your SSH key pair, keep both of these files to somewhere safe on your computer. I named my two files as 'minecraft_private_key.txt' and 'minecraft_public_key.txt'. Next, open up the public key text file and copy the contents of that. Now, back in the Oracle Cloud console, paste this text in the box that says 'SSH key'. You can instead select 'Choose SSH key file' and upload the public key file if you want to. After you have selected or pasted your public key file, click 'Create':
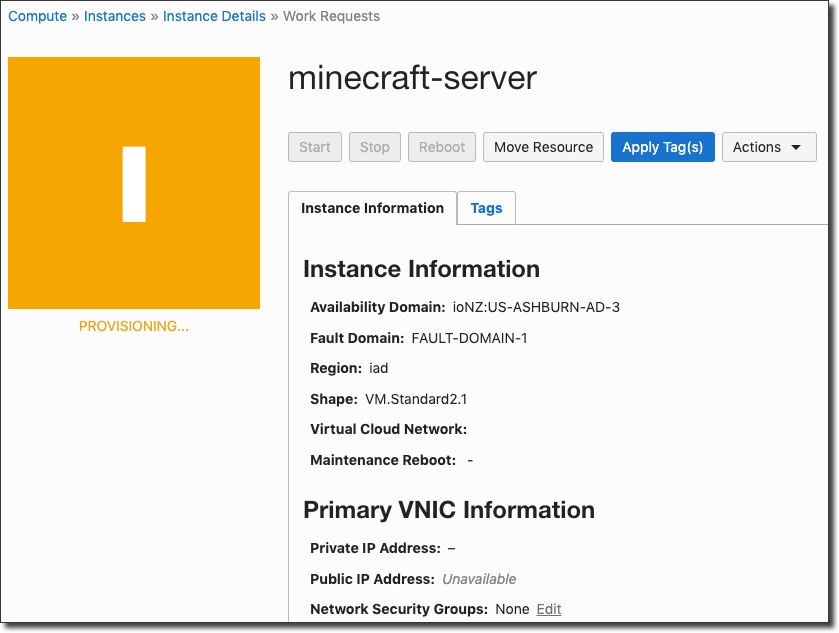
At first your instance will be in 'Provisioning' state and the screen will look like this:
After about a minute or two, your server will be ready and it will look like this:
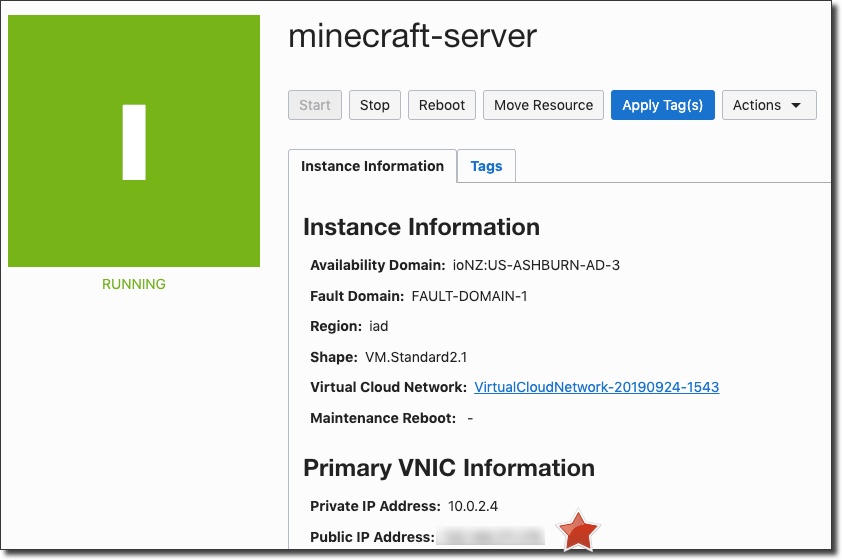
Copy the IP Address from the 'Public IP Address' section. Next up, we'll connect to the server to continue with the setup.
If you are using a Mac or a Linux machine, you can use a command line like 'Terminal' to connect up to your server. If you're using Windows, you'll have to use a tool like 'Putty' to connect to the server. Whichever you use, connect up to the server using the IP address and the private SSH key that you downloaded earlier. The default username for this server is "opc" (it stands for "Oracle Public Cloud" if you were wondering). Here's how I did that:

And now I am connected to the VM!
Installing Java On The VM
The VM needs to have Java installed, so let's do that first. Run the following commands, one at a time, from your SSH terminal:
yum repolist all
sudo yum-config-manager --enable rhel-7-server-optional-rpms
sudo yum install java-11-openjdk-devel
Once the final command is complete, enter java -version and you should see something like this:

Excellent, we've installed Java!
Install Minecraft Server Software
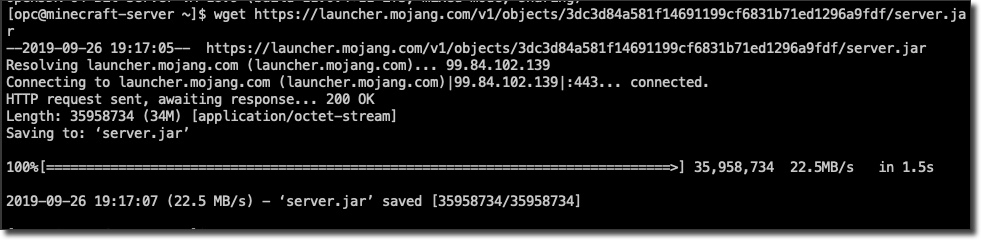
Now we need to download the Minecraft server software. You can get that from https://www.minecraft.net/en-us/download/server and an easy way to download that in Linux is called 'wget' . Copy the link to the server download from the download page and then run this on the server:
Next, try to run the server using:
java -Xmx1024M -Xms1024M -jar server.jar nogui
It should fail the first time you try to run it and it will look like this:

Open the file 'eula.txt' with 'nano eula.txt' and edit it like so:

Then press 'CTRL+X', type 'Y' and then hit enter to save the file.
Before we try to start the server again, let's deal with some networking.
Open Port In Server Network
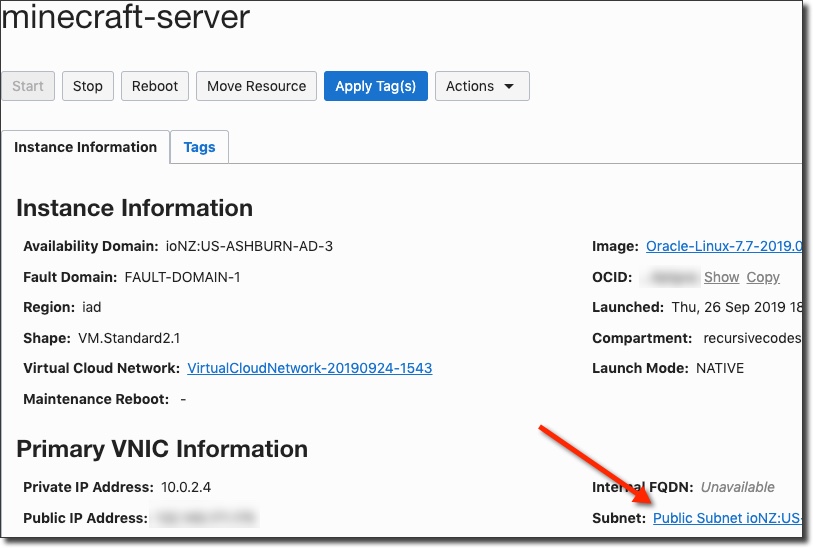
You're almost ready to use your new Minecraft server, but you'll need to open up a port in the security list in your server's network first. On the VM details page, click on the 'subnet' link:
On the next page, look on the left side of the page for a link called 'Security Lists' and click on it:

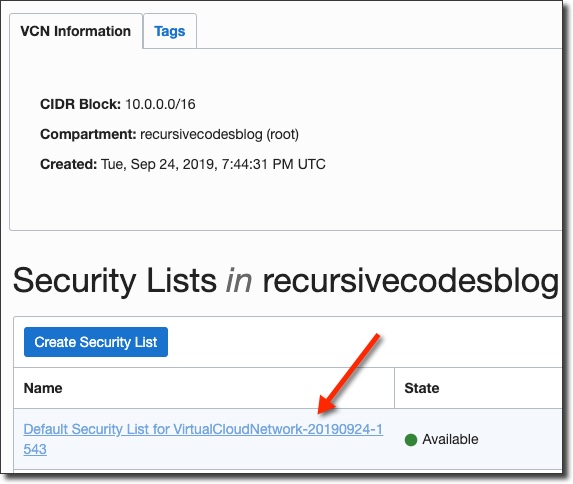
On the security list page, click on the 'Default Security List' link:
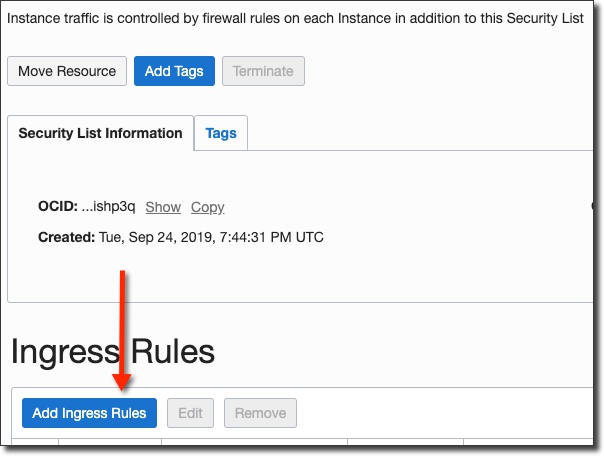
On the security list details page, click on 'Add Ingress Rules':
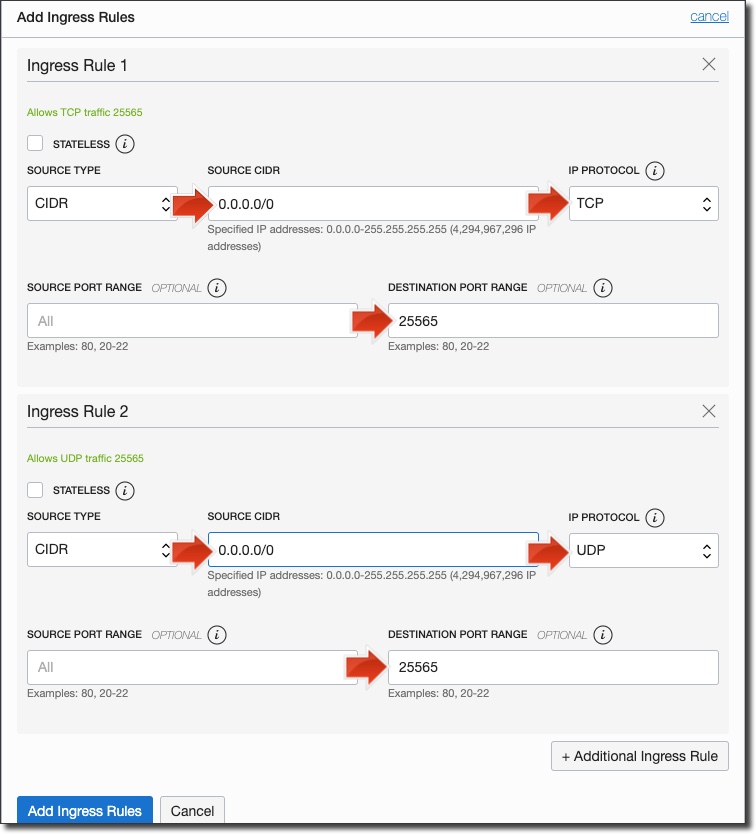
In the Ingress Rules dialog window, create 2 rules and enter the values shown here:
You'll also need to open up these ports on the VM's firewall, so run the following commands:
sudo firewall-cmd --permanent --zone=public --add-port=25565/tcp
sudo firewall-cmd --permanent --zone=public --add-port=25565/udp
sudo firewall-cmd --reload
Starting The Server
At this point, the server is ready to be started! Run the server again with:
java -Xmx1024M -Xms1024M -jar server.jar nogui
After a minute or so, your server is up and running! It's not going to be the fastest server you've ever used, but it is perfect for testing out some settings or hosting small games with a friend or two. You can read more about setting up your server and configuring it here.
Photo by Nina PhotoLab on Unsplash