Launching Your Own Free Private VPN In The Oracle Cloud
Posted By: Todd Sharp on 12/17/2020 7:00 GMT
Tagged: Cloud

I was watching a video on YouTube recently when I saw an ad for a VPN service. I was just about to click ’Skip Ads’ when I realized that it would be possible to run your own VPN on an “always free” instance in the Oracle Cloud. VPNs have become more popular in recent years and if you’ve always wanted to utilize one but don’t want to sign up for a service (that may or may not be selling your information) then this tutorial is for you. In this post, I’ll show you how to run your very own personal VPN for free (forever!) in the Oracle Cloud using OpenVPN. We’re going to use the pre-built OpenVPN image from the Oracle Cloud Marketplace, and much of the info in this post is also contained in the guide, but this post has enough information in it to get your VPN launched, so let’s get started.
First, you’re going to login so head over and sign up if you have not done so yet.
Important! Wait, don’t go yet! When signing up for a free tier account, you’ll need to select a “home region” which will be the only region that you can create your free VM in. Keep in mind that your VPN will make your local connection appear as it originates from the same IP as the VPN, so choose your home region very carefully as it can not be changed later!
Launch Instance
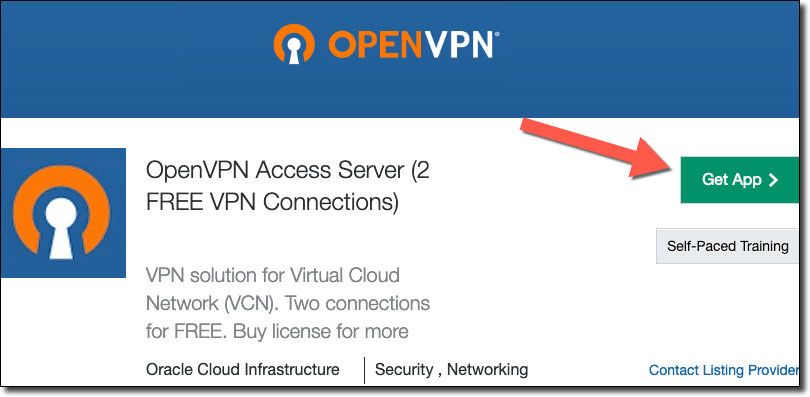
As stated above, we’ll need to first launch an instance using the OpenVPN Image on the OCI Marketplace. Head over there and click ‘Get App’ to get started.
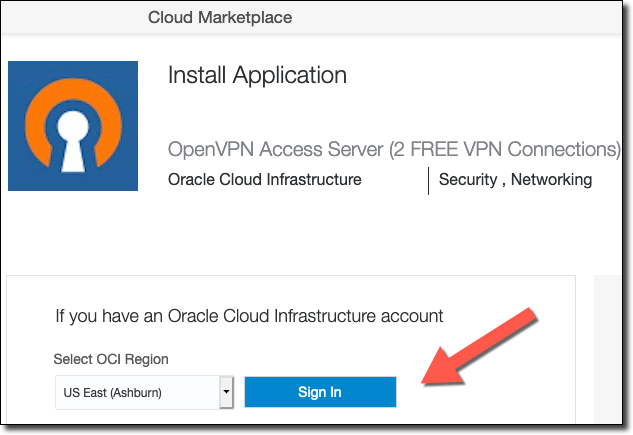
Select your home region and Sign In to your Oracle Cloud account.
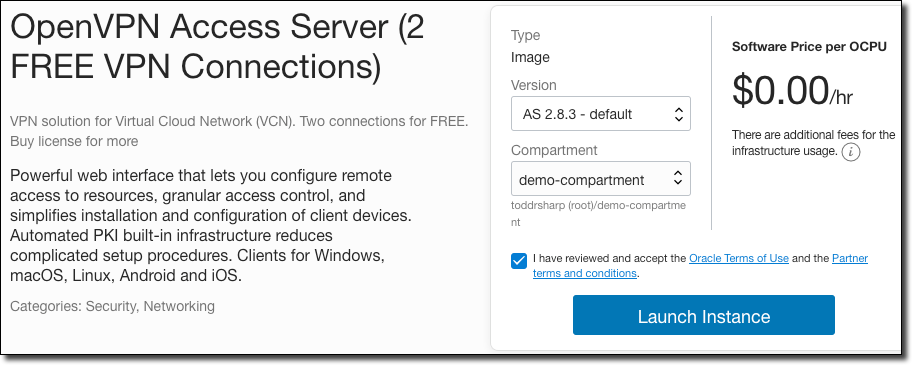
Choose the version, a compartment that you’d like the VM to reside in, accept the terms and conditions and then click ‘Launch Instance’.
Make sure your home region is selected and then name the VPN, choose a compartment and an Availability Domain.

Free instances are usually available in AD3, but this isn’t always the case. If you don’t find an “always free” instance shape (see below) in AD3, check the other ADs!
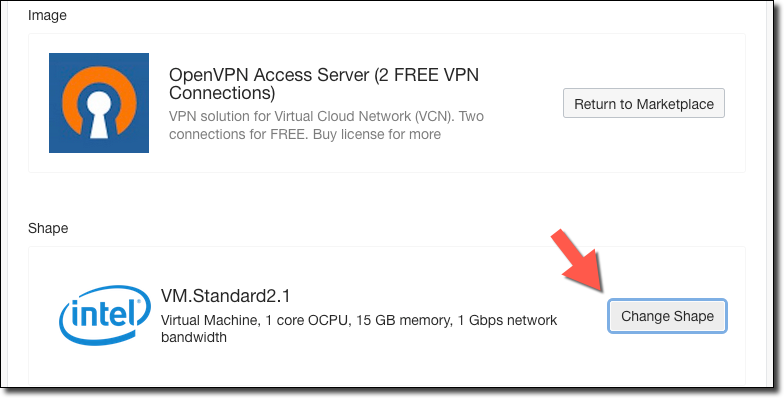
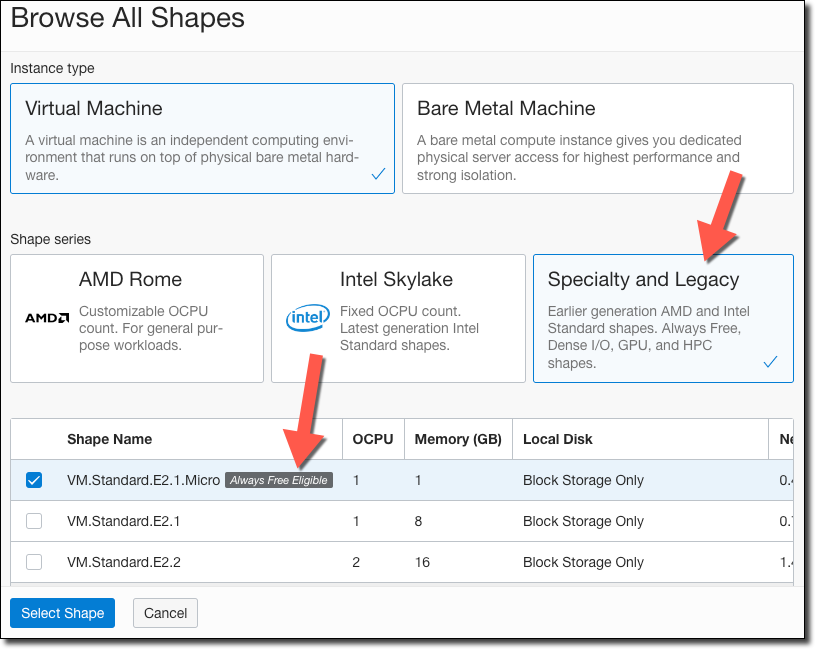
Next, click ‘Change Shape’.
In the “Specialty and Legacy” category, choose the “always free eligible” micro shape:
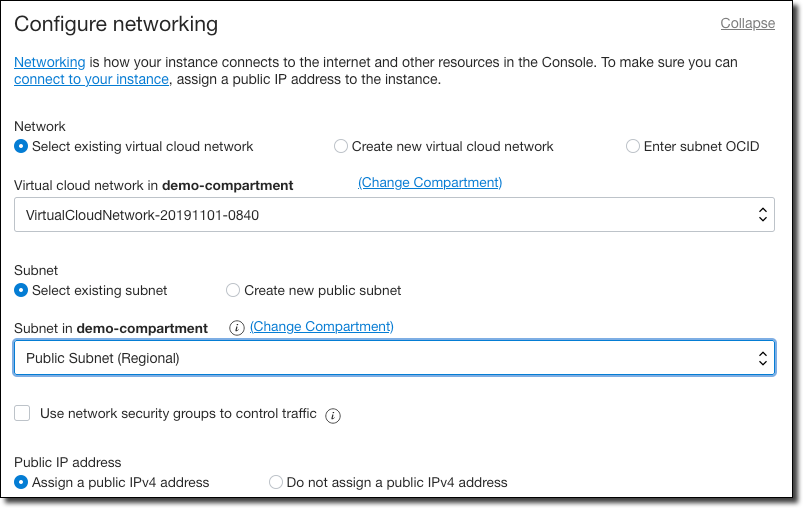
Under networking, choose a VCN and public subnet. If you want to use a Reserved IP, see the guide, otherwise select ‘Assign a public IPV4 address’.
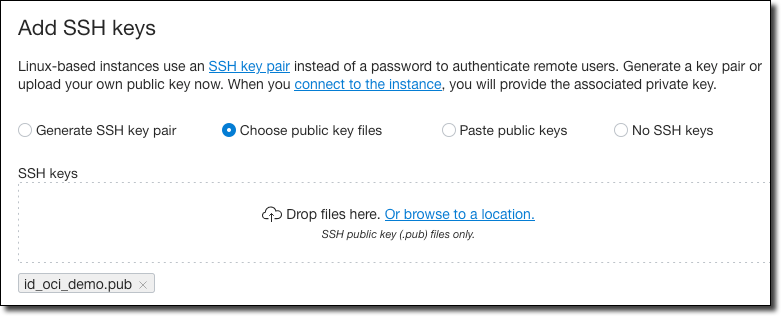
Configure SSH so you’ll be able to connect to the machine later on.
Accept the rest of the defaults and click ‘Create’. The VM will initially be in a ‘Provisioning’ state:
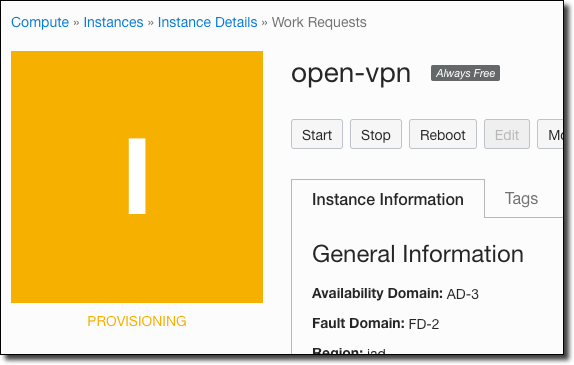
After a minute or two the VM will enter a “Running” state. At that point, grab the public IP address so that we can remote in and finish configuring the OpenVPN install.
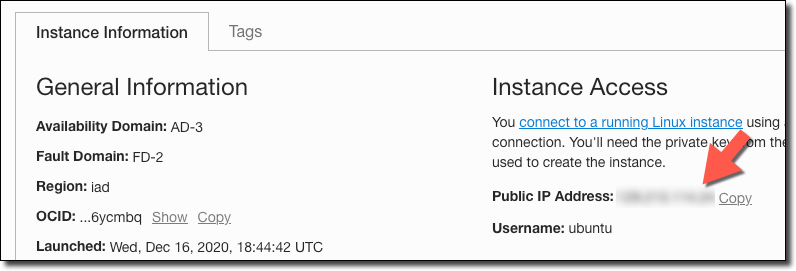
Now head over to your friendly local terminal and SSH in with the username `openvpnas`:
ssh openvpnas@[Your Public IP] -i ~/.ssh/id_oci_demo
Note: You’ll want to point a domain name at your IP address to make life easier later on. Just add the appropriate record according to your DNS hosting provider’s normal process.
As soon as you SSH in for the first time, the OpenVPN init script will prompt you to complete the install. Much more detailed information regarding this script can be found in the guide. The prompts, as of mid-December 2020, will first ask you to read and accept the EULA. Next, answer “yes” to the question that asks if this will be the primary node:
Once you provide a few initial configuration settings,
OpenVPN Access Server can be configured by accessing
its Admin Web UI using your Web browser.

Will this be the primary Access Server node?
(enter 'no' to configure as a backup or standby node)
> Press ENTER for default [yes]: yes
Choose ‘all interfaces’:
Please specify the network interface and IP address to be
used by the Admin Web UI:
(1) all interfaces: 0.0.0.0
(2) ens3: 10.0.0.46
Please enter the option number from the list above (1-2).
> Press Enter for default [1]: 1
Accept the default port for the Admin Web UI:
Please specify the port number for the Admin Web UI.
> Press ENTER for default [943]:
Accept the default port for the Daemon:
Please specify the TCP port number for the OpenVPN Daemon
> Press ENTER for default [443]:
Accept the default (yes) for "Should client traffic be routed by default through the VPN?":
Should client traffic be routed by default through the VPN?
> Press ENTER for default [yes]:
Accept the default for “Use local authentication” - this will mean that you have to create/manage VPN users via the Admin UI.
Use local authentication via internal DB?
> Press ENTER for default [yes]:
Accept the default for "Should private subnets be accessible…”:
Should private subnets be accessible to clients by default?
> Press ENTER for default [yes]:
Accept the default Admin UI username (or specify your own name):
Do you wish to login to the Admin UI as "openvpn"?
> Press ENTER for default [yes]:
Leave the activation key blank (unless you have a key). OpenVPN is free for 2 users without a key:
> Please specify your Activation key (or leave blank to specify later):
The script will now produce output similar to the following:
Initializing OpenVPN...
Removing Cluster Admin user login...
userdel "admin_c"
Adding new user login...
useradd -s /sbin/nologin "openvpn"
Writing as configuration file...
Perform sa init...
Wiping any previous userdb...
Creating default profile...
Modifying default profile...
Adding new user to userdb...
Modifying new user as superuser in userdb...
Getting hostname...
Hostname: open-vpn
Preparing web certificates...
Getting web user account...
Adding web group account...
Adding web group...
Adjusting license directory ownership...
Initializing confdb...
Generating PAM config...
Enabling service
Starting openvpnas...

NOTE: Your system clock must be correct for OpenVPN Access Server
to perform correctly.  Please ensure that your time and date
are correct on this system.

Initial Configuration Complete!

You can now continue configuring OpenVPN Access Server by
directing your Web browser to this URL:
https://10.0.0.46:943/admin
Login as "openvpn" with the same password used to authenticate
to this UNIX host.
During normal operation, OpenVPN AS can be accessed via these URLs:
Admin  UI: https://10.0.0.46:943/admin
Client UI: https://10.0.0.46:943/
See the Release Notes for this release at:
   https://openvpn.net/vpn-server-resources/release-notes/
Next, set a Linux password for the `openvpn` user:
$ sudo passwd openvpn
The default timezone is set to US (Pacific – Los Angeles). If you would like to change this, run the following command (you will be asked what timezone you would like to set).
$ sudo dpkg-reconfigure tzdata
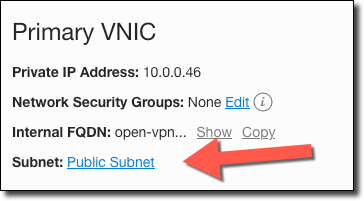
The next step is to login to the Admin UI, but before we can do that we need to make sure that the security list for the VCN has ingress rules for a few ports. Back in the Oracle Cloud console, on the instance details page, click on the subnet that you associated with your instance.
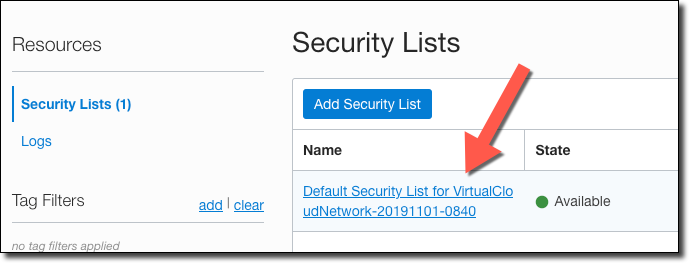
On the subnet details page, click on the security list.
Add an Ingress Rule for TCP ports 943 and 443.
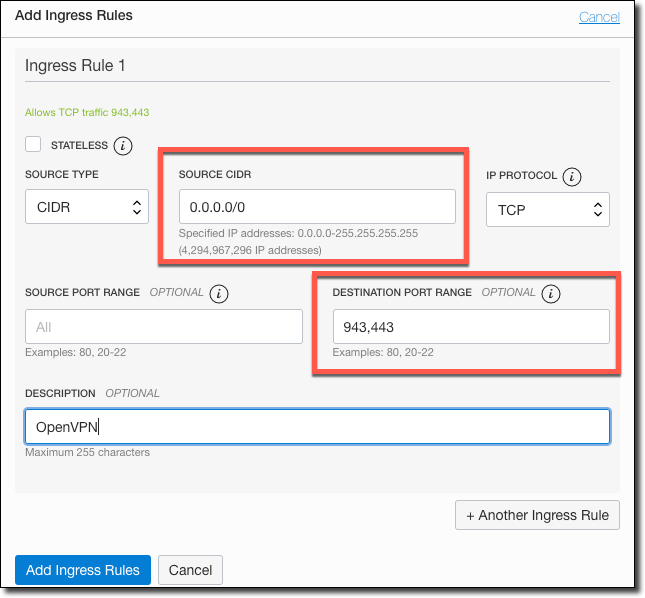
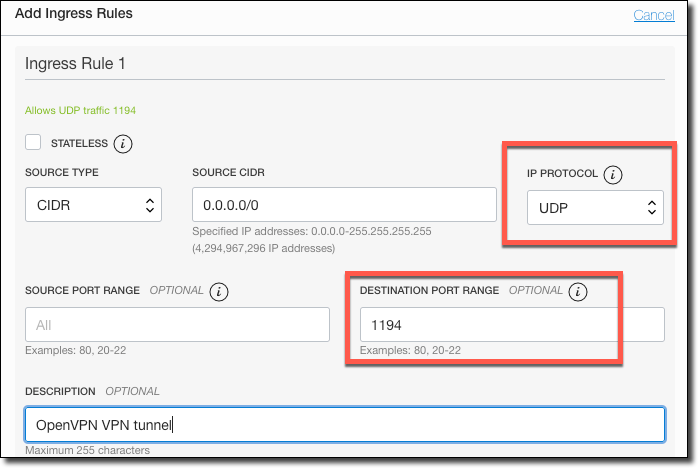
Add another Ingress Rule, this one for UDP port 1194 (used for the VPN tunnel):
Login To Admin UI
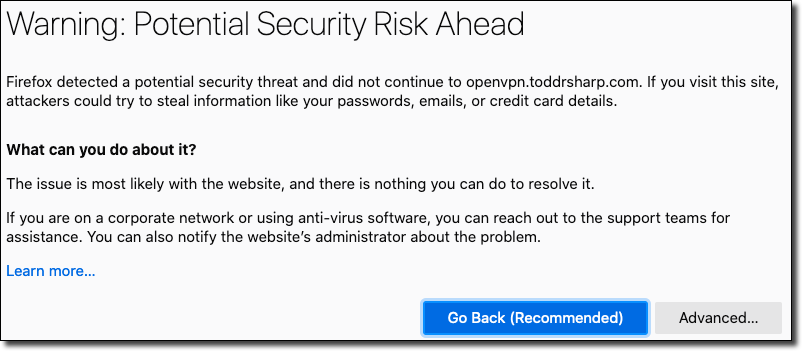
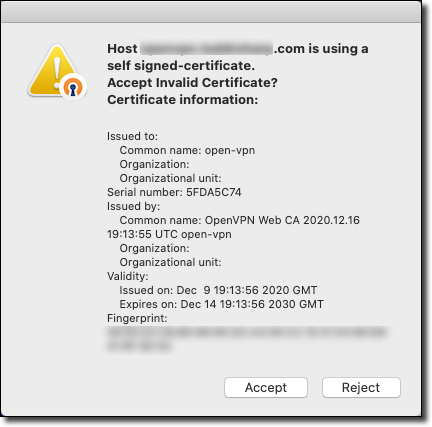
Now you can login to the Admin UI via https://[your public IP or your domain name]/admin. The admin UI uses a self-signed cert, so accept the cert to continue:
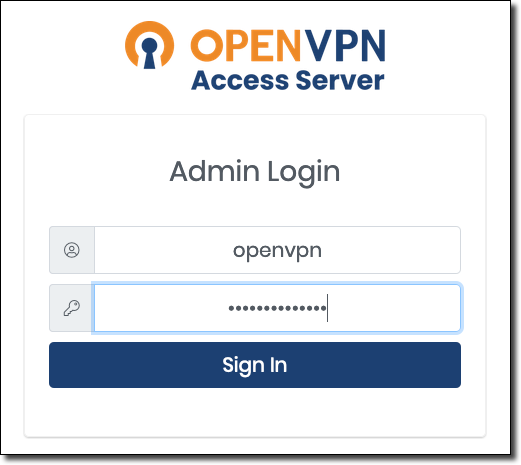
Login with the username specified in the init script and the password you created.
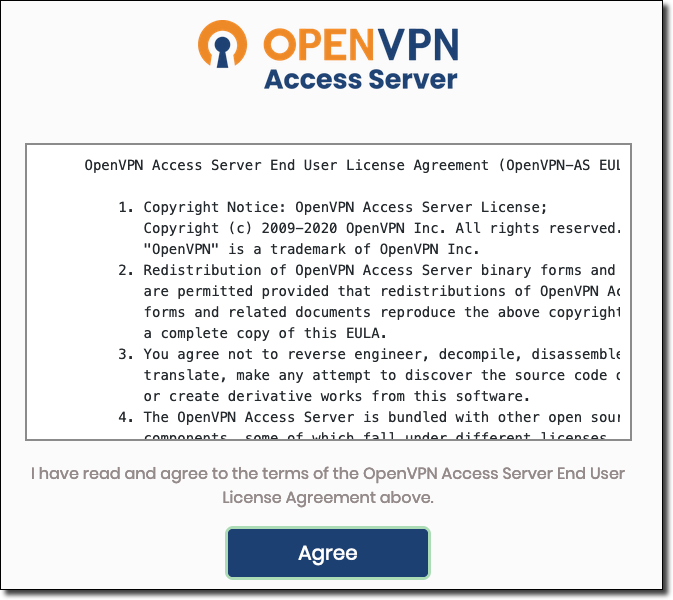
Accept the EULA (again).
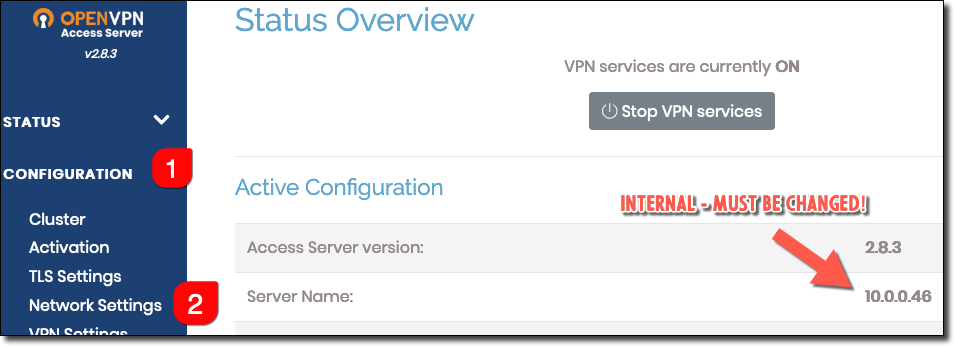
At this point, the internal IP address has been configured as the server name.
Note: If you do not update this setting, NONE of your clients will be able to connect to your VPN server since by default it is set to a non-routable (private) IP address!
We’ll need to update this to be our public IP (or even better - domain name). To change, click on Configuration (#1) and Network Settings (#2).
Update the Hostname and save.
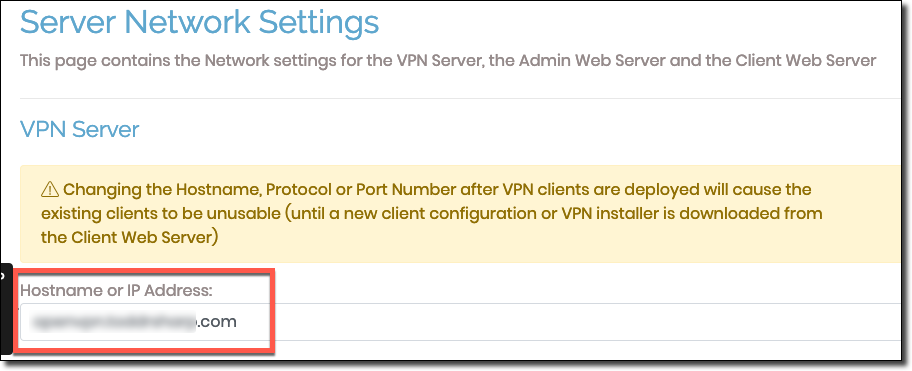
After saving, update the running server:

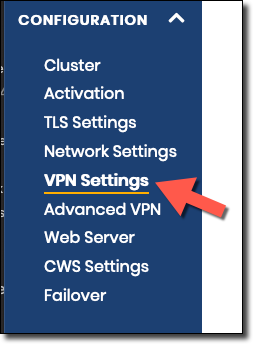
Next, go to the 'VPN Settings’.
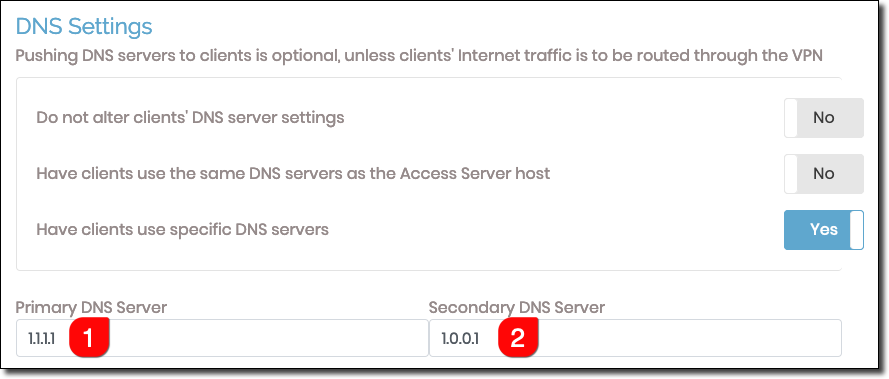
Verify that internet traffic will be routed through the VPN:

Add valid DNS servers:
That will take care of the basic VPN configuration, but should you want to read more, please refer to the additional security recommendations.
Create A User
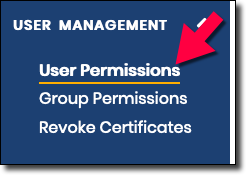
Click on ‘User Management’ and then ‘User Permissions’.
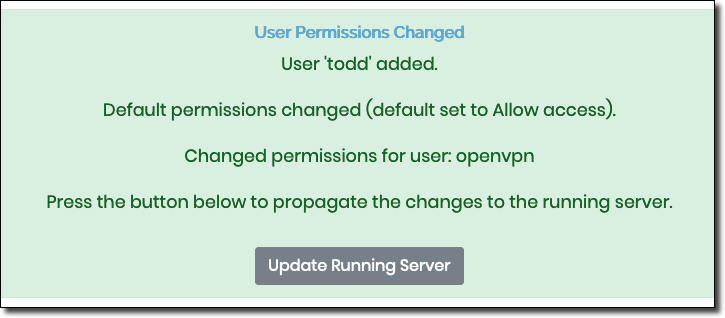
Add a user and set the password:

Update the server:
Connecting To The VPN
Download the proper OpenVPN Connect Client for your OS:
- https://openvpn.net/client-connect-vpn-for-windows/
- https://openvpn.net/client-connect-vpn-for-mac-os/
Upon first launch, you’ll need to configure the client.
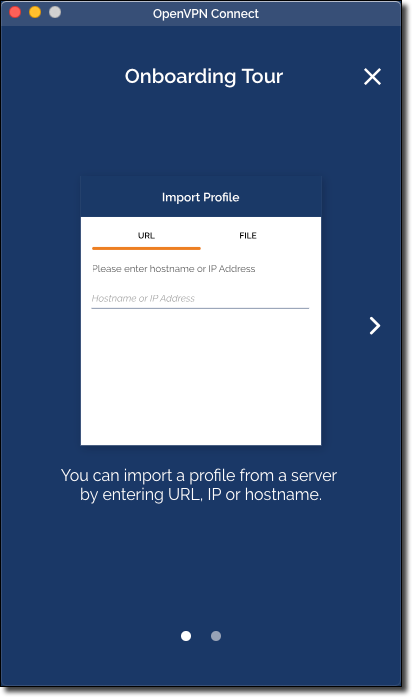
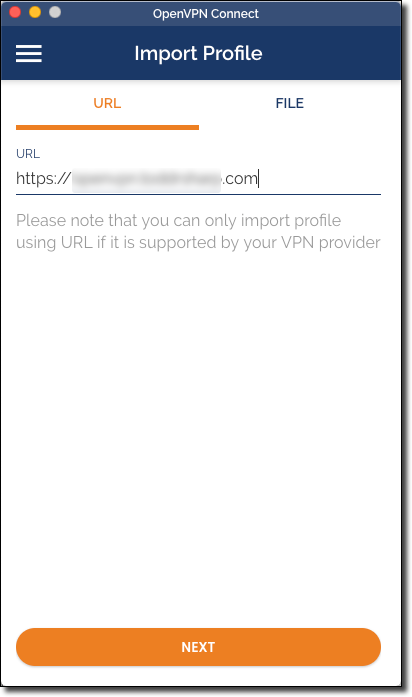
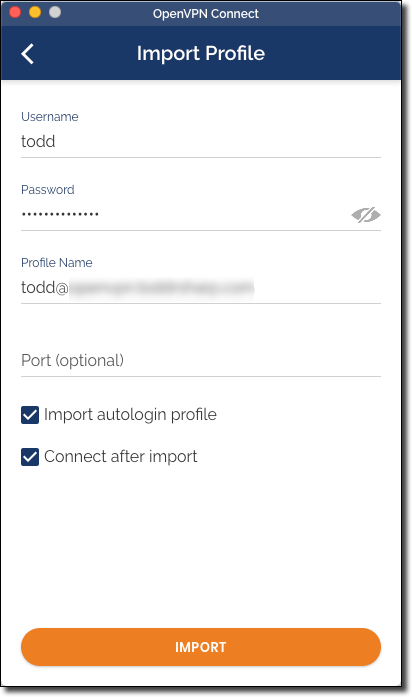
Import profile:
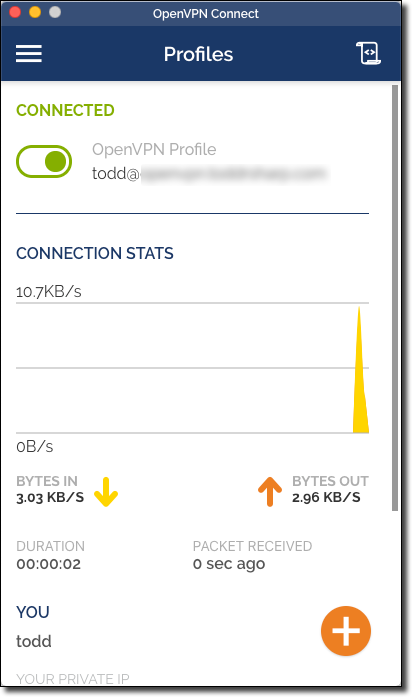
You’ll be connected after import.
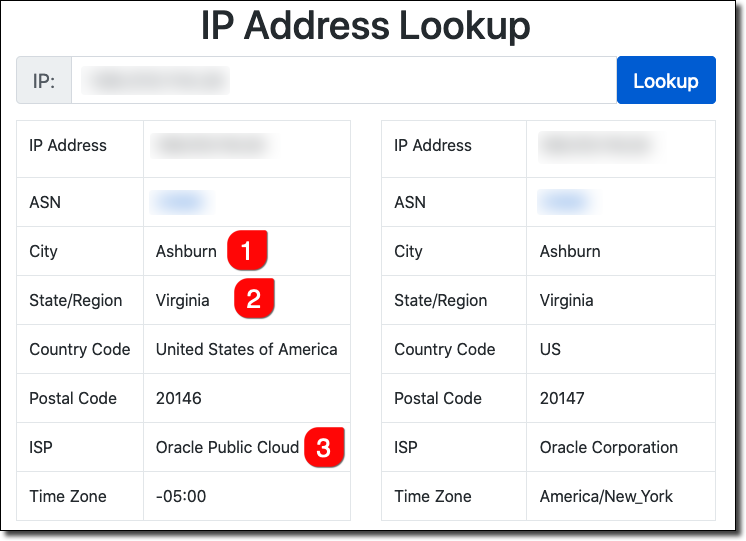
Testing The VPN
Visit this page (or something similar) both before and after connecting to your VPN. You’ll notice that your IP address and location will assume the VPN’s information and location after connecting to the VPN.
Before:
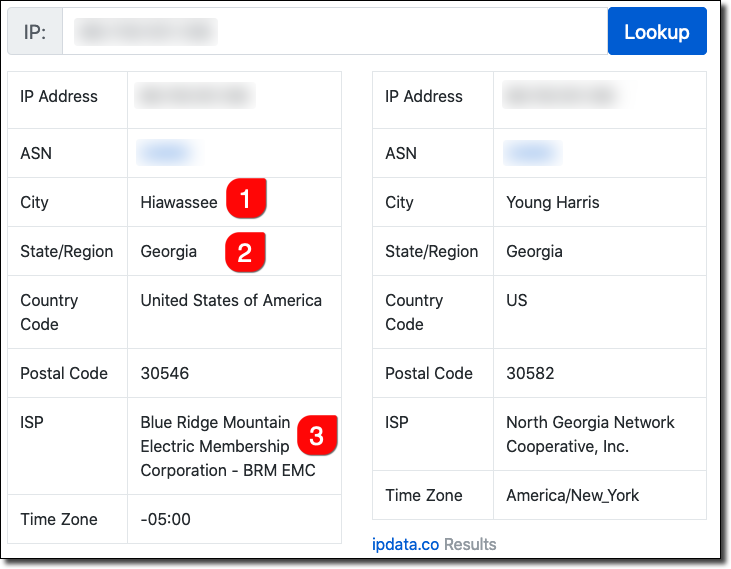
After:
Summary
In this post, we launched our own private VPN server and connected to it from our local machine. There are certainly other servers that can be used for VPN, so feel free to adapt this process as necessary. You may have to launch your own VM though instead of using a preconfigured VM image as we’ve done here.
Now that you’ve created a free VM, check out the other “always free” services available with your account including 2 free instances of Autonomous Database. Check out some of my other blog posts to get some more fun project ideas on what to do with your free tier account!
Photo by KAL VISUALS on Unsplash