Protect Your Sensitive Data With Secrets In The Oracle Cloud
Posted By: Todd Sharp on 4/1/2020 4:00 GMT
Tagged: Cloud, Cloud, Containers, Microservices, APIs, Containers, Microservices, APIs, Java, Java

It’s no secret that every developer should be aware of the need to protect sensitive information such as passwords and API keys when building and deploying applications in the cloud. One of the steps that you should always take to protect these sensitive items is to make sure they are stored in an encrypted manner and are only able to be decrypted by the function or application that uses them. Today we make that task much easier with the launch of Secrets as part of our current Key Management offering on the Oracle Cloud. In this post, I’ll show you how to get started creating your first secret.
Here is a general overview of the steps we’ll take in this post:
- Create Policy
- Create A Vault*
- Create A Key*
- Create Secret(s)
- Create A Serverless Function That Retrieves & Decrypts The Secret
*If Necessary
Let’s jump right into it!
Create Policy
In order to work with secrets, you’ll need a user that is in a group that has the following policies:
You’ll also need to apply the following service level policies:
Create Vault
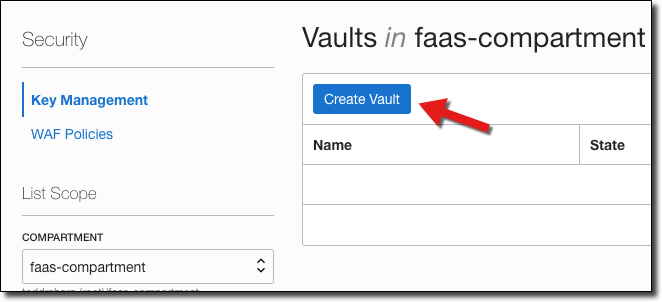
The next step is to create a vault if you don’t have one already created. From the burger menu, select ’Security’ -> ‘Key Management’. On the vault list page, click ‘Create Vault’.
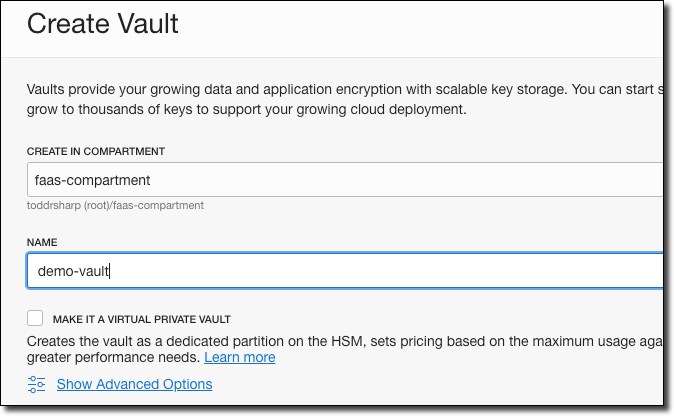
In the ‘Create Vault’ dialog, name your vault. If necessary, check ‘Make It A Virtual Private Vault’ (click ‘Learn more’ if you need to understand more about virtual private. Vaults). Next, click create.
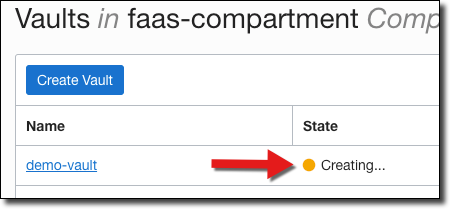
Your vault will initially be in a ‘Creating’ state.
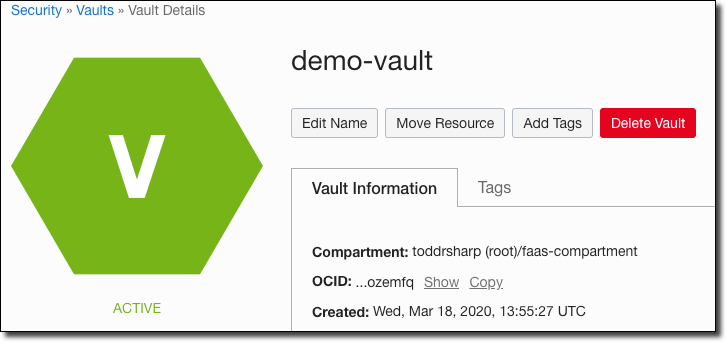
As soon as it is ‘Active’ you can view the vault details.
Create Key
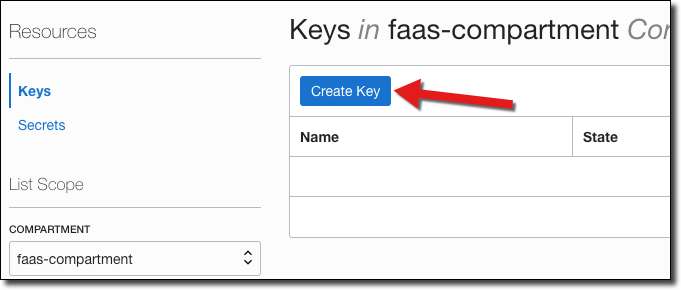
Now we’ll need to create a Key that will be used to encrypt our secrets. On the vault details page, click ‘Keys’ in the sidebar menu and then click ‘Create Key’.
In the ‘Create Key’ dialog, name your key and choose the key shape algorithm and length.

Once your key is in an ‘Active’ state, move on to creating your secret(s).
Create Secret
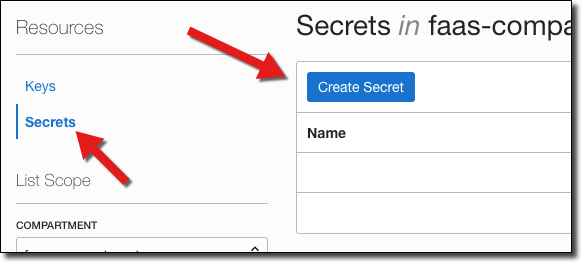
Next, click ’Secrets’ in the sidebar and click ‘Create Secret’.
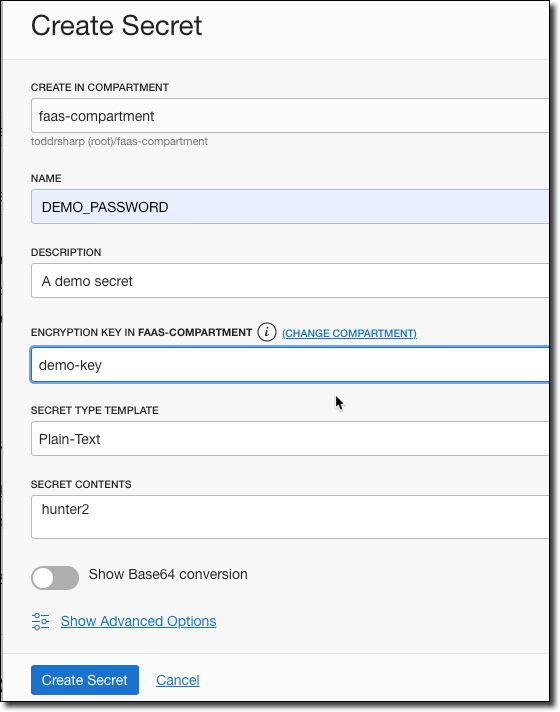
Name your secret, enter a description, and choose the encryption key. At this point, you have two choices. You can enter your key as plain text and have the console base64 encode it for you, or you can choose base64 and enter an encoded value for your secret. For this demo, choose ‘Plain Text’ and enter ‘hunter2’ as the secret contents.
If you prefer working with the CLI, you can also create your secrets via the OCI CLI. You’ll need the OCID of your vault, key and compartment to do so. Here’s an example of creating a secret in a vault encrypted by my demo-key containing the base64 encoded string “hunter2”:
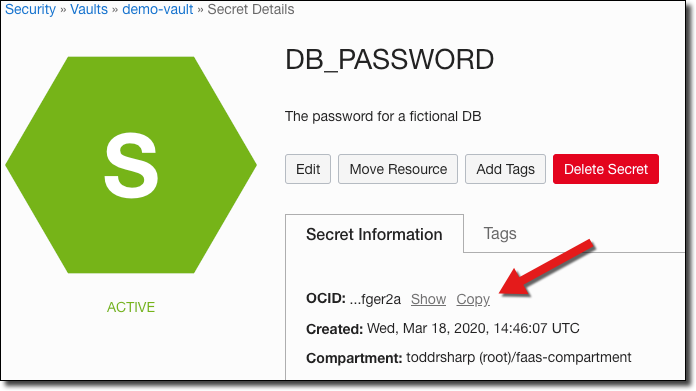
Once your secret has been created, copy the OCID of the secret and keep it handy for later.
Create A Serverless Function That Retrieves & Decrypts The Secret
Now let’s create a serverless application and function that will retrieve our password.
Note! This could be a regular microservice using Java or any language that the OCI SDK supports.
Create the serverless application:
Next, create the function. If you’re new to serverless functions on the Oracle Cloud, check out the following videos:
- Getting Your Tenancy Ready For Serverless On The Oracle Cloud
- Creating Your First Serverless Function On The Oracle Cloud
Create your function:
Set the secret OCID into the configuration:
We’ll need to use the OCI SDK, so add the following dependencies:
If you’re using anything above Java 8, don’t forget the following dependency.
We’re going to use Resource Principal authentication in our function to work with the secret service, so make sure that you have a dynamic group and the proper policies in place. To do this, first create a dynamic group. I like to include all resources within a specific compartment in my dynamic group, so the definition would look like so:
Next, give the proper policies to the dynamic group (you can apply this at the tenancy or compartment level):
Now let’s move on to the function handler. I’ve renamed my package and class here to be more appropriate. The first thing that we’ll need to do is declare some variables for use in our class. We’ll need the secretId and a secretsClient. If you’re running the app locally, be sure to set an environment variable.
Next, let’s add a constructor and initialize the provider and secretsClient. We’ll use a ResourcePrincipalAuthenticationDetailsProvider if we’re running on the Oracle Cloud, otherwise we’ll use a ConfigFileAuthenticationDetailsProvider when running locally.
Now we’ll create a function that can be used to retrieve our decrypted password value that we created earlier and decode it.
Finally, create the handleRequest() method that is invoked when our function is called. We’ll return the decoded and decrypted fake password here for demo purposes, but certainly you’d never do this in a real application, right? RIGHT??
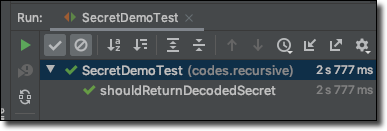
How about a test to make sure everything is working as we’d expect?
Which quickly passes!
Now comment out the test contents (since the test depends on external variables that will cause the Docker build to fail):
Deploy the function.
And invoke it.
Summary
I hope you can see just how easy it is to work with secrets on the Oracle Cloud. In my next post, I will show you how to take secrets to the next step and use them to store and retrieve your Autonomous DB wallet files for use in your functions and applications!
View the source for this blog post on GitHub.