Authenticating Users with Oracle IDCS via OpenId Connect and Micronaut
Posted By: Todd Sharp on 4/21/2021 12:00 GMT
Tagged: Cloud, Java

Security is the most important aspect of your web application. Fortunately, there are tools available to help make life much easier when dealing with things like securing endpoints to authenticated users and integrating with third-party authentication systems. One of the more popular methods for authorization these days is OpenId Connect. OpenID Connect extends the OAuth 2.0 protocol to add a simple authentication and identity layer that sits on top of OAuth 2.0. You can use OpenID Connect when you want your cloud-based applications to get identity information, retrieve details about the authentication event (such as when, where, and how the authentication occurred), and allow federated single sign-on (SSO). If you’re using Oracle Identity Cloud Service (IDCS) then adding support to your applications for federated SSO via OpenId Connect is an option that you might want to consider. In this post, we’ll take a look at using IDCS and OpenId Connect to add SSO to a Micronaut application. All it takes is a bit of prep work, a few dependencies, and some minor config and code updates and you’ll have it up and running in no time. Let’s do it!
For More Information: Micronaut Security is a vast module that provides so much more than we’re going to cover in this post. Make sure to read all about it in the documentation when you need to integrate it into your application.
Here's what we'll cover in this post. Feel free to jump around as necessary!
Create User(s) and Application
The first thing we’ll need to do for this demo is to create at least one user and an application that will help us configure endpoints and obtain the necessary client credentials.
Create User
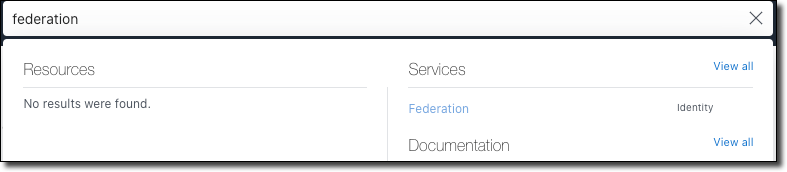
Let’s create a user in our federation using the Oracle Cloud console. You can use the burger menu to find ‘Federation’ under ‘Identity’, or search for it in the search box in the top nav menu like this:
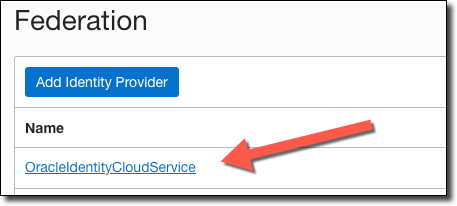
On the Federation list page, click on the federation that you’d like to work with. The default federation in your tenancy will be called ‘OracleIdentityCloudService’ and will likely be the only one listed (unless you’ve added another identity provider).
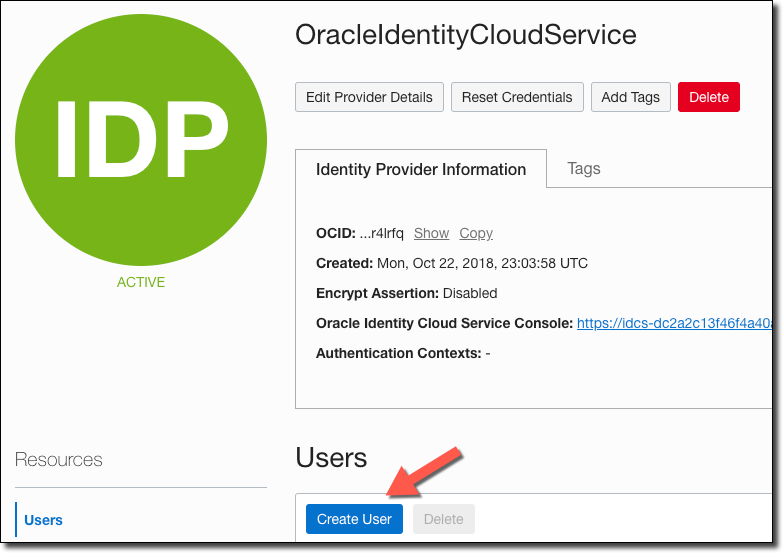
On the federation details page, in the User list, click ‘Create User’.
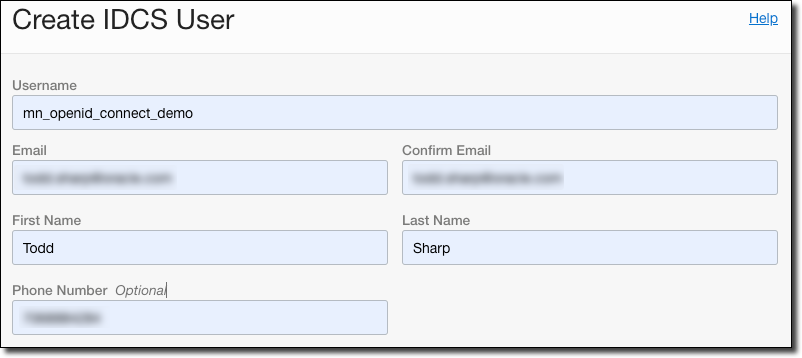
Populate a username, email (and confirm), first and last name, and optionally add a telephone number.
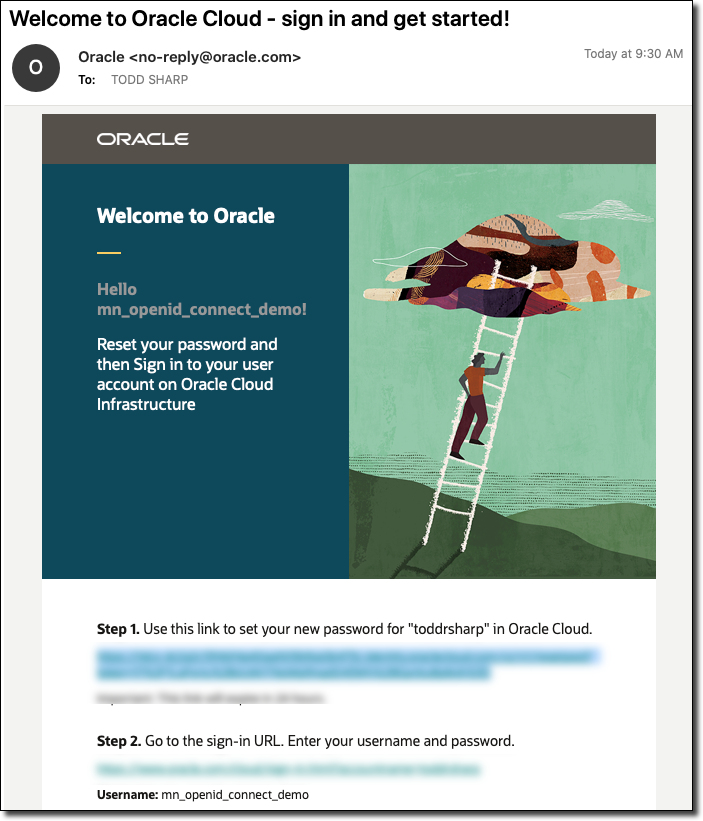
The new user will receive an email once the creation is complete. The email will look similar to the one below and will contain two links. Click on the link in the email that prompts you to set a new password.
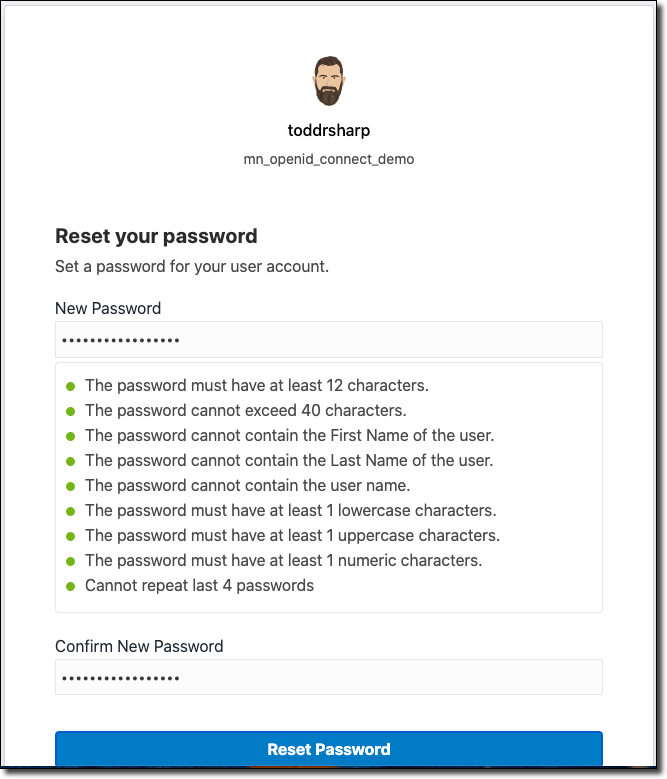
Set the new password, making sure to meet all of the password requirements as listed.
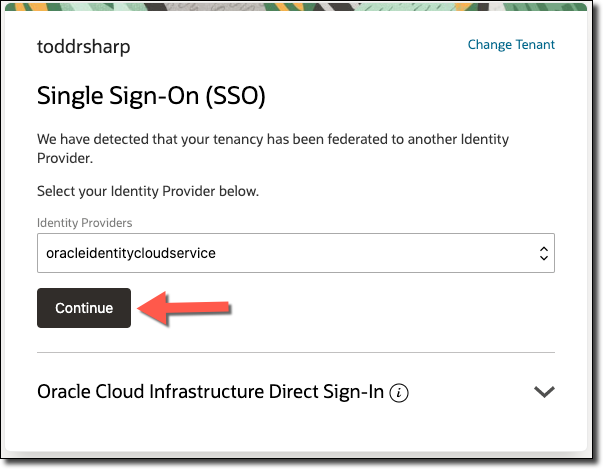
Once the password is set, head back to the email and click on the other link to sign in to the tenancy as the new user. Make sure the tenant name is correct, and click on ‘Continue’ to use the oracleidentitycloudservice provider.
Enter the new user’s username and the password that you have set for that user.

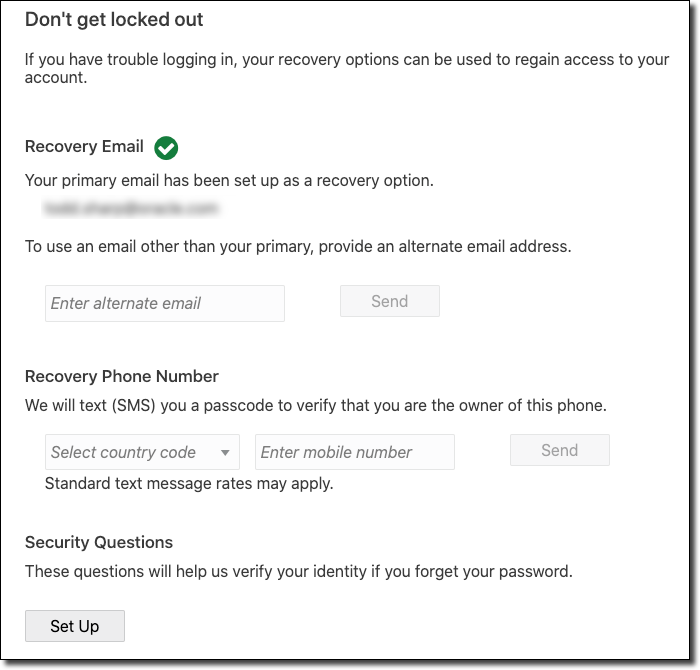
The first time that you log in, you’ll be prompted to set recovery info for the account. It’s always a good idea to do so, so set a recovery email, phone number, and set up your security questions.
Obtain the Federation’s Base URL
Now that the test user is created, log out from that account and log back in with your administrator user. Head back to the Identity Provider Details page.
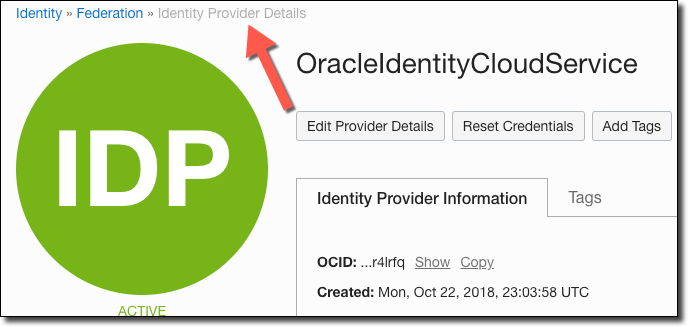
In the provider details, find the ‘Oracle Identity Cloud Service Console’ entry, and grab the base of the Console URL (without the path information). See screenshot below.

Keep this handy, we’ll use this later on in our Micronaut application as the OAUTH_ISSUER. Next, click on the link to head over to the Oracle Identity Cloud Service Console.
Create an Application
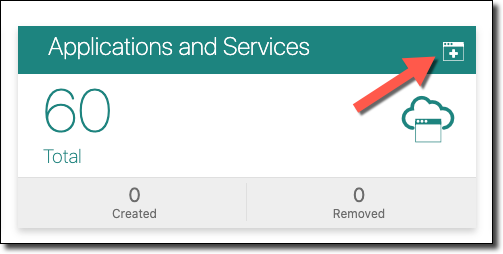
We need to create a client application that will grant us our client credentials. In the Oracle Identity Cloud Service Console, click ‘Create Application’:
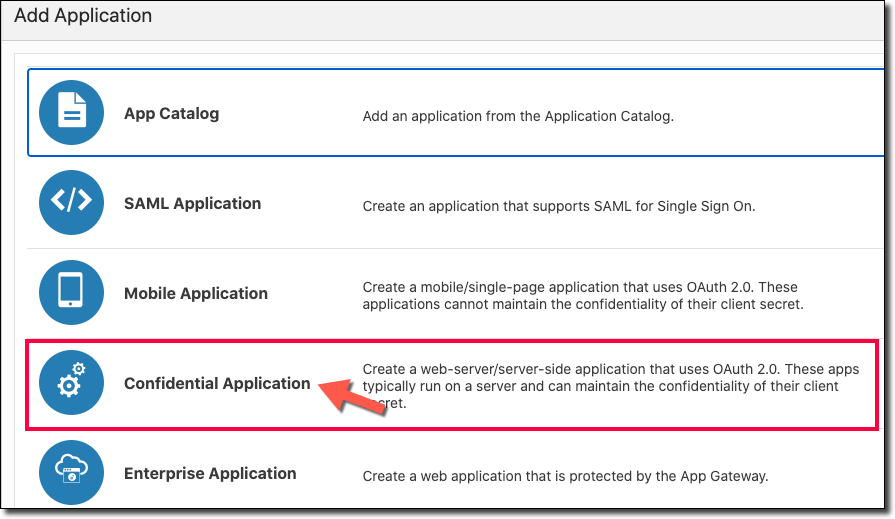
Choose ‘Confidential Application’.
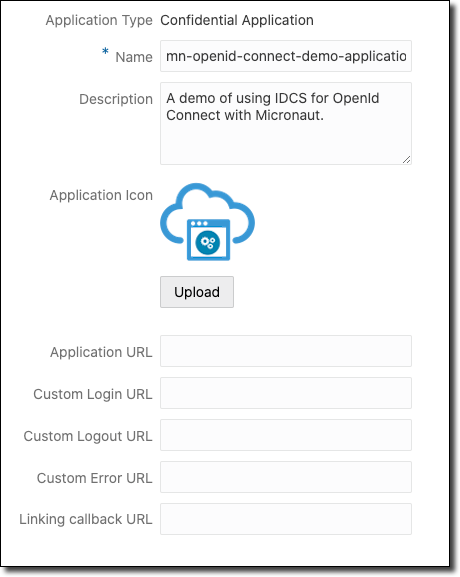
In the first page of the create application wizard, enter a name and description. The rest of the information in this tab is optional and does not affect the application configuration in any way.
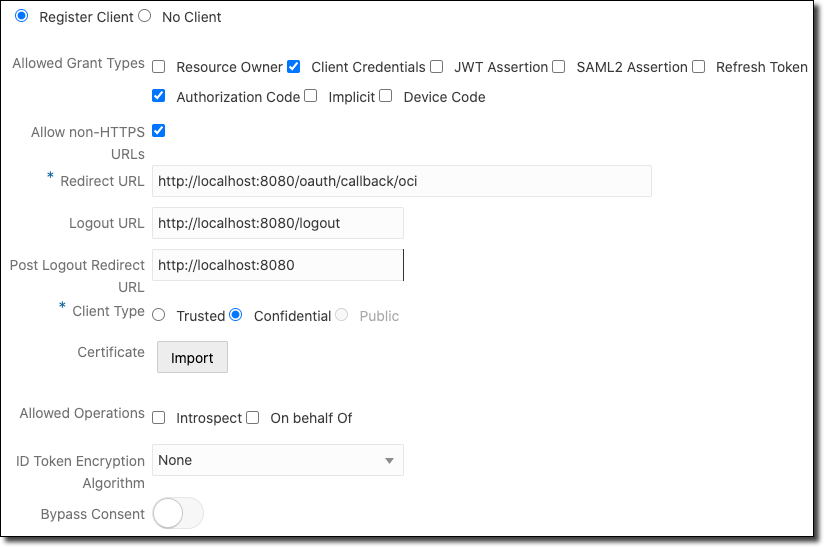
Click Next to head to the client registration step. This step is where we’ll register our client application. For this demo, choose ‘Client Credentials’ and ‘Authorization Code’ as the ‘Allowed Grant Types’, and then check the ‘Allow non-HTTPS URLs’ box. Enter the ‘Redirect URL’, ‘Logout URL’, and ‘Post Logout Redirect URL’ as shown below.
Important! Obviously the 'Allow non-HTTPS URLs’ checkbox should only be selected when working with a development environment. When you create your production application, you’ll certainly be using HTTPs to secure your endpoints!
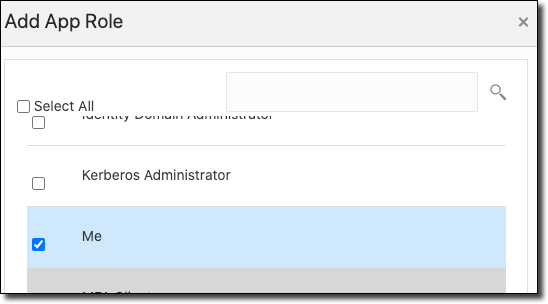
Scroll down a bit, and add a few roles. You’ll want to select ‘Audit Administrator’ and ‘Me’ from the dialog.
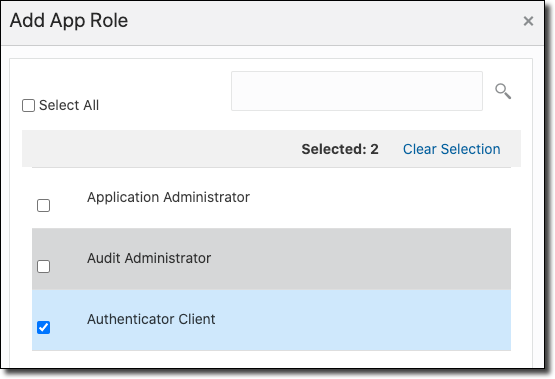
Don’t forget ‘Me’. Heh.
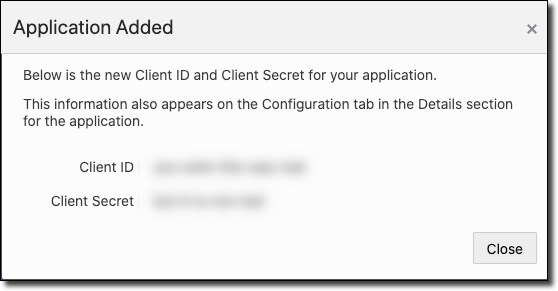
That’s all the config we need to do for our application, so click next until you hit the final step and click 'Finish'. When you finish creating the application, collect the ‘Client ID’ and ‘Client Secret’. We’ll use these in our Micronaut application as the OAUTH_CLIENT_ID and OAUTH_CLIENT_SECRET respectively.
Activate the Application
[info]
Don’t Forget! After the application is created, you must click on ‘Activate’ to make sure the application is ready to go!

Enable Public Access for the Signing Certificate
Micronaut needs to be able to download the signing certificate in order to validate the JWT. By default, this certificate requires an authenticated request, but we can change that so that Micronaut is able to download the cert with an unauthenticated request. Before leaving IDCS, go to the burger menu, Settings, then Default Settings.
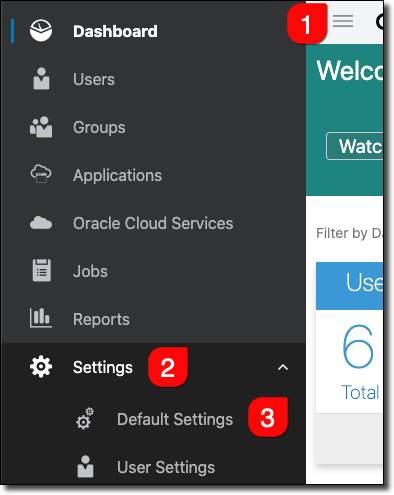
Allow access to the signing certificate by unauthorized users so Micronaut can download it to validate the JWT.

Create Micronaut Application
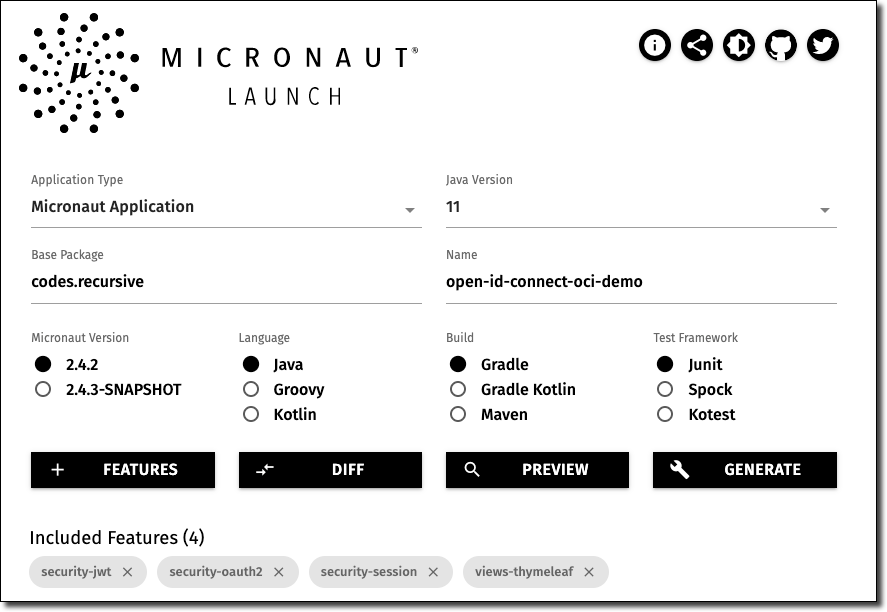
Next, we’ll create a demo Micronaut application to test out the authentication. Head over to Micronaut Launch and bootstrap a new application. Be sure to add the features security-jwt, security-oauth2, security-session, and views-thymeleaf.
Modify Application Configuration
Download the generated zip, extract it and open it in your favorite IDE. Open up src/main/resources/application.yml and edit it to look like so. Make sure to change the key default to oci so that Micronaut generates the proper URLs.
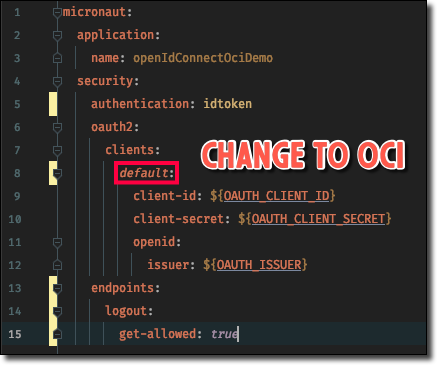
Here’s the code from the above screenshot for your copy/paste pleasure.
Set Environment Variables
Of course, we don’t want to hardcode our credentials in the config file, so we’re going to pass them into the application via environment variables. One way to do that locally is to create a run/debug config in our IDE. Populate the values from the client id, client secret, and IDCS base URL that we collected earlier.

Create the Controller
Next, create a controller with the following command.
We’re going to create three endpoints for this application: one for index, secure, and error. Open up the new controller and populate it as such. Note the @Secured annotation which lets us secure individual endpoints with separate security rules. This gives us granular control over which endpoint a user is allowed to access based on their current authentication status.
Note: You can also annotate the controller class itself with a default @Secured annotation that will apply to all methods. The class annotation can be overridden at the method level. Refer to the documentation for more.
Create the View
Now let's create the home view that will be used to allow the user to authenticate and list the user information available to us from the JWT token returned from IDCS. Create the file at src/main/resources/views/home.html and populate it as such.
For a description of each attribute, see the IDCS docs.
Test the Application
Launch the application locally and try to visit http://localhost:8080/secure - you’ll be redirected to the index (homepage) since we marked that endpoint as @Secured and we’re not yet logged in. On the homepage, click on ‘Enter’ and you will be redirected to your tenancy sign-in page.
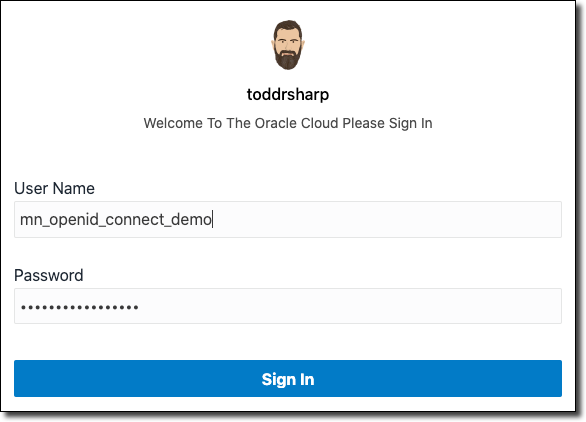
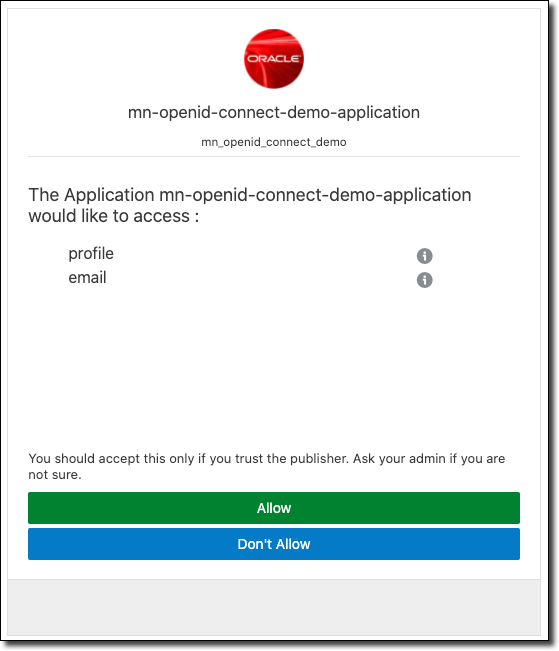
Sign in with the user that we created above. On the next screen, grant access to the application.
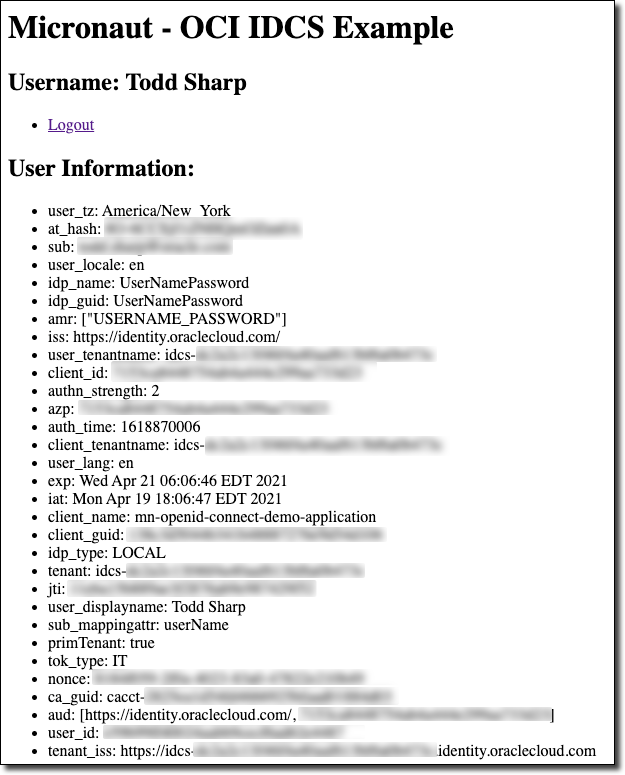
After authenticating, you’ll be redirected to the homepage. Detailed information about your logged-in user is displayed.
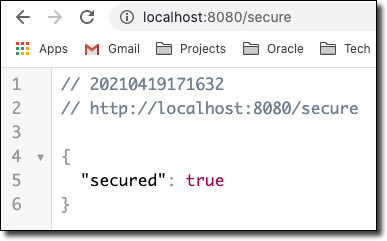
Now you can visit http://localhost:8080/secure and notice that you’ll be granted access!
Summary
In this post, we created a federated user, IDCS application, and a Micronaut application that delegates authentication to IDCS via OpenId Connect. The application displays information retrieved from the JWT that IDCS returns to the application and uses @Secured to secure an endpoint until the user is authenticated.
Code! If you'd like to check out the Micronaut code used in this post, check it out on GitHub: https://github.com/recursivecodes/open-id-connect-oci-demo
Image by pasja1000 from Pixabay
Related Posts

Querying Autonomous Database from an Oracle Function (The Quick, Easy & Completely Secure Way)
I've written many blog posts about connecting to an Autonomous DB instance in the past. Best practices evolve as tools, services, and frameworks become...

Sending Email With OCI Email Delivery From Micronaut
Email delivery is a critical function of most web applications in the world today. I've managed an email server in the past - and trust me - it's not fun...

Brain to the Cloud - Part III - Examining the Relationship Between Brain Activity and Video Game Performance
In my last post, we looked at the technical aspects of my Brain to the Cloud project including much of the code that was used to collect and analyze the...