Getting Started With Git On Oracle Cloud
Posted By: Todd Sharp on 3/25/2019 5:47 GMT
Tagged: Cloud, DevOps, Developers
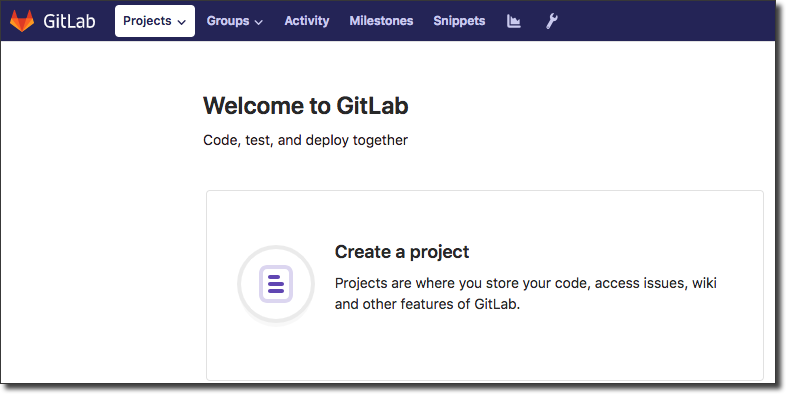
The new and improved Oracle Marketplace is now available from within the Oracle Cloud Infrastructure console. The marketplace contains several applications that developers commonly use in their projects; things like source control, bug tracking and CI/CD applications - with more being added all the time. The best part about the marketplace is that it gives you the ability to launch instances running these tools with one click. Let's take a look at how to launch one of these instances using something that nearly every software project uses - source control. More specifically, the current most popular source control system: Git.
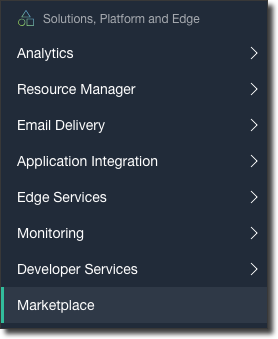
To get started with git, head to your Oracle Cloud console and select Marketplace from the left sidebar menu:
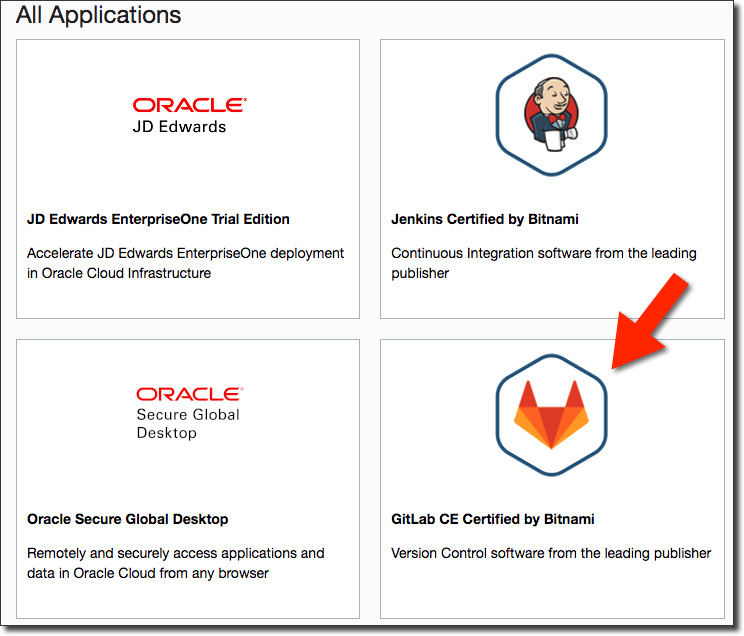
From the Marketplace, select 'GitLab CE Certified by Bitnami':
On the following page, click 'Launch Instance':

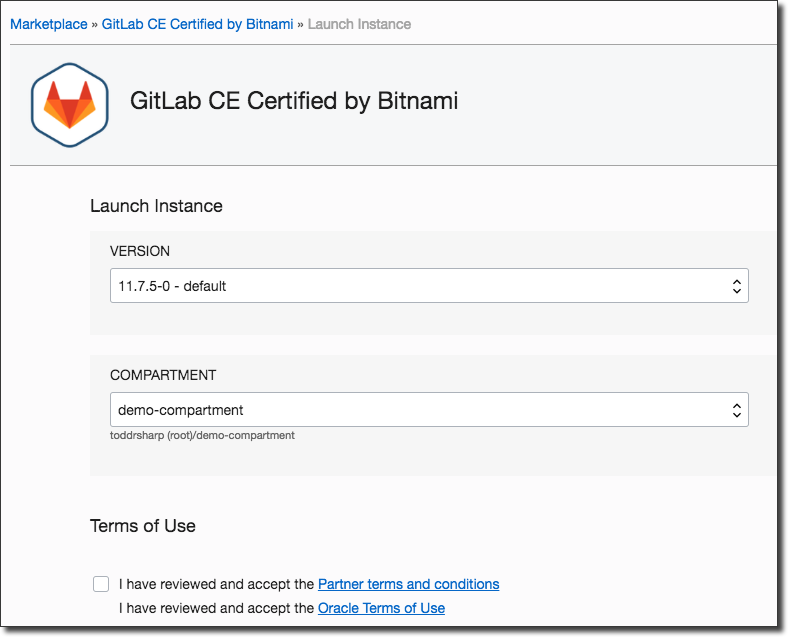
Choose the image and compartment, review and accept the terms, then click 'Launch Instance':
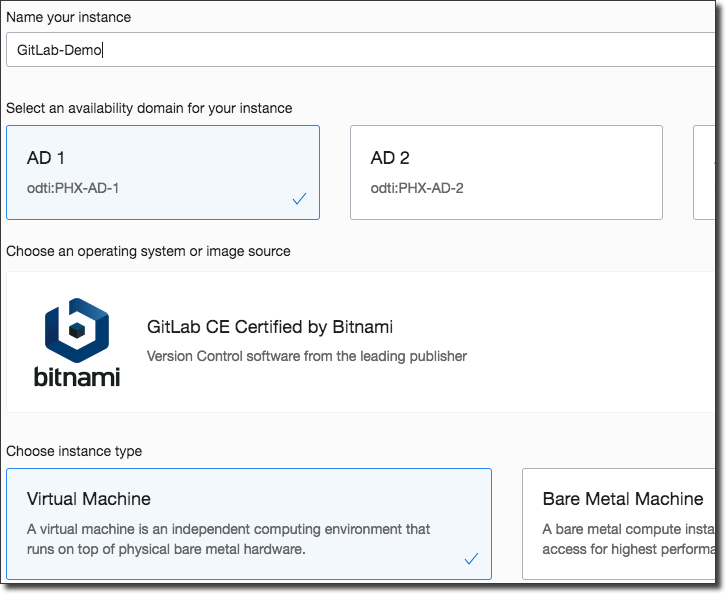
The next page should look familiar to you if you have previously launched an instance on Oracle Cloud. Enter your instance name, choose your options related to the instance shape and make necessary networking selections. Be sure to upload an SSH key, we'll need it later on. When you're satisfied, click 'Create':
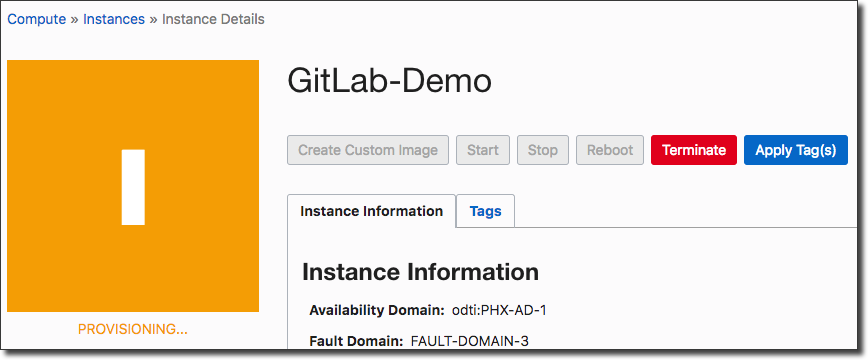
You'll be taken next to the instance details page while the instance is provisioned.
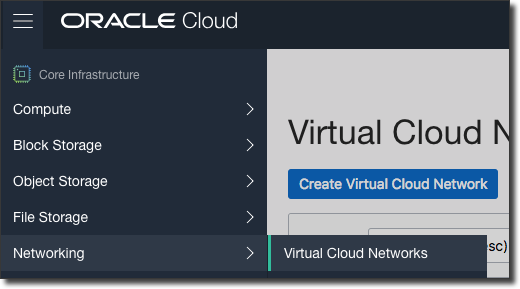
While the instance provisions, double check that the subnet you have chosen has the proper security and route table rules to allow the instance to be web accessible. From the sidebar, select 'Networking' then 'Virtual Cloud Networks':
From the Virtual Cloud Networks landing page, select the VCN you chose when creating the network, then from the following page locate the subnet that you chose. Here you'll be able to navigate directly to the proper rules that you will need to verify or create:

First verify (or create) a route table rule that targets your internet gateway for all incoming traffic:
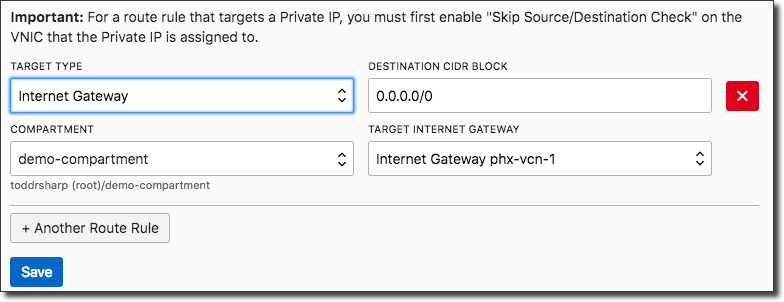
Then make sure the security list allows ports 80 and 443 for all incoming traffic (please ensure that this subnet is not associated with any instances that you do not want to expose to the web):

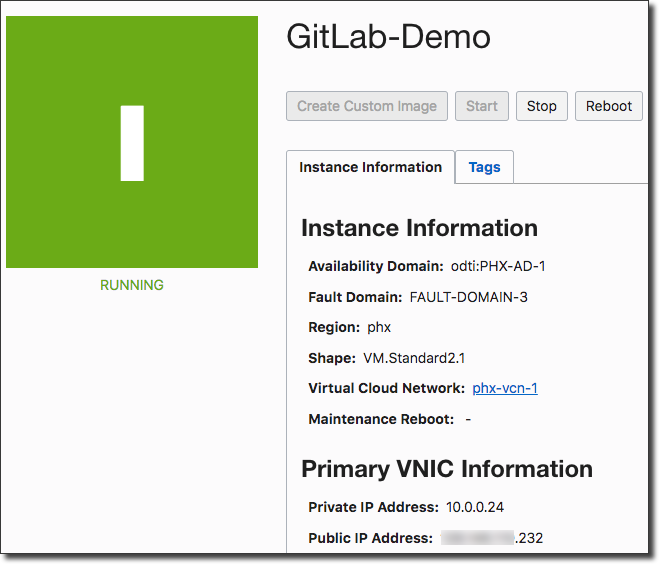
By now your GitLab instance should be fully provisioned. Head to the instance details page (Compute -> Instances in the left sidebar) and view the details for your GitLab instance. Take note of the public IP address:
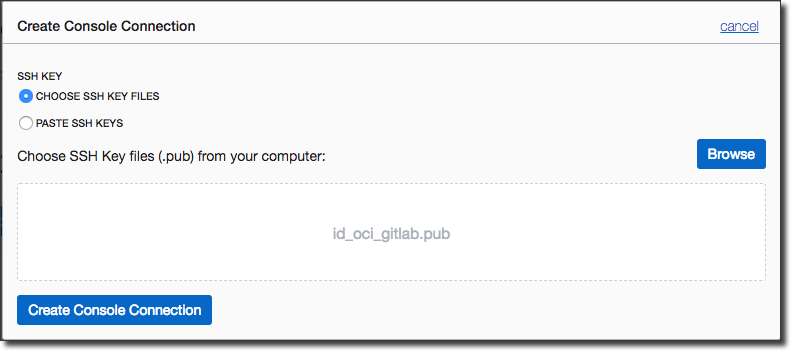
Click on 'Console Connections' in the left menu, then 'Create Console Connection' and populate the dialog with the SSH key you used when creating the instance and click 'Create Console Connection':
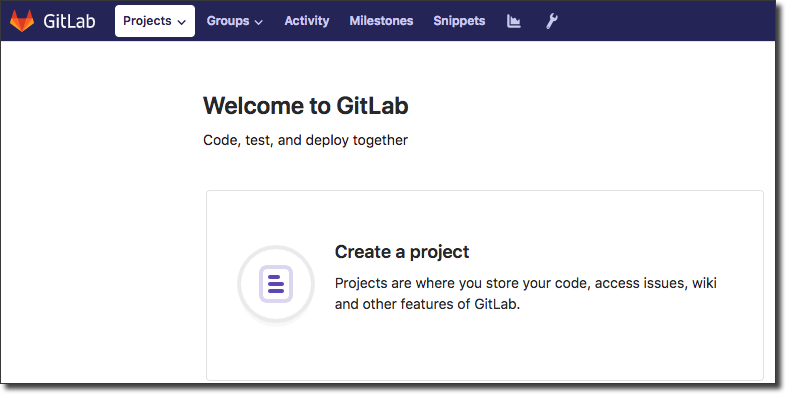
Now you should be able to hit your running GitLab administrator via your browser at http://<public ip>:
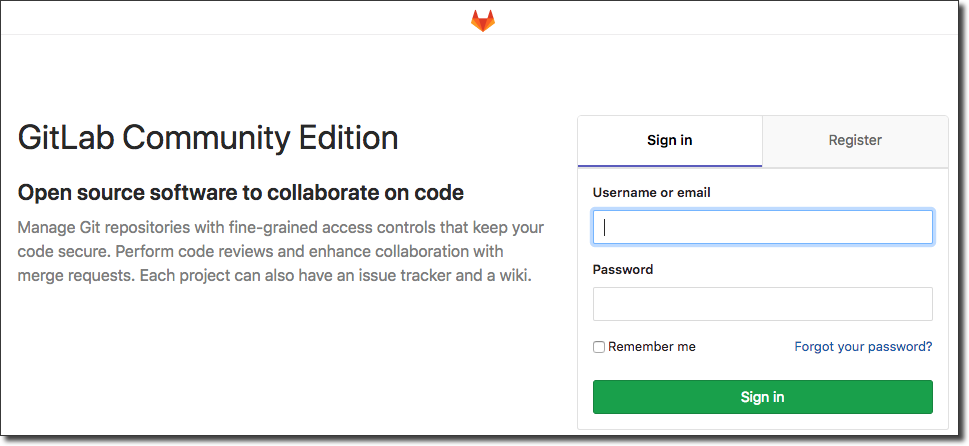
The default username is 'root'. To find your initial password, SSH into the instance using the following command:
ssh bitnami@<public ip> -i /path/to/ssh_key
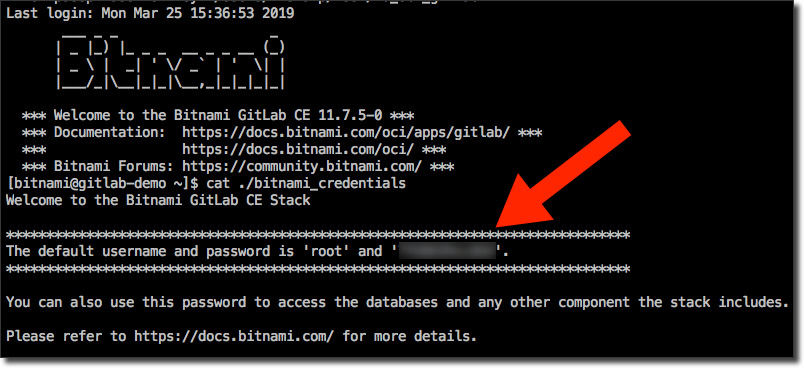
The initial password is stored in a file called 'bitnami_credentials'. To view it:
cat ./bitnami_credentials
Which will look similar to:
Log in and get started working with GitLab on Oracle Cloud!
Related Posts

Querying Autonomous Database from an Oracle Function (The Quick, Easy & Completely Secure Way)
I've written many blog posts about connecting to an Autonomous DB instance in the past. Best practices evolve as tools, services, and frameworks become...

Brain to the Cloud - Part III - Examining the Relationship Between Brain Activity and Video Game Performance
In my last post, we looked at the technical aspects of my Brain to the Cloud project including much of the code that was used to collect and analyze the...

Brain to the Cloud - Part II - How I Uploaded My Brain to the Cloud
In my last post, we went over the inspiration, objectives, and architecture for my Brain to the Cloud project. In this post, we'll look in-depth at the...