Adventures in CI/CD [#3]: Running Tests & Publishing Test Reports
Posted By: Todd Sharp on 4/27/2020 12:00 GMT
Tagged: Cloud, Containers, Microservices, APIs, Integration, Open Source

Thanks for joining me back in this series about CI/CD with GitHub Actions where we’re learning how to build, test, publish and deploy our microservices applications to the Oracle Cloud. This is the third post in this series that has covered the following topics so far:
- Adventures In CI/CD [#1]: Intro & Getting Started With GitHub Actions
- Adventures in CI/CD [#2]: Building & Publishing A JAR
In this post, we’re going to look at tests that are a crucial step to any proper CI/CD workflow. Certainly your application already has a full suite of tests and you’re already used to making sure that these all pass before you deploy your application to the theory (or “why”) relating to tests should not be new to you. With that in mind, we’ll focus on the “how” as it relates to tests in our demo project.
Preparing Our App For Spock

NBC Television / Public domain
I’m a big fan of using the popular Spock library for testing as I feel that the expressive nature of the Groovy language makes writing tests easy and reading them even easier. To upgrade our Micronaut application to use Spock, let’s add a few dependencies to our build.gradle file.
And delete the JUnit dependencies since we’re not using it anymore:
Also, delete the following block that tells Gradle to use Unit as the testing platform:
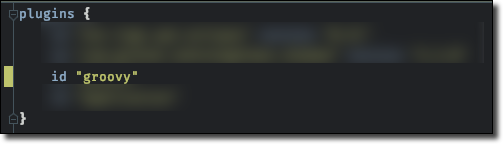
We’ll also need the groovy plugin, so add it to our plugins block in our build file.
Finally, update micronaut-cli.yml in the project root to change the testFramework to ’spock’ instead of ‘junit':
Create A Spock Test
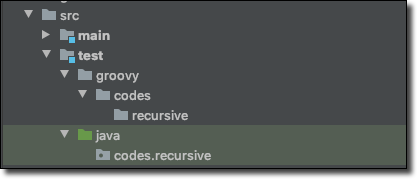
Since Spock uses Groovy, we need to create the proper directory structure in our src/test directory to contain our Spock tests.
Within the src/test/groovy/codes/recursive directory lets create a base test that our other tests will extend. It won’t do much for now, but it’ll come in handy later on:
Next, let’s create a test! We don’t have any application logic to test just yet, so create a simple HelloWorldSpec.groovy and populate it like so:
Now we can run the test locally with ./gradlew test. It should quickly pass and produce a new report at build/reports/tests/test/index.html that you can view in your browser locally.

Add Controller & Test It
Let’s add an actual controller to our microservice application so that we can run an actual, meaningful test. This is simple with the Micronaut CLI:
Since we updated the micronaut-cli.yml file above Micronaut was kind enough to stub out a Spock test for us as it created our controller. Let’s take a quick look at the controller it created.
Nothing fancy at all, just a method that will return a “200 OK” response. What about the test that was generated? Note that the only change I made to the generated test was to extend my AbstractSpec.
The generated spec includes an injected embedded server as well as an RxHttpClient that we can use to make requests to our controller. The single test makes a blocking request to the /hello endpoint and asserts that the response status is indeed “200 OK”. Let’s run our tests locally again.
All pass. Let’s get these running in our build workflow!
Add Action To Run Tests
I feel both sad and excited to tell you this next part. Excited because it’s really simple and quick to run your tests with GitHub Actions and sad because there’s not a fancy and clever way to do this. It’s just a matter of executing a Gradle command to run the tests:
However, I am going to add this step above the ‘Assemble/Publish JAR’ steps that we added in our last post because we want our pipeline to fail if our tests are not passing.
Add Action To Publish Tests
It would be extremely helpful if we publish our test reports so that we can view them offline after our build has run. This will help us troubleshoot failing tests and view the metric data for our tests. We can do this by using the same upload-artifact action that we used to publish our JAR file in the last post, so add another step to do this. Take note of the addition of the if key to this step definition which allows us to run this step regardless of whether or not the previous steps have completed successfully. If we did not add this, our failed tests would effectively end the pipeline and our test reports would not get published (potentially making it quite difficult to know why the tests failed!).
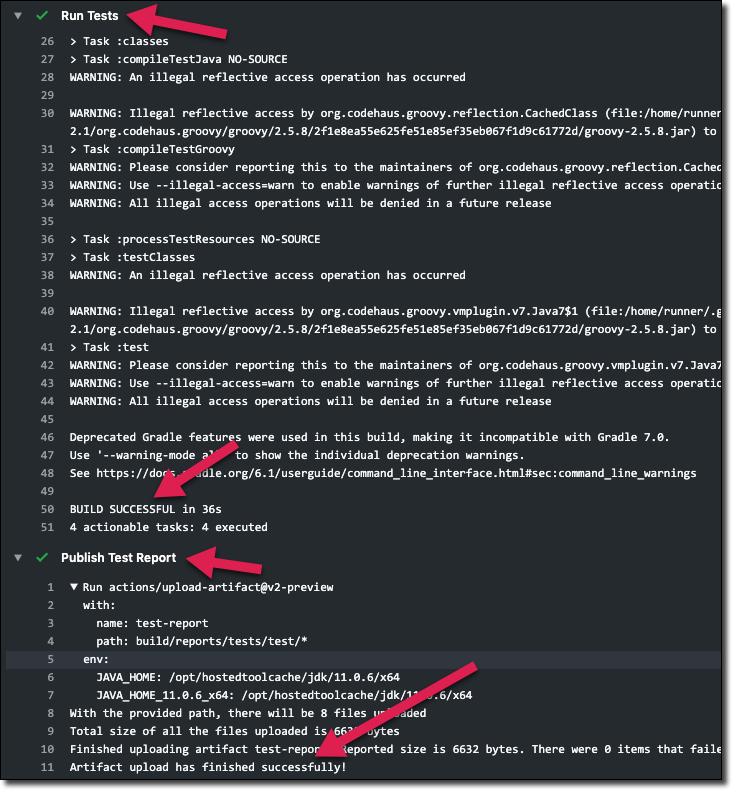
If we push this latest change to GitHub, our build will trigger and we can observe the tests running and our reports being published.
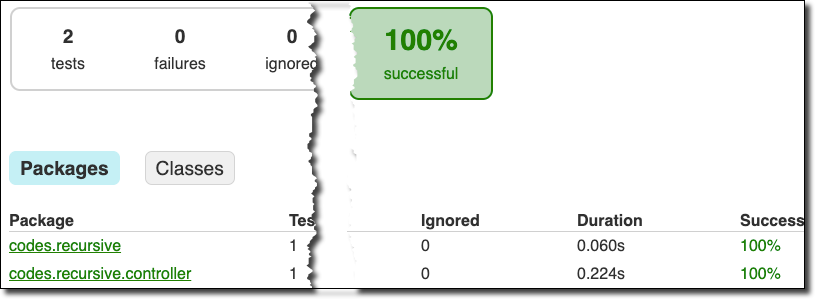
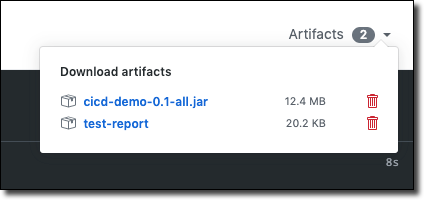
We can confirm the published test report:
When Failure Happens
I know this never happens to you, but sometimes when I write tests I end up getting some failures. Yeah, I know I should be embarrassed! So what would happen in our GitHub workflow if a failed test somehow slipped through the cracks and made it into our build? Well, let’s intentionally write one to see what happens. I’ll add the following to my HelloWorldSpec and push it to the branch I have been working with:
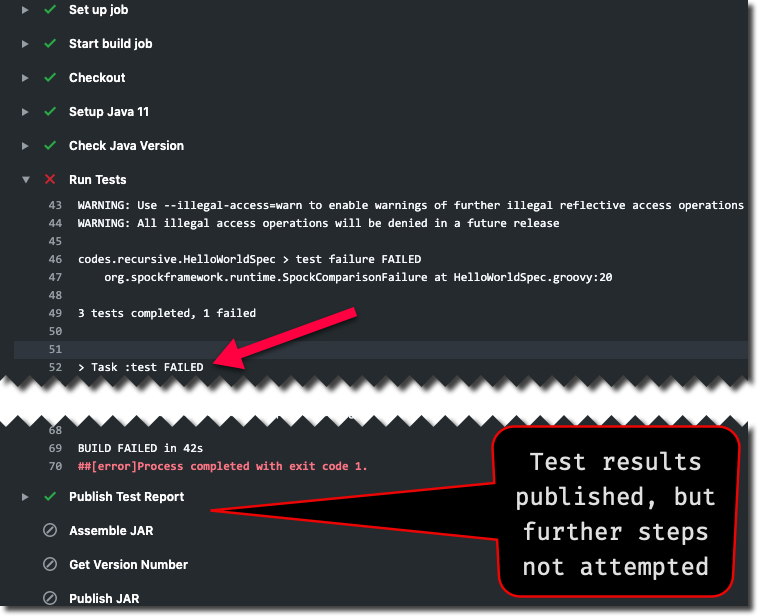
As you can see above the failed tests result in the overall build job failure which prevents the creation and publishing of our JAR file, but does not prevent the test report from being published meaning we can download that report to see what went wrong.

TL;DR
In this post, we added some simple tests to our application and modified our workflow to run those tests and produce artifacts containing the results of the tests. We observed a successful run of the workflow with the tests as well as saw what happened when our tests do not pass.
Next
In our next post we will jump into deploying our application to a virtual machine in the Oracle Cloud.
Source Code
For this post can be found at https://github.com/recursivecodes/cicd-demo/tree/part-3
Photo by Annie Spratt on Unsplash