The Complete Guide To Getting Up And Running With Autonomous Database In The Cloud
Posted By: Todd Sharp on 7/2/2019 12:00 GMT
Tagged: Cloud, Containers, Microservices, APIs, Database, Developers
In our last post, we configured Kubernetes and Docker to get ready to deploy microservices. In this post, we'll look at another critical piece of the microservices puzzle - the place where our data will be stored. In this series we will focus on using Autonomous Database, specifically Autonomous Transaction Processing to persist and retrieve data to and from our microservices. That might lead you to believe that we're limiting ourselves to traditional 'table' based data, but as you'll see later on there are several options available for more non-traditional storage with ATP. Let's get started with our ATP instance creation. Like the last post, I'll show you how to do things with both the dashboard UI as well as the OCI CLI.
Creating An Autonomous Database Instance
We'll use an Autonomous Database for our microservices, so we'll need to create an Autonomous Transaction Processing (ATP) instance.
Creating An ATP Instance Via Dashboard
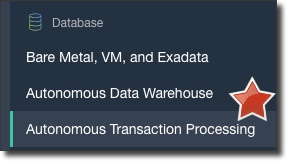
To create an ATP instance, select 'Autonomous Transaction Processing' from the sidebar menu:
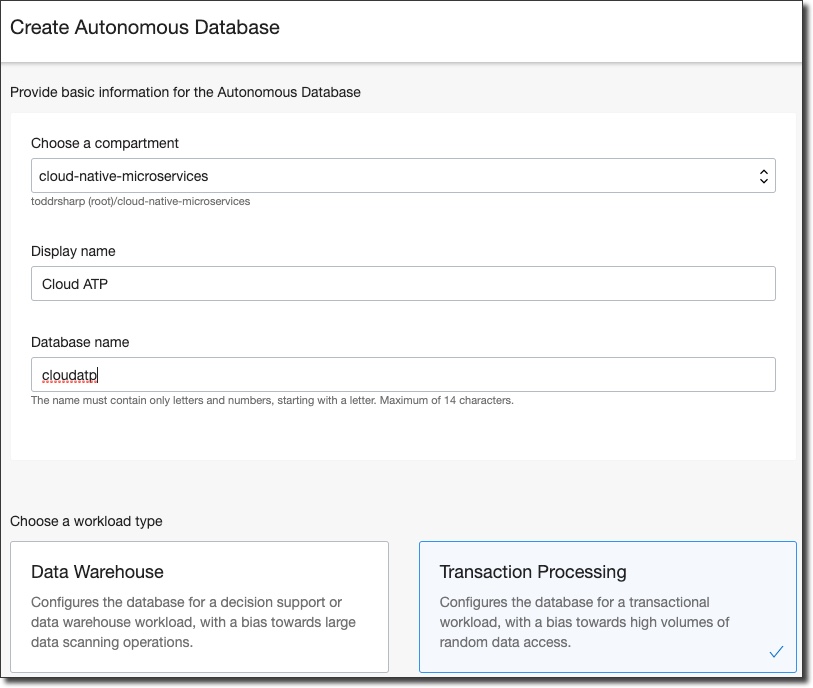
Click on 'Create Autonomous Database', then populate the compartment, display name and database name. Make sure that 'Transaction Processing' is selected.
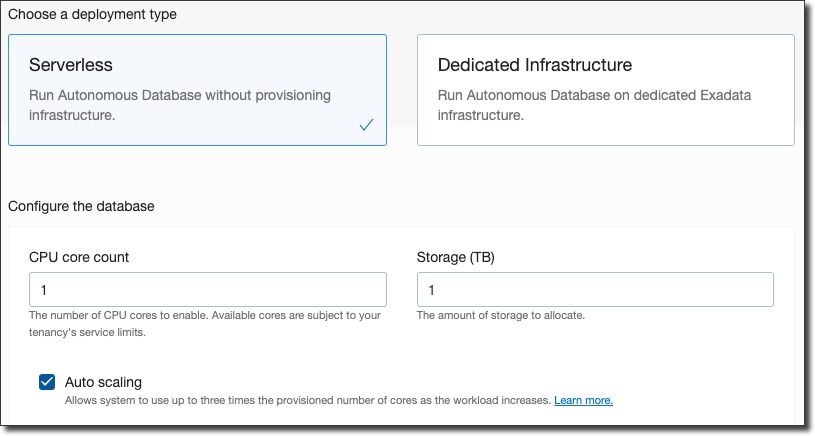
Make sure that 'serverless' is selected (note, this really just means "managed" as opposed to dedicated and has nothing to do with traditional "serverless") and enter the desired CPU and Storage (the defaults are good for now). If you want the CPU to auto scale then choose 'auto scaling'.
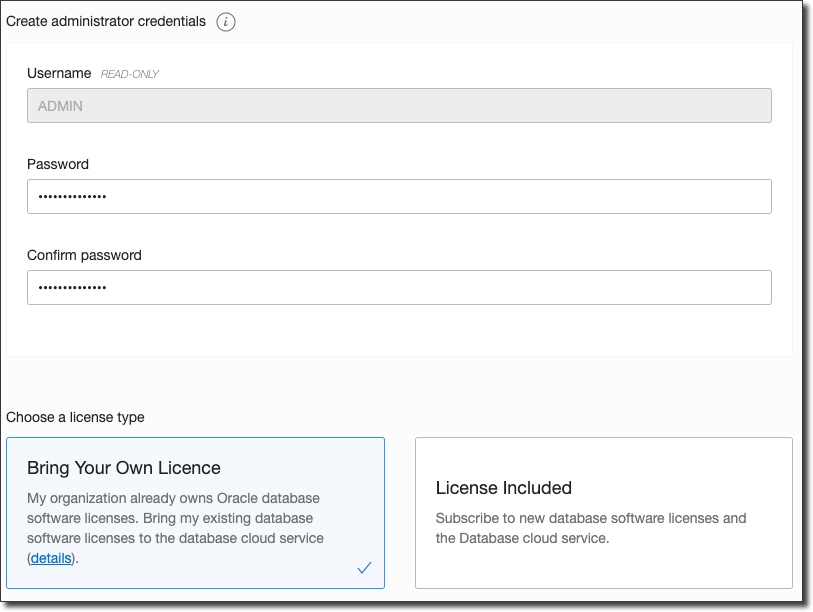
Finally, enter an administrator password and make a license choice and click on 'Create Autonomous Database':
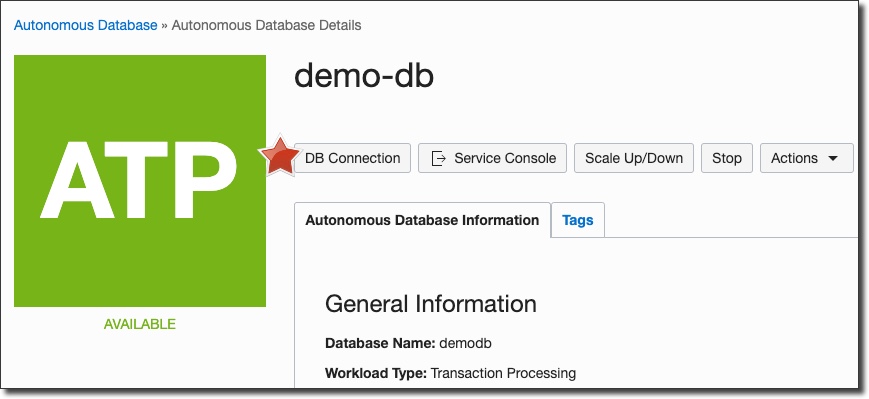
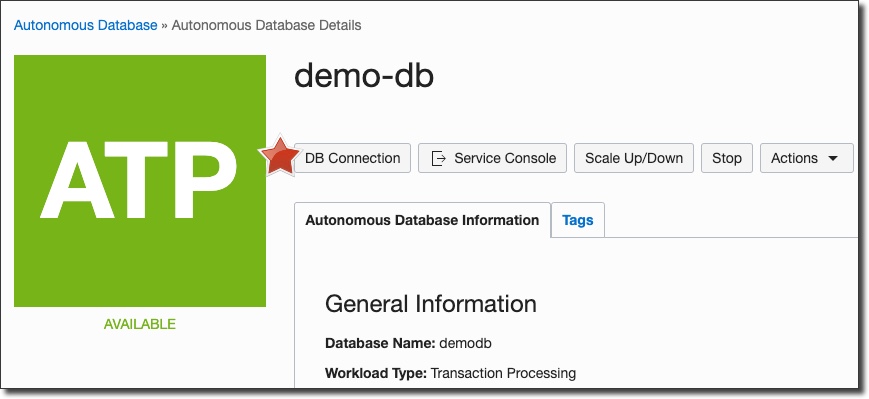
When the database instance has been created, go to the instance details page and click on 'DB Connection':
In the DB connection dialog, click on 'Download' to download your ATP wallet. This contains the necessary client credentials to connect to the instance from our running application later on. Store it in a safe place.

Creating An ATP Instance Via The CLI
To create an ATP instance via the CLI, run:
Which returns a result like so:
After a few minutes, check the status of the install with the following command. Pass the ID that was returned from the create statement as the --autonomous-database-id attribute:
In the JSON returned from the get statement, check for the key lifecycle-state and make sure its value is "AVAILABLE" before moving on. Once the ATP instance is available, download the wallet with:
Bonus: SQL Developer Web
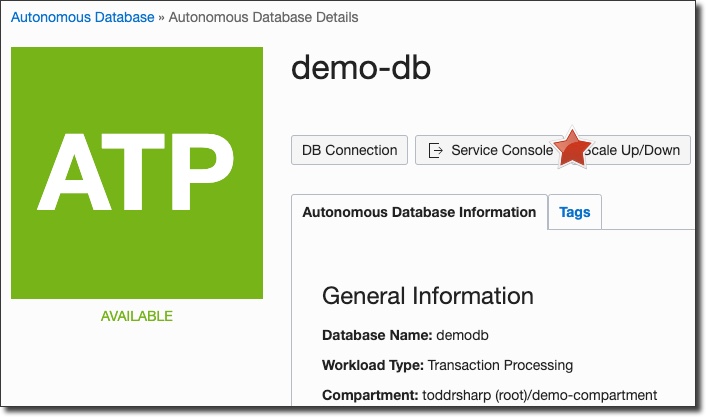
To quickly run queries on your new ATP instance you can use the SQL Developer Web tool. To access, click on the instance details and click 'Service Console':
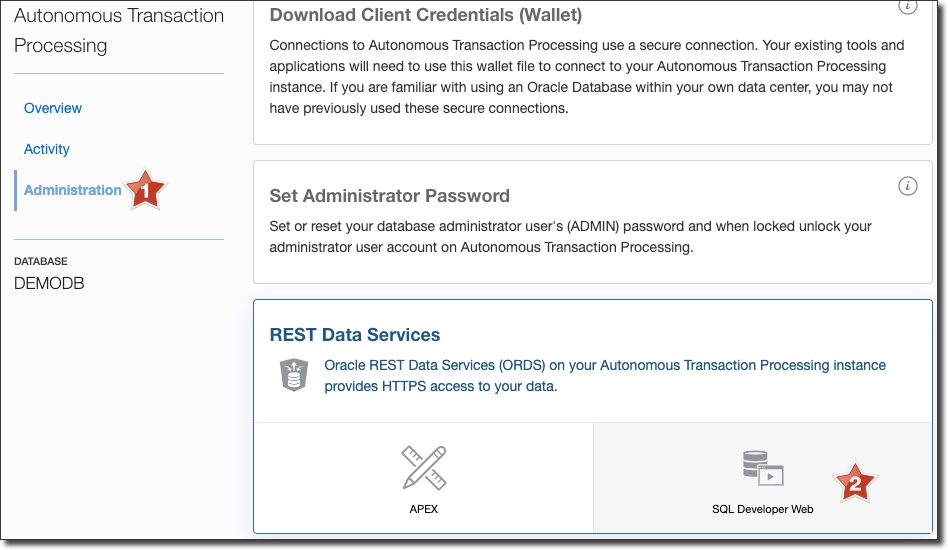
On the Service Console page, select 'Administration' in the left sidebar and scroll down and click 'SQL Developer Web':
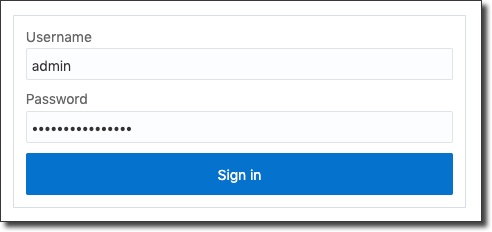
Enter the admin username and the password that you supplied for the admin user when the instance was created and click 'Sign In':
After logging in, you can select a schema to work within (#1), choose an object to inspect (#2), enter a query to run (#3) and view results (#4) among other things.
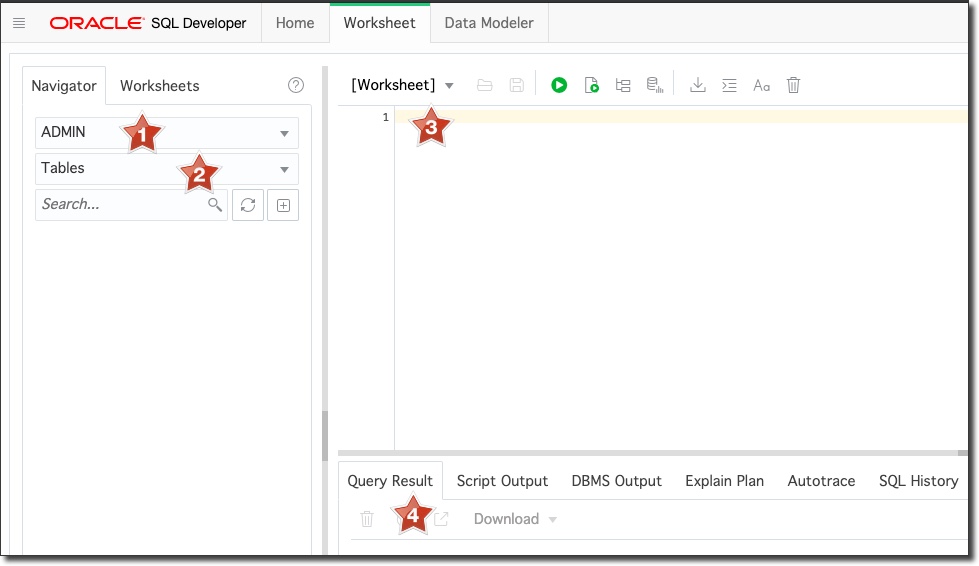
This is a very nice way to run quick queries that we'll take advantage of throughout this blog series.
Related Posts

Querying Autonomous Database from an Oracle Function (The Quick, Easy & Completely Secure Way)
I've written many blog posts about connecting to an Autonomous DB instance in the past. Best practices evolve as tools, services, and frameworks become...

Brain to the Cloud - Part III - Examining the Relationship Between Brain Activity and Video Game Performance
In my last post, we looked at the technical aspects of my Brain to the Cloud project including much of the code that was used to collect and analyze the...

Brain to the Cloud - Part II - How I Uploaded My Brain to the Cloud
In my last post, we went over the inspiration, objectives, and architecture for my Brain to the Cloud project. In this post, we'll look in-depth at the...