How to Securely Connect to Private Resources (for Free!) via the OCI Bastion Service
Posted By: Todd Sharp on 6/1/2021 4:07 GMT
Tagged: Cloud

When working in the cloud, there are often times when your servers and services are not exposed to the public internet. Private virtual cloud networks (VCNs) exist for resources that don’t need internet access, but can present challenges when you might need temporary access for troubleshooting or one-time tasks. The Oracle Cloud Infrastructure (OCI) MySQL cloud service is an example of a service that is only accessible via private networks. Since the service is fully managed, we keep it siloed away from the internet to help protect your data from potential attacks and vulnerabilities. It’s a good practice to limit resource exposure as much as possible, but at some point, you’ll likely want to connect to those resources. That’s where bastion hosts enter the picture. A bastion host is a resource that sits between the private resource and the endpoint which requires access to the private network and can act as a “jump box” to allow you to log in to the private resource via protocols like SSH or RDP.
History Lesson
You may be wondering where the term “bastion” comes from. In medieval times, castles used towers for overwatch and protection purposes. The height of these towers often made them vulnerable to artillery attacks, so in the mid 16th-century bastions were invented as an alternative to towers. They were often the same height as the fortifications walls but extended outward in an angular shape to provide a full view and range of protection against potential incoming threats or attacks. In other words, the bastion was a slightly vulnerable extension of the castle that was built with the sole purpose of protecting the valuable assets within the walls. Now you know why a server that is placed in an exposed but important position outside of your network firewall is called a bastion!

Why Bastions?
So what are the downsides to using a bastion host in your cloud tenancy? Well, there really aren’t any. They are a smart choice and security should always be your top priority in the cloud. Until recently, using a bastion host in OCI has required you to manually turn up, configure, manage, and pay for a dedicated compute instance. Since they are manually managed, there is a small margin of error in which improper configurations or accidents can lead to security holes. What if you could use a simple (and free) managed service to provide bastion functionality for your OCI private networks? That’s now possible with the OCI Bastion Service. Let’s walk through what it takes to configure and utilize this service to connect up to a private network in an OCI tenancy. We’ll look at connecting to a MySQL cloud service instance in this post, but the service will work for any private resource in your tenancy.
Here are the steps that we need to take to use the bastion service to obtain access to a MySQL cloud service instance:
- Collect the Instance VCN, Subnet Name, and Private IP
- Create a Bastion
- Grant Bastion Access to the Private Network
- Create a Session
- Connect via the Bastion
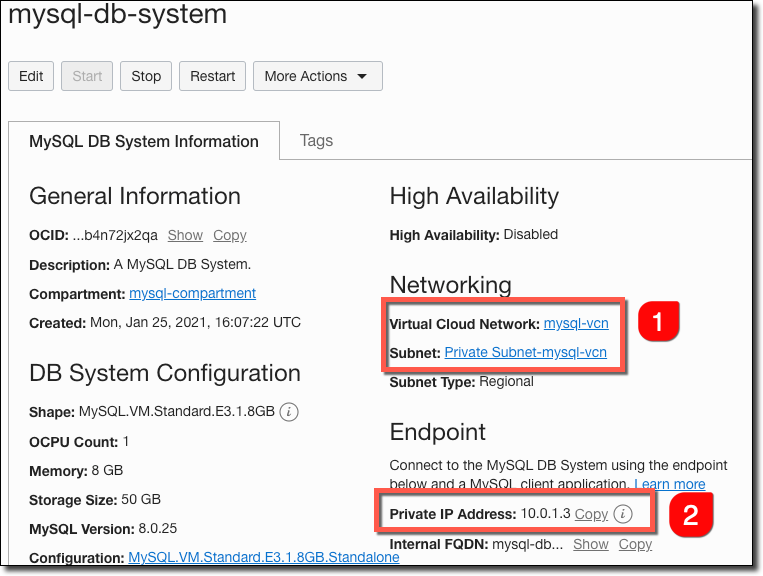
Collect the Instance VCN, Subnet Name, and Private IP
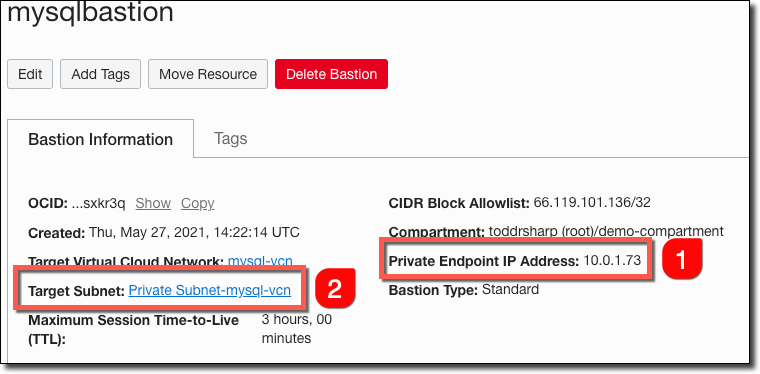
We’ll need to find out which VCN and subnet the instance resides within, so click into the details of your MySQL cloud instance and take note of them (#1 below). While you’re there, grab the instance’s private IP address (#2).
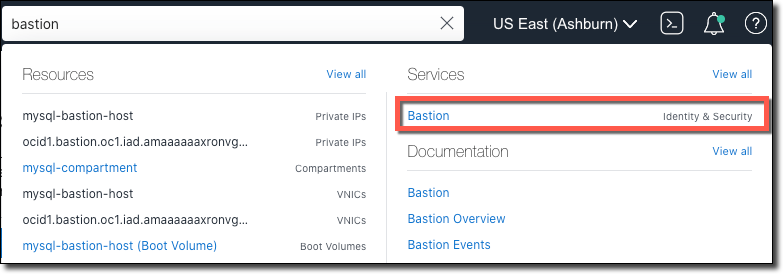
Create a Bastion
Now we will create a bastion. You can find the bastion service by searching for it in the console search bar.
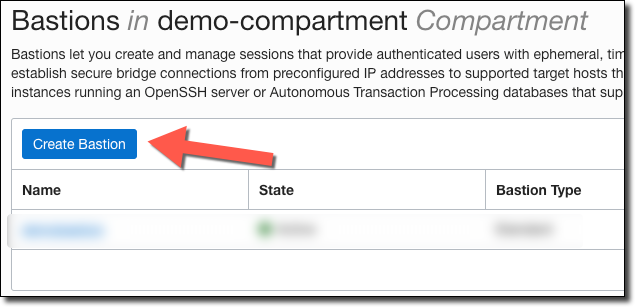
On the list of bastions, click on ‘Create Bastion’.
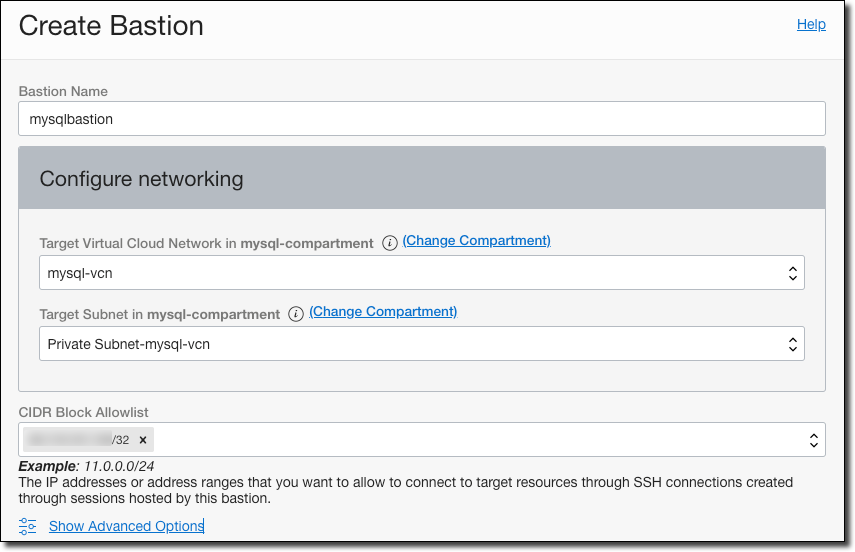
Give it a name and choose the VCN and subnet that we collected above. You may need to change the compartment if your VCN resides in a different compartment from where you are creating the bastion. In the CIDR Block Allowlist, enter the IP of the machine from which you’d like to connect to your MySQL service. This will likely be your own local IP address in CIDR notation. CIDR can be a tricky notation for those of us who are not networking pros, but understand that CIDR notation goes from 0 to 32 and the amount of available IP addresses in each group decreases as the number gets larger. In other words, /0 means 4,294,967,296 possible addresses and /32 means a single IP address. If you just want to add a single IP address (your own), enter it in the format XXX.XXX.XXX.XXX/32.
curl ifconfig.io as a quick and easy way to check my local IP.
Once you’ve entered the information above, click ‘Create’. Your bastion will initially be in a ‘Creating’ state.

Once the bastion is available, click to view the details. Notice that the bastion has a maximum allowed session TTL (time-to-live). This is the longest amount of time that any created session that uses the bastion will last.

We’ll need to collect the bastion’s IP address (#1), and then click on the target subnet (#2).
Grant Bastion Access to the Private Network
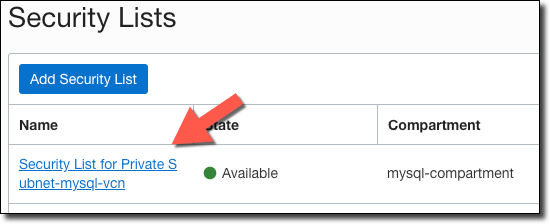
Within the subnet details, click on the security list.
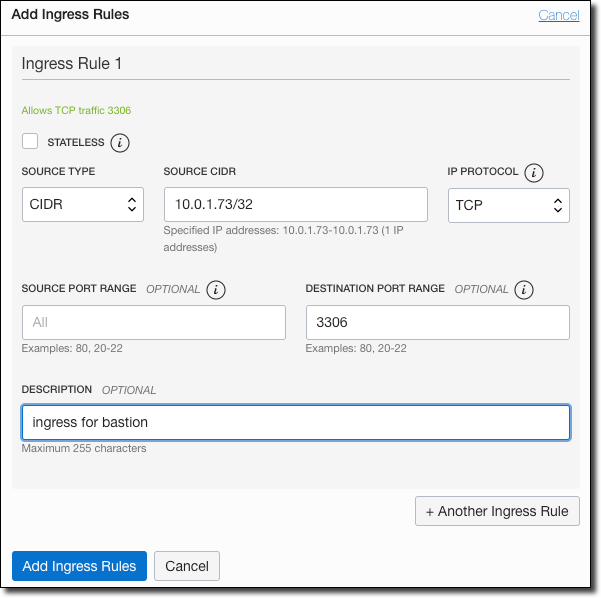
Add an ingress rule for bastion’s IP (/32) on port 3306 (the default MySQL port).
Create a Session
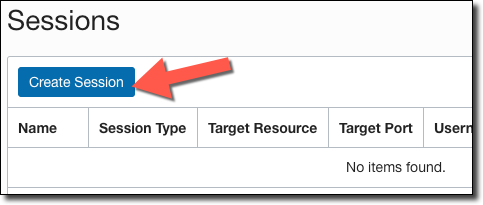
Each time we want to use the bastion to connect to the MySQL instance, we’ll need to create a ‘session’. To do this, head back into the bastion details and click on ‘Create Session’.
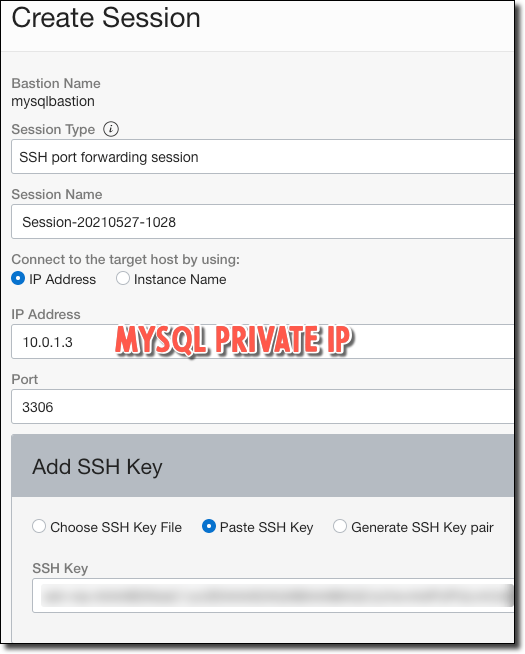
If we were trying to connect to a compute instance, we could select ‘Managed SSH session’ and enter the username, but for MySQL we’ll select ’SSH port forwarding session’, enter the MySQL instance private IP that we collected above and enter port 3306. Don’t forget to choose or paste the public key of an SSH key pair that you will use to connect. When you’ve entered this information, click ‘Create Session’.
You can also create sessions via the OCI CLI using the command below. This makes for a nice shortcut that you can even set up as an alias on your machine if you connect frequently.
Connect via the Bastion
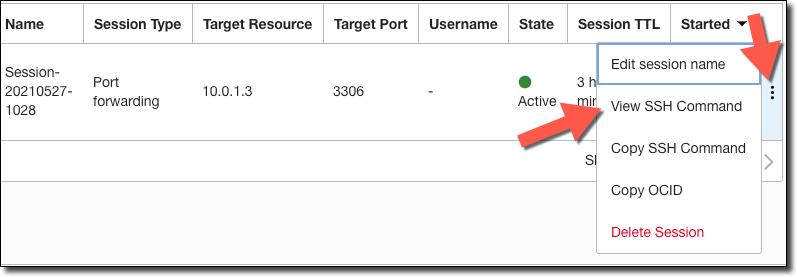
At this point we are ready to connect. We could manually construct an SSH command, but the console gives us a nice pre-populated snippet to view and copy by clicking on the menu in the session list.
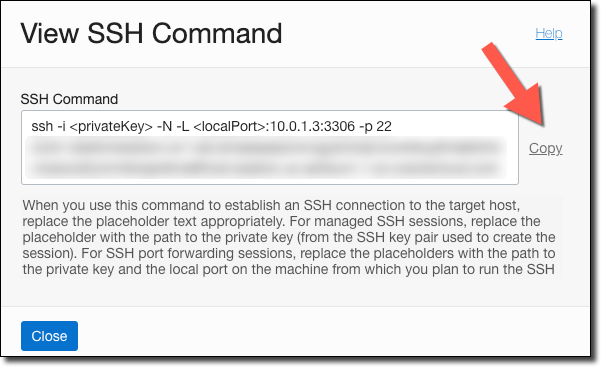
Enter your own <privateKey> and change the <localPort> to 3306. Add -v for verbose output.

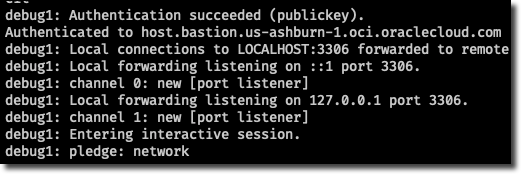
If you see ‘pledge network’ you are connected!
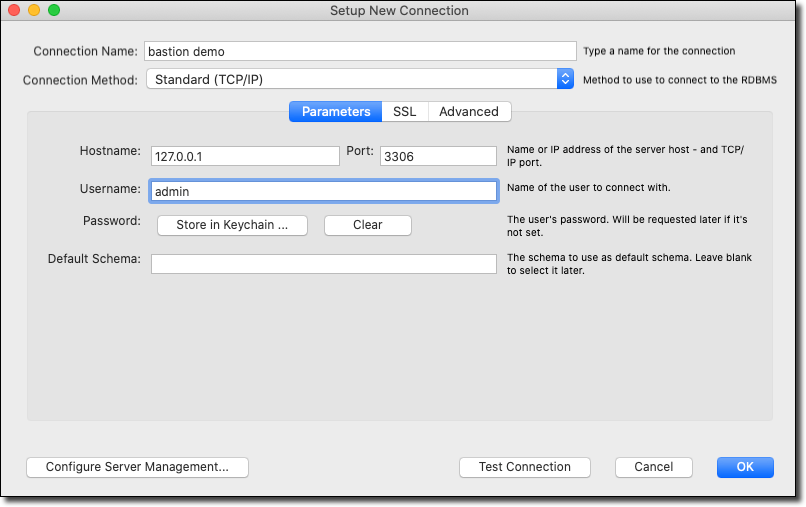
Connect to the Instance via MySQL Workbench
Now that we’re connected, we can use any MySQL tool to query the instance via localhost:3306 or 127.0.0.1:3306. For example, here’s how to set up a connection to the instance via MySQL Workbench.
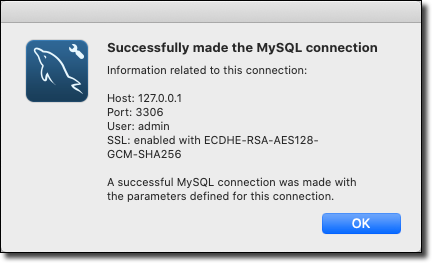
If we click ’Test Connection’, we can see that we’re connected to the instance!
Summary
In this post, we took a quick look at bastions and why they are important. We then created a new bastion and a session that uses that bastion. Then, we connected via that session to an instance running in the MySQL cloud service. As mentioned above, the bastion service is a totally free way to securely connect to any private resource in the Oracle Cloud.
Photo by Cederic Vandenberghe on Unsplash
Related Posts

Querying Autonomous Database from an Oracle Function (The Quick, Easy & Completely Secure Way)
I've written many blog posts about connecting to an Autonomous DB instance in the past. Best practices evolve as tools, services, and frameworks become...

Brain to the Cloud - Part III - Examining the Relationship Between Brain Activity and Video Game Performance
In my last post, we looked at the technical aspects of my Brain to the Cloud project including much of the code that was used to collect and analyze the...

Brain to the Cloud - Part II - How I Uploaded My Brain to the Cloud
In my last post, we went over the inspiration, objectives, and architecture for my Brain to the Cloud project. In this post, we'll look in-depth at the...