Interacting With Your Oracle On-Prem and Autonomous DB Instances From Node-RED
Posted By: Todd Sharp on 3/10/2021 1:00 GMT
Tagged: Cloud, Developers

Node-RED is a programming tool that allows you to wire together devices and APIs to help you automate, monitor and analyze data without having to write much code at all. I’ve used it for various projects in the past, and it’s always fun to discover new ways to integrate it into my tinkering - especially IoT projects. Recently, I wanted to persist some sensor data that I was publishing to an MQTT topic into my Autonomous DB instance in the Oracle Cloud, so I created a new “flow” in Node-RED and tested out a few different approaches. In this post, we’ll look at each approach to give you a few different options the next time you are looking to connect to Oracle DB from Node-RED.
Free Stuff! If you are new to Oracle Cloud, you should know that everything we’re about to discuss is able to run on “always free” resources in the Oracle Cloud. That’s right, completely free - forever! If you’d like to learn more, please check out the following blog posts: Installing Node-RED In An Always Free VM On Oracle Cloud & Launching Your First Free Autonomous DB Instance
Persisting Data from Node-RED via Oracle REST Data Services
My first thought for persisting my IoT sensor data in my recent project was to utilize Oracle REST Data Services (ORDS). I’ve talked about ORDS before, but as a reminder it’s a handy way to expose a set of REST endpoints to persist and retrieve data from a table in your schema via familiar HTTP calls (GET, POST, PUT, etc). I won’t go into details about how to enable ORDS in this post (here’s another blog post that covers that topic), but I’ll assume that you’ve created a table and enabled ORDS on it already. Once that’s done, there are two steps to persistence. First, we’ll need to establish an OAuth token to be used for authenticating our subsequent calls. Second, we make the calls themselves passing along our OAuth token.
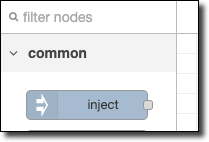
First, drag an inject node onto your flow.
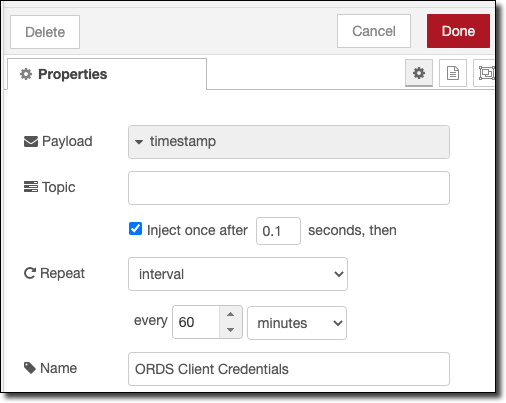
Double click the inject node and set it to run immediately and then once every 60 minutes.
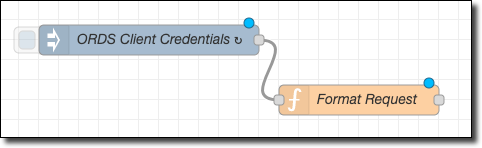
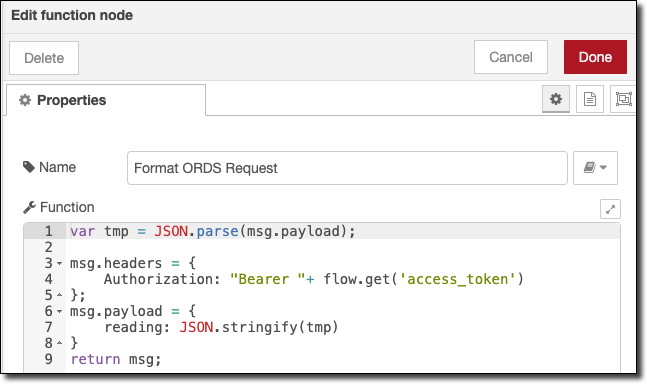
Next, drag a function node onto the flow. We’ll use this node to format the request.
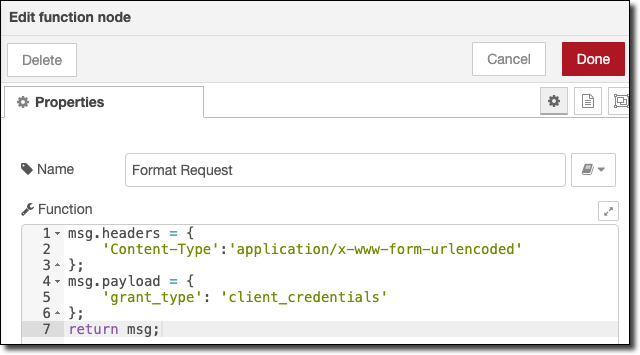
Use the function node to modify the msg object to include the Content-Type header and set the payload as shown below.
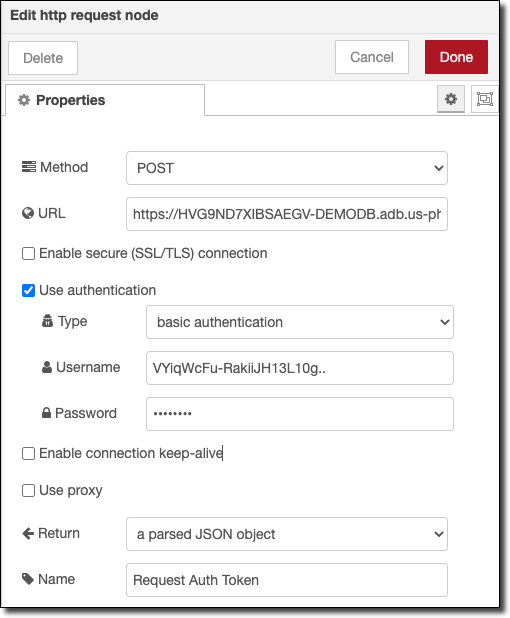
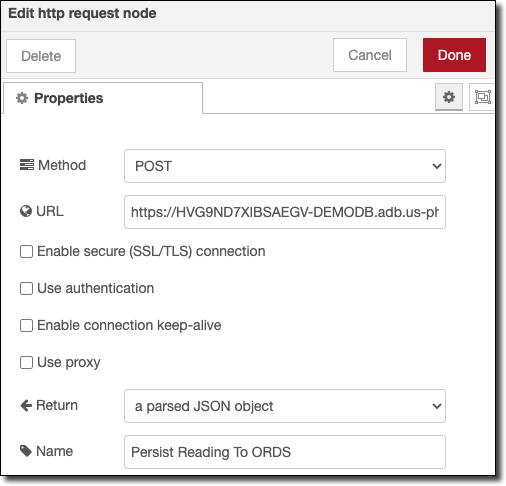
Now, add an http-request node to the flow.
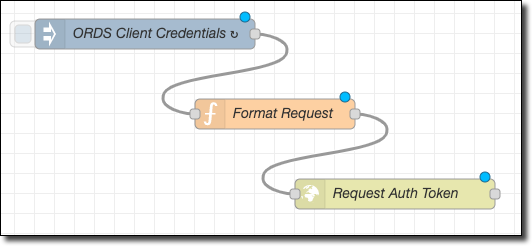
Edit the request node to make a POST request to your /oauth/token endpoint using basic authentication and passing your client id and client secret as the username/password.
Now add a debug node and a change node after the http request.
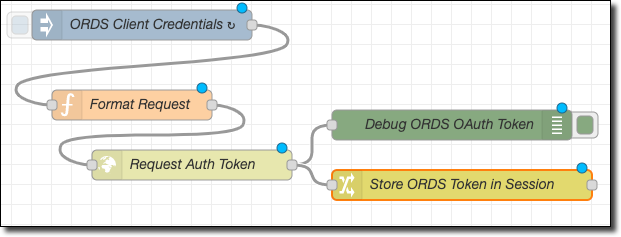
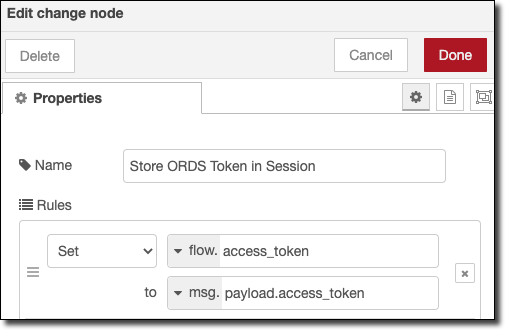
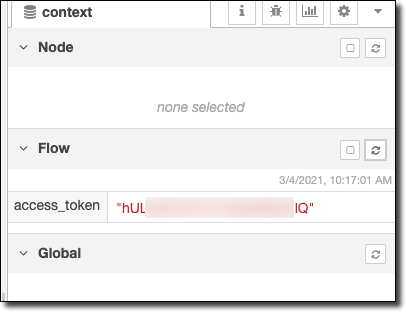
For the change node, we’re going to set the returned token into the ‘flow’ scope so that it can be used from other parts of our flow.
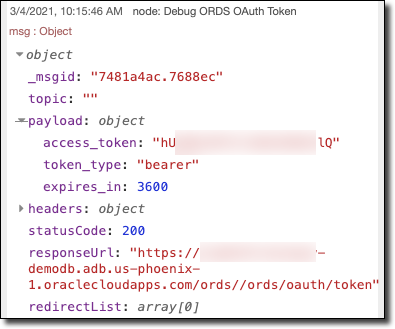
Deploy the flow and observe the OAuth token request in the debug console.
Confirm that the flow variable was set in the ‘context’ panel.
Now we can add another portion of our flow to listen for incoming messages on an MQTT topic, format the message for ORDS and persist via ORDS.
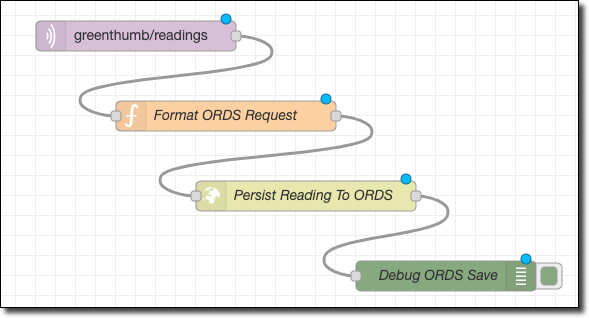
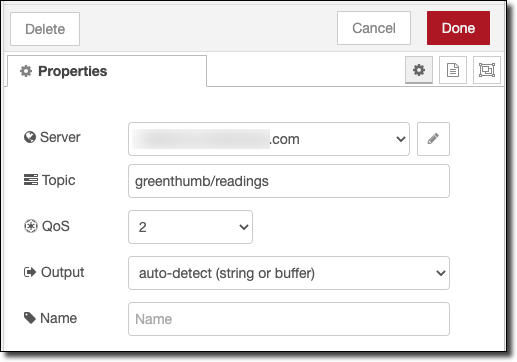
The MQTT node:
Formatting the HTTP request object (note that the reading column in my table is a JSON column, so I can store the JSON object directly for flexibility). Also note that I’m passing the token that we stored in the flow as my auth header.
The request:
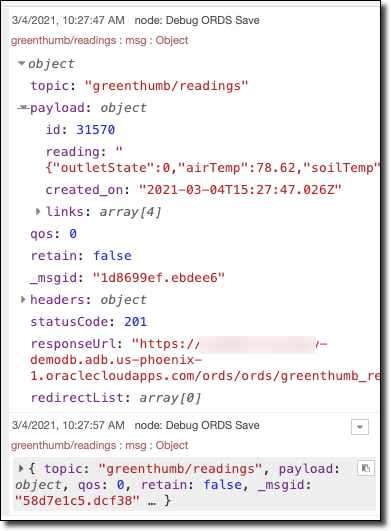
Once deployed, we can observe that each time a message is received on the MQTT topic it is persisted to my instance via HTTP request with ORDS!
Persisting Data from Node-RED via the Oracle DB Custom Node
ORDS is awesome, but, it would be really awesome if we could natively connect to our instance from Node-RED. Luckily, there’s a way to do just that via the node-red-contrib-oracledb-mod custom node (available here). To use this node, you must install it on your Node-RED server and you must have the Oracle Instant Client installed and configured as well. Once the installations are complete, there are two different ways to connect to your DB - a “classic” connection using a URL, username and password as well as connecting with a TNS Name from a tnsnames.ora file (like those found in the Autonomous DB wallet). If you’d like to use a TNS name connection (and you must for Autonomous DB), download your wallet and place it in the /network/admin subdirectory of the directory where you installed the Instant Client.
“Classic” Connections
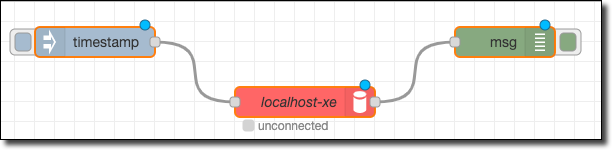
Let’s first look at connecting up to an Oracle DB instance in the “classic” style. Drag an inject node, an Oracle DB node and a debug node to your flow and connect them like so.
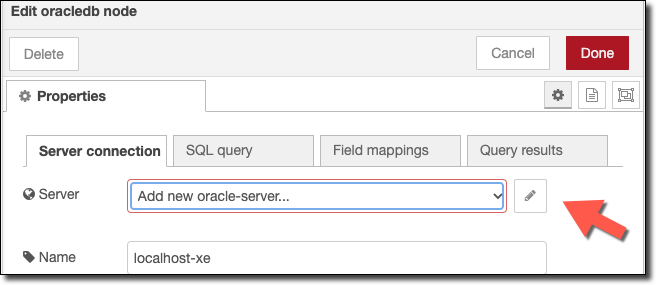
Double click the Oracle Node to edit. You’ll first have to set up a server, so click the ‘pencil’ icon.
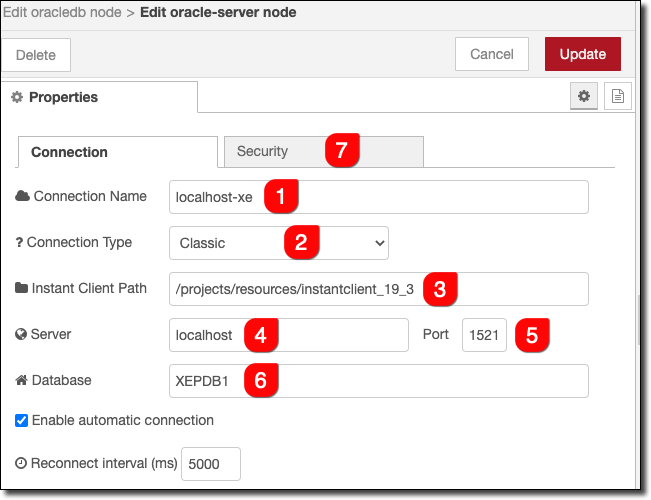
To configure your server, enter a name for your connection (#1), choose “classic” as the connection type (#2), enter the path to the directory where you installed the Instant Client (#3), enter your server IP/host (#4), port (#5) and DB name (#6). Then click on the Security tab (#7).
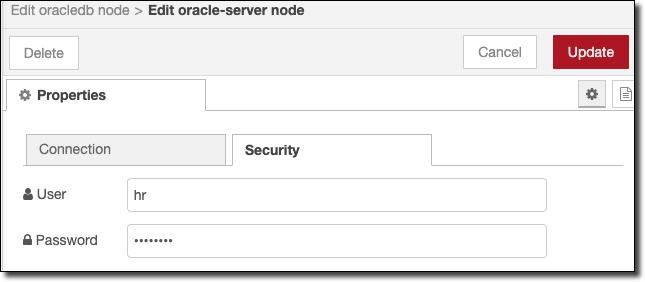
Enter your credentials in the security tab.
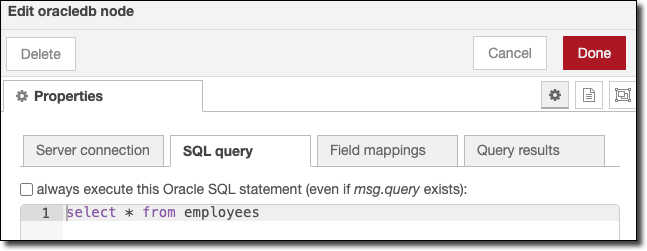
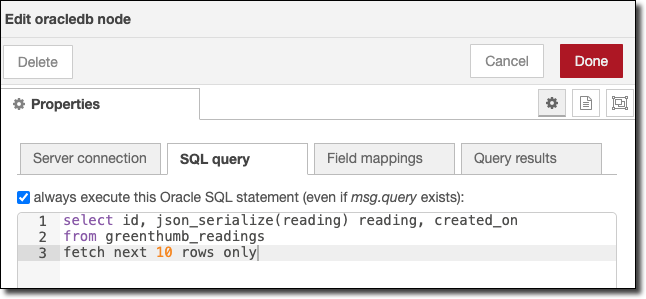
Once you’ve configured the server connection, head back to the Oracle node and enter the query that you’d like to run.
Click ‘Done’ and deploy your flow. Test it out by clicking on the inject node. Notice that results are returned in batches of no more than 100 records.
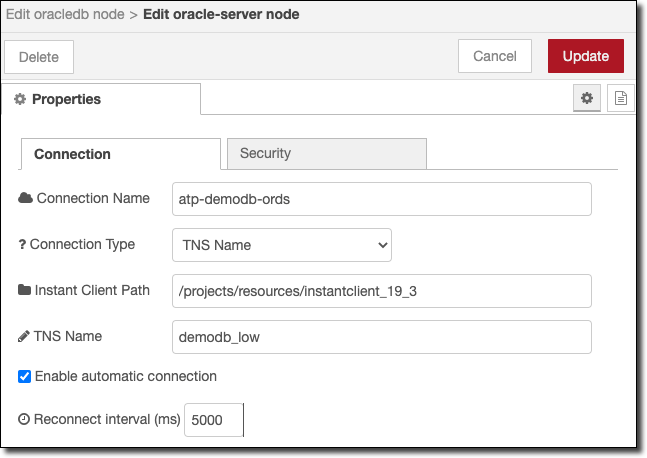
Connecting With a TNS Name From a tnsnames.ora File
To connect your Autonomous DB instance, make sure your wallet is unzipped in the /network/admin subdirectory of the directory that you installed the Instant Client in. Also make sure you update the sqlnet.ora file with the updated path. Then create a new connection, this time a ’TNS Name’ type connection and enter the TNS name that you’d like to use.
Enter your query as before, deploy, and invoke.
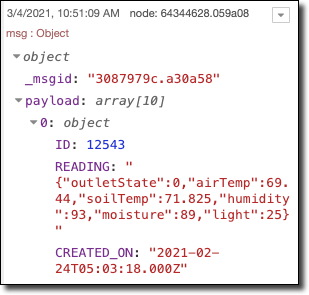
Note the debug results.
Summary
In this post, we covered several approaches to interacting with your Oracle DB (both on-prem and in the cloud) from Node-RED. If you have any questions or feedback, please let me know by adding a comment below. Happy building and coding!
Photo by Elti Meshau on Unsplash
Related Posts

Querying Autonomous Database from an Oracle Function (The Quick, Easy & Completely Secure Way)
I've written many blog posts about connecting to an Autonomous DB instance in the past. Best practices evolve as tools, services, and frameworks become...

Brain to the Cloud - Part III - Examining the Relationship Between Brain Activity and Video Game Performance
In my last post, we looked at the technical aspects of my Brain to the Cloud project including much of the code that was used to collect and analyze the...

Brain to the Cloud - Part II - How I Uploaded My Brain to the Cloud
In my last post, we went over the inspiration, objectives, and architecture for my Brain to the Cloud project. In this post, we'll look in-depth at the...